2026-09-14
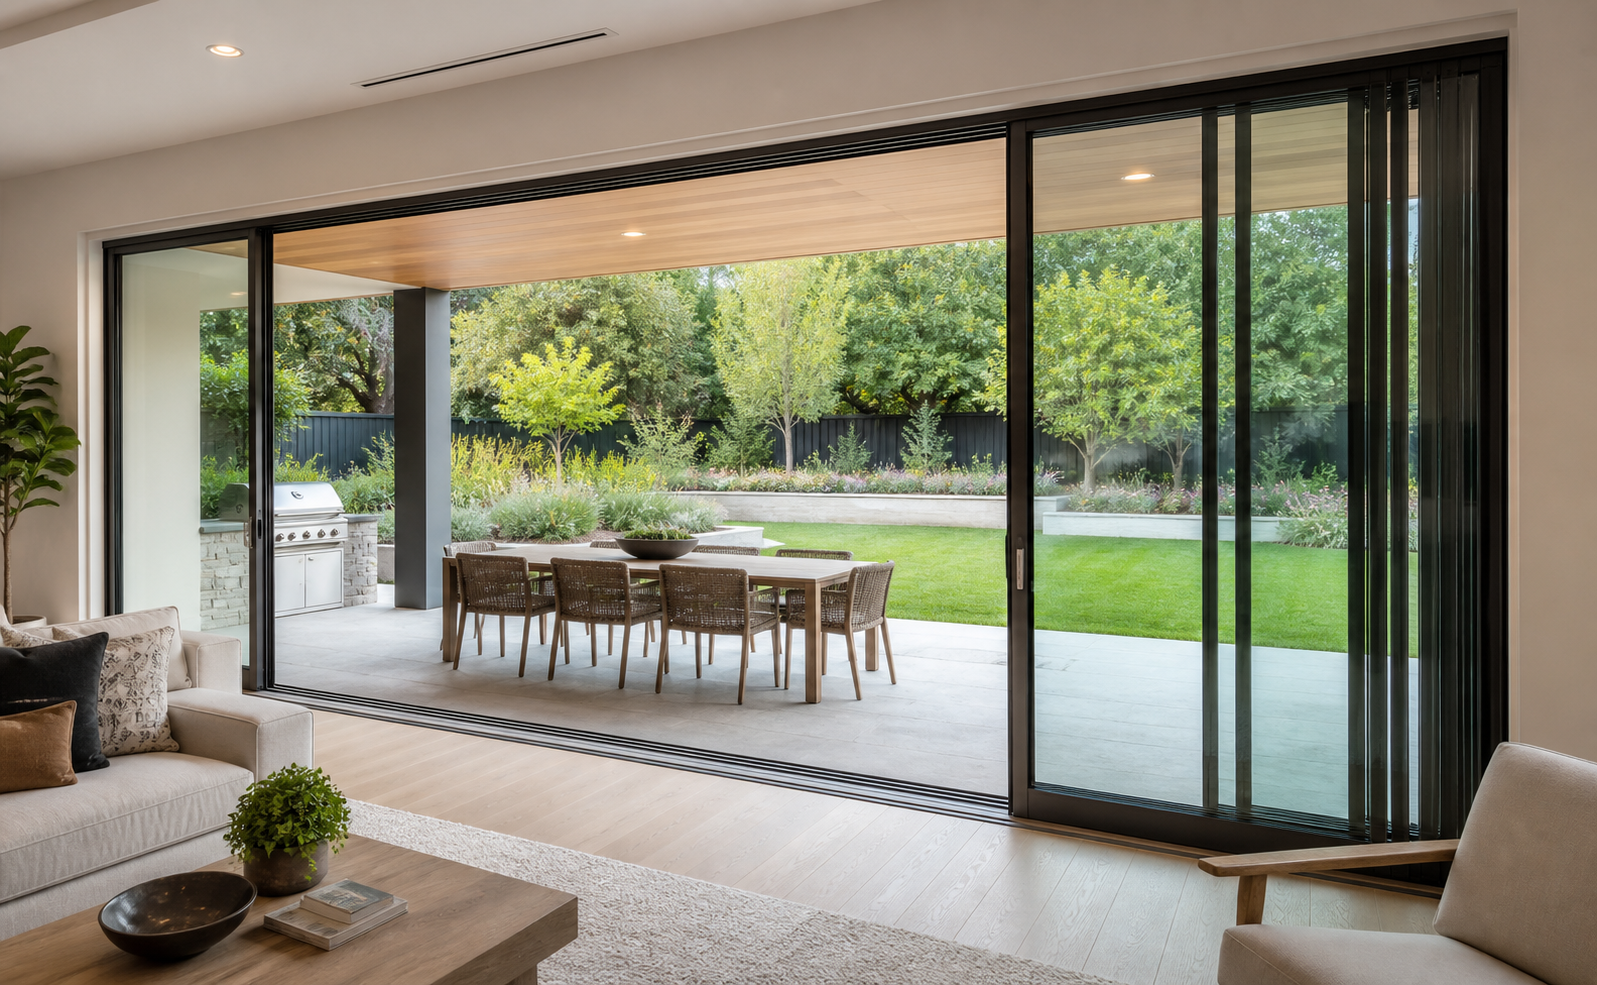
Multi-slide doors installation should pause for review at five stages: approved documents, prepared opening, sill and drainage interface, installed panel operation, and final handover. Each hold point should have a named reviewer and a record of acceptance before work continues. Exact dimensions, fixings and tolerances come from the selected system.
This is a coordination checklist for homeowners and project managers, not a substitute for professional installation instructions. Its purpose is to keep important decisions visible before frames, glazing and finishes make them difficult to inspect. It does not provide a universal fastening pattern or a structural design.
Before delivery
- Use one approved drawing revision for the opening and the door.
- Resolve floor levels, drainage and panel parking together.
- Agree who can stop work when a detail does not match.
Hold point 1: confirm the installation document set
Collect the approved door schedule, manufacturer’s installation instructions, opening detail and relevant structural information. Match the system, panel arrangement and document revision to the actual order. A guide for a stacking configuration may not cover a pocket configuration or a different sill.
Weather Shield publishes separate multi-slide site-preparation and installation documents. These are examples of why the document set should be system-specific; use the instructions for the brand and series actually purchased.
Write a short responsibility list: who confirms the opening, who installs the sill interface, who handles the panels, and who approves the finished operation. If the supplier and installer are different businesses, make sure both understand where one scope ends and the other begins.
Hold point 2: inspect the opening before the frame arrives
Have the responsible trade record the opening geometry against the approved requirements. The review should include width, height, level, plumb, diagonals and substrate condition, using the manufacturer’s tolerances. A nominal opening size on a drawing does not establish that the built opening is ready.
Confirm that the required structural support has been approved by the responsible designer. The installer should not be expected to resolve an undocumented structural issue by packing or tightening the frame. Record discrepancies and obtain a written correction before the door is fixed in place.
As a simple coordination example, the floor build-up may change after the door order. Ask the builder to mark the final interior and exterior levels against the sill detail. This catches a mismatch while it is still a drawing and preparation problem rather than a finished-floor dispute.
Hold point 3: review the sill, drainage and air-seal interface
Agree how the frame meets the building’s water-management and air-control layers. Record the approved interface before trim or flooring conceals it. The U.S. Department of Energy’s rough-opening guidance calls for air sealing around windows and exterior doors before trim is installed. The appropriate materials must also be compatible with the installed system.
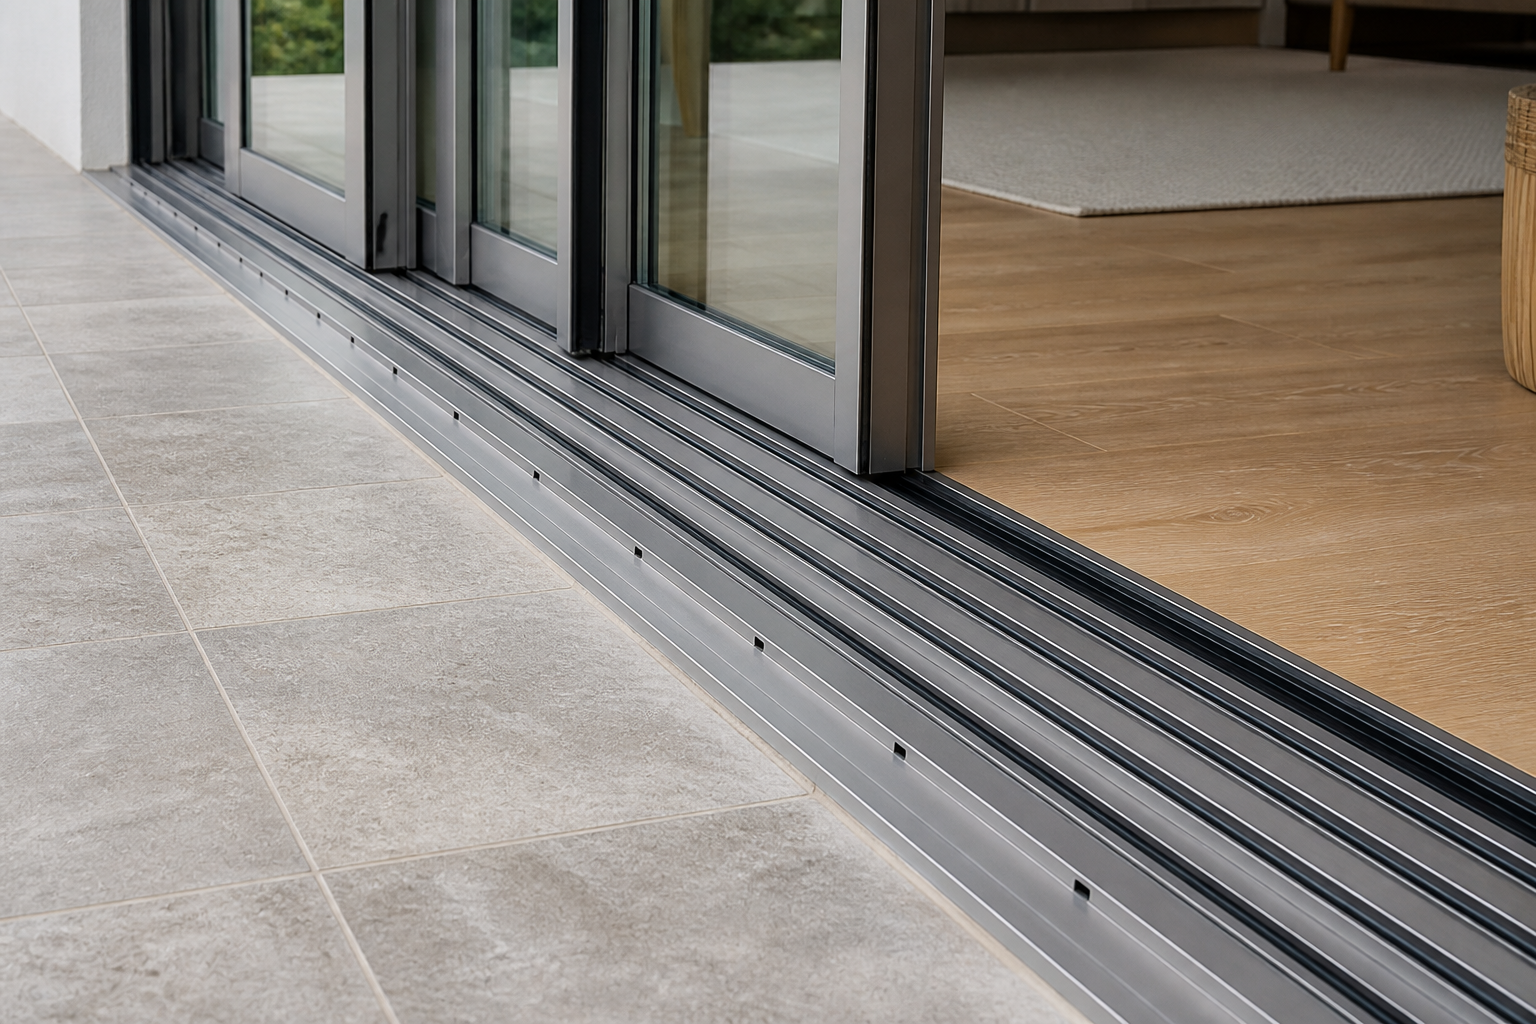
Keep deliberate drainage outlets separate from gaps that require sealing. Ask the installer to show the intended water route and how it connects to the exterior. For a recessed or low-profile threshold, resolve adjacent drainage and level changes before assuming the finish can run continuously across the opening.
Hold point 4: check each panel before finishing work
| Review item | Record | Hold work if |
|---|---|---|
| Panel sequence | Order and direction match the drawing | The layout differs from the approved configuration |
| Movement | Normal opening, stacking and closing are demonstrated | A panel binds or requires unexplained force |
| Interlocks and seals | Installer confirms correct engagement | Visible damage or an unexplained gap remains |
| Locks and handles | Normal operation from intended access sides | The door cannot be secured as intended |
| Protection | Plan for remaining building work | Tracks or finished surfaces are exposed to avoidable damage |
These are acceptance observations, not a field certification of wind, water or thermal performance. Any specified testing needs an agreed method and qualified personnel. Keep photos of a discrepancy and the corrective action; do not merely note that “adjustment was made.”
For earlier design decisions, see the multi-slide floor-plan guide. The patio-door replacement survey guide provides related information about documenting an existing opening.
Hold point 5: complete the handover
Ask for a demonstration of daily access, full opening, closing, locking and any screen operation. Obtain the cleaning and maintenance instructions, product references, warranty documents and service contact. Record any outstanding issue separately with a responsible person and an agreed response date.
A useful final record lists each of the five hold points, the date reviewed, the reviewer and any unresolved item. Multi-slide doors installation is easier to manage when the next trade receives an explicit acceptance record instead of assuming the previous stage was checked. Keep that record with the order documents for future service.
Questions and answers
Can I use another brand’s installation manual?
Use the manual for the exact brand, series and configuration being installed. Another brand’s guide can explain the kinds of documents to request, but it does not establish your opening tolerances, fastening pattern, drainage details or adjustment procedure.
When should finished floor levels be confirmed?
Confirm them before the sill and frame interface is finalized, using the approved project detail. Include the exterior surface and any drainage arrangement. If the floor build-up changes later, obtain a coordinated revision rather than assuming the installer can absorb the difference.
Should the door be tested before trim is installed?
Check and document the installation stages that will be concealed, and demonstrate panel operation before finishing work makes corrections harder. Any project-required performance test needs a defined method and responsible professional; opening the door by hand does not replace such testing.