2026-08-11
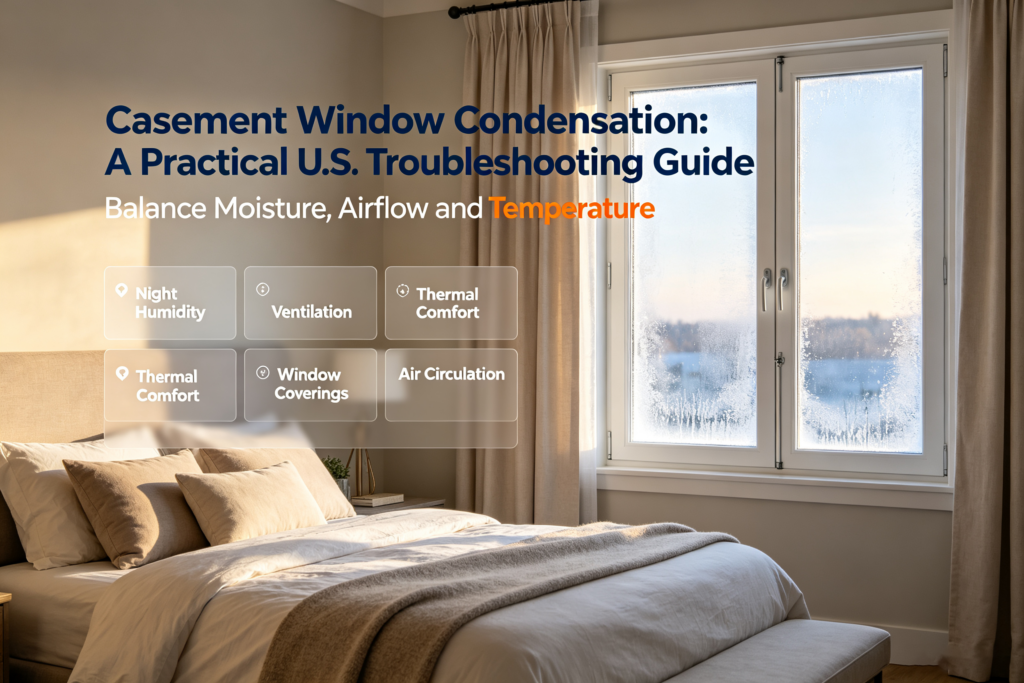
Direct answer: Casement Window condensation usually means warm, moisture-laden air has reached a surface cold enough for water to form. The visible moisture may come from indoor humidity, cold glass or frames, restricted air circulation, an installation detail, or—if it appears between panes—an insulating-glass seal problem. Start by documenting where and when the moisture appears, then address indoor moisture and verify the window assembly before assuming the entire unit must be replaced. This guide gives U.S. homeowners, builders, and specifiers a disciplined way to investigate the issue.
Key Takeaways
- Condensation on the room-side surface is different from moisture between sealed glass panes.
- Indoor humidity, outdoor temperature, air movement, glazing, frame performance, and installation details can all affect what you see.
- Use product-specific NFRC ratings when comparing replacements; do not treat one component description as proof of whole-window performance.
- Persistent water at the wall, sill, or trim deserves prompt inspection because the source may be outside the window itself.
- Forge Windows product pages are useful starting points for comparing configurations, but project drawings and verified performance data should guide a final specification.
What Casement Window Condensation Is Telling You
Condensation is an observation, not a complete diagnosis. Room-side moisture commonly appears when humid indoor air contacts cold glass, sash, hardware, or frame surfaces. Exterior condensation can occur under different conditions and does not automatically indicate a defect. Moisture trapped between panes is a separate clue because that space should not communicate freely with indoor air.
The U.S. Environmental Protection Agency explains that moisture control is central to preventing mold growth and recommends fixing the moisture source rather than only cleaning the visible result. Review the EPA’s Brief Guide to Mold, Moisture and Your Home (accessed August 11, 2026) if condensation has wetted finishes or remained present for an extended period. A window-focused check should therefore be combined with a room and wall assessment.
First Identify Where the Moisture Appears
| Location | What it may suggest | First check |
|---|---|---|
| Room-side glass or frame | High indoor moisture, cold surfaces, or limited air circulation | Measure indoor humidity and note outdoor conditions |
| Between glass panes | Possible insulating-glass seal failure | Photograph the pattern and contact the supplier or qualified glazier |
| Exterior glass | Outdoor air and surface-temperature conditions | Confirm that moisture is truly outside and clears normally |
| Sill, trim, or adjacent wall | Possible rain entry, flashing issue, plumbing source, or surface condensation | Inspect after weather events and look beyond the window |
Do not use the table as a substitute for an on-site diagnosis. Water paths can be indirect, and a stain below a Casement Window may originate above or beside the opening. Record whether the moisture follows cooking, showering, humidifier use, cold nights, wind-driven rain, or HVAC changes. A time-stamped pattern often narrows the investigation faster than a one-time visual inspection.
A Step-by-Step Casement Window Troubleshooting Process
1. Document conditions before changing anything
Photograph the glass, frame, sash corners, sill, trim, and nearby wall. Write down the indoor temperature and relative humidity, the outdoor weather, the time of day, and the room activity. Repeat the observation for several days if the condition is intermittent. This baseline helps distinguish a recurring building condition from a single unusual event.
2. Review indoor moisture sources
Check bathroom exhaust, kitchen exhaust, clothes-dryer venting, humidifiers, aquariums, drying laundry, and unusually dense plant groupings. Confirm that exhaust air actually reaches outdoors and that supply and return grilles are not blocked. If you reduce moisture or improve circulation, monitor whether the condensation pattern changes. Avoid selecting one universal humidity target because appropriate indoor humidity varies with climate and outdoor temperature.
3. Inspect the operable sash and perimeter
Open the Casement Window and examine weatherstripping, compression points, hinges, operator hardware, drainage paths, and visible sealant joints. Look for dirt, paint, distortion, missing pieces, or hardware that prevents the sash from closing evenly. Do not drill new drainage holes or alter seals without the manufacturer’s instructions. A qualified service technician can determine whether an adjustment or component repair is appropriate.
4. Separate product performance from installation
A well-selected unit can still perform poorly if the opening, flashing, air seal, insulation, or exterior water management is incomplete. Conversely, surface condensation alone does not prove the installation is defective. Ask the installer for the approved shop drawings and installation instructions, then compare them with visible site conditions. Destructive inspection should be performed only by a qualified professional when simpler checks do not locate the source.
Use NFRC Data When Comparing a Replacement Casement Window
The National Fenestration Rating Council explains that its label provides whole-product energy performance ratings for windows, doors, and skylights. Its residential guidance (accessed August 11, 2026) describes metrics such as U-factor, solar heat gain coefficient, and visible transmittance. These values help compare labeled configurations, but they do not diagnose an existing moisture source by themselves. Always match the exact size, glass package, frame, and operating configuration shown in the verified record.
ENERGY STAR also publishes current window, door, and skylight criteria (accessed August 11, 2026). Climate-zone requirements and certification details can change, so confirm the current criteria and the exact product record at the time of purchase. Do not assume that a series name, thermal-break description, or glass type alone establishes ENERGY STAR certification. Ask for documentation tied to the proposed configuration.
Questions to Ask Forge Windows or Another Supplier
When reviewing a possible replacement, begin with the opening size, exposure, room use, climate zone, and the location of the observed moisture. You can review the Z75X Thermal Break Casement Window and the 65 Series 1.8 mm Thermal Break Casement Window as examples of Forge Windows configurations to discuss. Product-page descriptions are not a substitute for project-specific drawings or current test documentation.
- Which exact glass, spacer, frame, sash, and hardware configuration is being quoted?
- What NFRC-rated values or other verified reports apply to that exact configuration?
- What rough-opening, flashing, perimeter air-sealing, and drainage details are required?
- What maintenance procedures apply to weatherstripping, operators, and drainage paths?
- Who is responsible for field measurements, installation, adjustment, and warranty service?
For a broader selection framework, compare the earlier Forge Windows guide to Casement Window specifications U.S. buyers should verify. If you need product-specific documents, use the Forge Windows contact page and describe the project instead of requesting a generic “condensation-proof” window. No window should be represented as eliminating every possible moisture condition.
Frequently Asked Questions
Is room-side condensation proof that my Casement Window has failed?
No. It often reflects the relationship among indoor humidity, outdoor temperature, surface temperature, and air circulation. Inspect the room, the window, and the surrounding opening before assigning a cause.
What does fogging between panes mean?
Persistent moisture or haze between sealed panes can indicate an insulating-glass seal problem. Document it and ask the supplier or a qualified glazier to evaluate the unit. Do not attempt to open a sealed glass assembly yourself.
Will a thermal-break frame stop all condensation?
No single feature can guarantee that result. Frame design may influence interior surface temperatures, but glazing, spacers, weatherseals, installation, indoor humidity, and outdoor conditions also matter. Compare whole-product data and site requirements.
Should I replace the window immediately?
Not necessarily. Begin with documentation, moisture-source checks, cleaning, hardware and seal inspection, and professional assessment when needed. Replacement is more defensible after the source and required performance are understood.
When should I call a professional?
Call promptly when water damages finishes, mold is suspected, electrical components are nearby, the wall assembly is wet, or the source remains unclear. A qualified building-envelope professional, installer, glazier, or HVAC specialist may be appropriate depending on the evidence.
Conclusion: Diagnose Before You Specify
Casement Window condensation is best handled as a moisture and building-system question, not as a reason to guess at a replacement. Identify the moisture location, document conditions, check indoor sources, inspect the operable assembly, and use current NFRC and ENERGY STAR information when comparing options. Forge Windows can help you review available casement configurations, but the final choice should be supported by project measurements, verified ratings, installation details, and responsible maintenance. Contact Forge Windows with your opening information and observations to begin a focused technical conversation.