2026-09-16
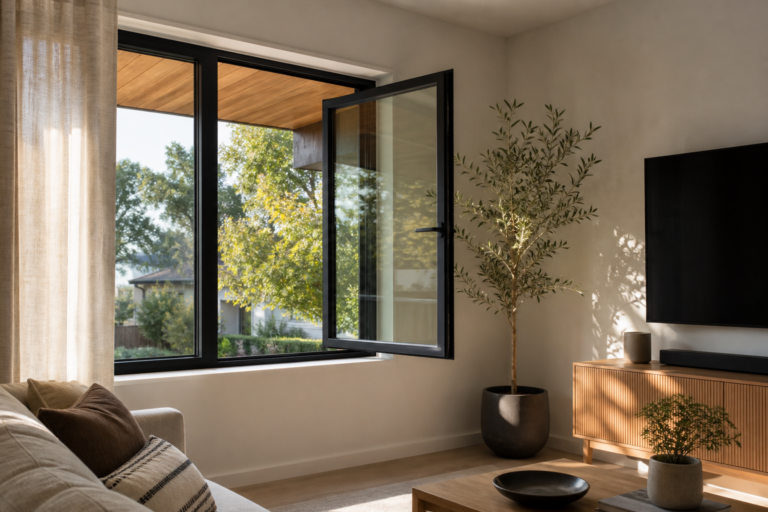
An 180 degree swing door can fold back alongside its wall, but the hinge angle alone does not prove that the opening is usable. The leaf, handle, frame reveal, stop still occupy space. Plan from the finished floor plan and the hardware schedule, then verify the open position on site.
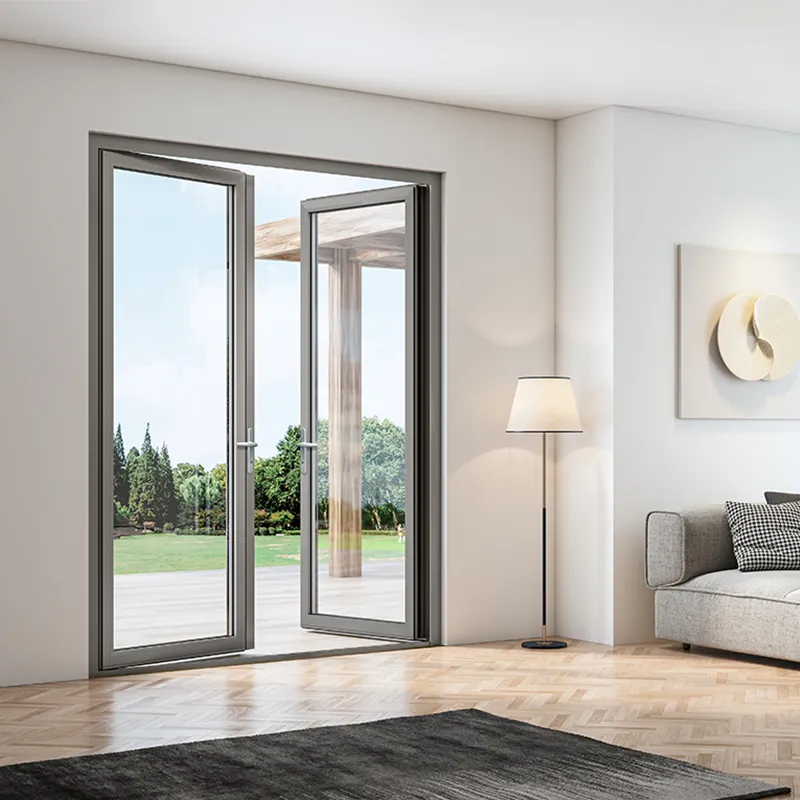
The phrase 180 degree swing door usually describes the hinge’s nominal travel. It does not promise a perfectly flush leaf, zero projection or a clear passage equal to the slab width. A realistic review asks two separate questions: how far can the hinge rotate, and what remains in the way when it reaches that angle?
Confirm what 180 degrees means
Read the hinge or pivot data sheet for the stated opening angle, handing and mounting condition. A hinge may reach 180 degrees only when the frame, wall and adjacent trim allow it. Some hinges stop earlier with a built-in limiter; others need a separate door stop. Record the angle from the manufacturer’s reference surfaces rather than measuring from a marketing sketch.
For example, SIMONSWERK’s Tectus concealed hinge range identifies hinge families and adjustment details by model. The relevant model must be selected for the door weight, dimensions and frame construction. Treat the published hinge angle as a component capability, then confirm the assembled door’s travel with the supplier drawing.
Measure usable clearance at the open leaf
Draw the finished jamb, stop and leaf in plan view. Add the slab thickness and any seal or weather strip that projects past the hinge knuckle. Then swing the leaf to its intended open position. The remaining corridor width is the usable clearance; it may be narrower than the nominal opening because the leaf or handle sits partly in the route.
Measure at floor level and at handle height. A skirting board, deep casing or wall protection rail can push the leaf away from the wall. If the door is glazed, note the sightline as well as the passage: a leaf that parks at an angle may still obstruct views or collide with a second opening.
Coordinate handles, reveals and stops
Handle projection is often the first overlooked conflict. Mark the handle envelope on the plan and check it against the return wall, radiator, cabinet or another door. Lever handles need operating room on the pull side; a recessed pull changes the envelope but does not remove the need for fingers and knuckles.
Keep the hinge side reveal consistent with the selected frame and seals. A tight reveal can cause binding as the door moves; an oversized reveal can reduce weather or acoustic performance. Ask for the required installation tolerance and the finished trim profile in writing.
Choose a stop that protects the wall and hardware without stealing the passage. GEZE’s TS 5000 door closer documentation shows how closing control and hold-open functions are specified as part of a door system. If a hold-open device is proposed, confirm its release behavior, mounting position and compatibility with the intended escape route.
Test the floor plan before ordering
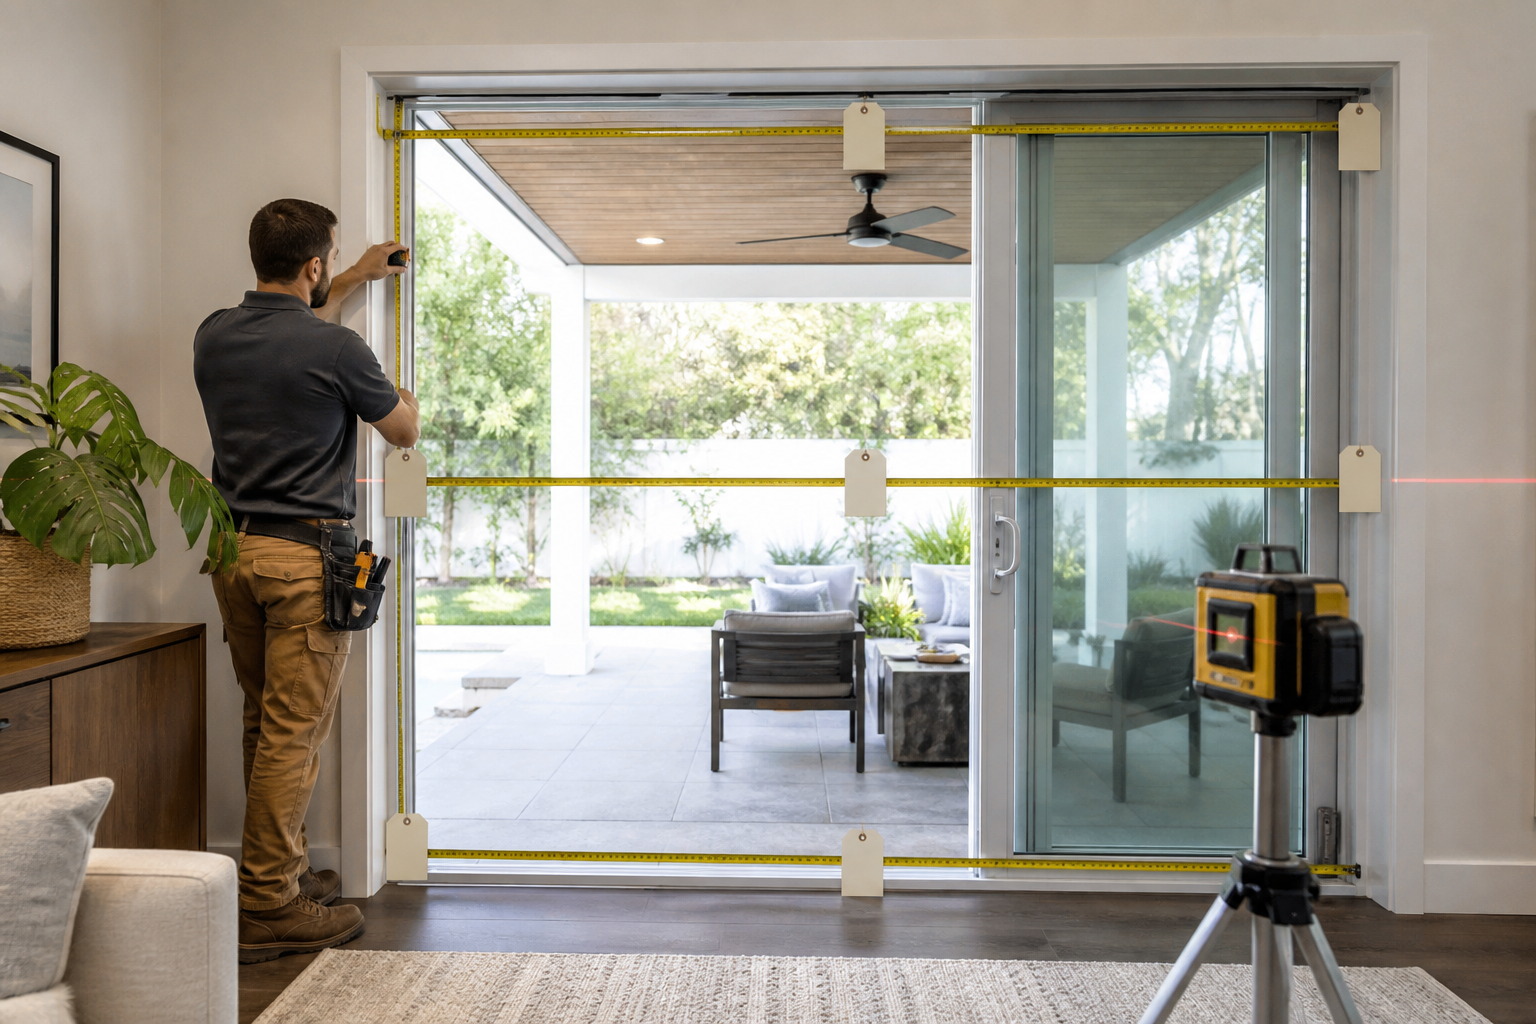
Use the finished dimensions, not rough framing. On the plan, draw the leaf at closed, 90-degree and intended maximum positions. Add furniture, switches, light fittings and circulation paths. Mark the handle side and the location where a user stands to pull or push. This exposes conflicts that a front elevation hides.
| Check | Record before approval |
|---|---|
| Hinge travel | Specified angle, handing and limiter setting |
| Open leaf | Leaf edge and thickness at the parked position |
| Handle envelope | Projection, grip space and collision points |
| Wall interface | Reveal, casing, skirting and protection rails |
| Stop or hold-open | Exact location, release method and service access |
| Clear route | Measured passage with furniture and adjacent doors shown |
Verify the installed result
Before handover, operate the door through its range. Check that the leaf reaches the approved position without scraping, that the handle clears nearby surfaces and that the stop catches before damage occurs. Confirm that seals engage when closed and that any closer does not pull the leaf away from the planned park position.
Photograph the open and closed positions, keep the final hardware schedule and note any field adjustments. If the built opening differs from the drawing, resolve the difference before adding trim or furniture.
Key takeaways
- Separate nominal hinge angle from usable clearance.
- Plot handles, reveals, stops and furniture in plan view.
- Specify hardware by model, load and mounting condition.
- Walk the installed door through its full travel before handover.
Frequently asked questions
Does a 180 degree hinge guarantee a flush open door?
No. The frame, wall, trim, seals and hardware can limit travel or leave the leaf projecting into the route.
How do I calculate usable clearance?
Draw the finished opening and the leaf at its parked position, then subtract every projection that occupies the circulation path, including the handle and casing.
Should I add a door stop?
Usually a stop is useful, but its location and release behavior must suit the wall, hardware and any required escape route. Confirm it on the approved drawing.
Use this checklist when discussing an 180 degree configuration with Forge Windows or another qualified supplier.