2026-08-14
Direct answer: When a Casement Window is difficult to crank, close, or lock, stop forcing it and document where resistance begins. Common areas to inspect include debris, sash alignment, hinges, operator arms, handles, weatherseals, locking points, and frame condition. Cleaning and observation are reasonable first steps, but hardware replacement or structural adjustment should follow product-specific instructions. This U.S.-focused guide helps owners and project teams describe the problem clearly to Forge Windows or a qualified service provider.
Key Takeaways
- Separate an operator problem from a hinge, alignment, seal, lock, or frame problem.
- Test the sash slowly and stop before excessive force damages hardware.
- Record the exact position where binding, scraping, or incomplete locking occurs.
- Use only approved cleaners, lubricants, parts, and adjustment procedures.
- Do not confuse hardware condition with verified whole-window energy performance.
How a Casement Window Operating System Works
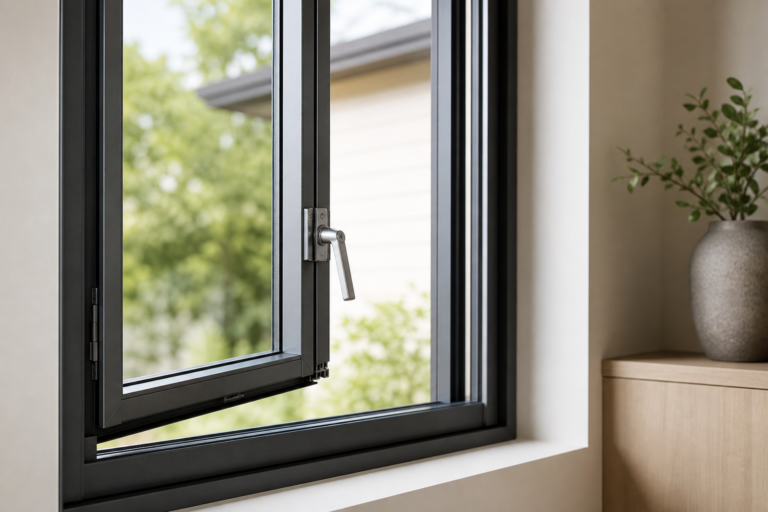
A typical casement assembly coordinates the handle, operator mechanism, arms, hinges, sash, weatherseals, and one or more locking points. A symptom at the handle can originate elsewhere because the operator must move and pull the entire sash into position. Paint, debris, loose components, distortion, or contact at one corner can increase force throughout the system. Identify the exact product before applying a generic repair.
Forge Windows presents examples including the Z75X Thermal Break Casement Window and 65 Series 1.8 mm Thermal Break Casement Window. Use these pages to identify configurations for discussion, not to assume identical hardware. Request the current parts list, operating instructions, adjustment sequence, and service limits for the installed series and size.
Match the Symptom to the First Safe Check
| Symptom | Possible area | First safe check |
|---|---|---|
| Handle turns but sash barely moves | Operator connection or excessive resistance | Stop and inspect visible arms and contact points |
| Sash moves but will not fully close | Debris, hinge, alignment, or seal interference | Observe perimeter gaps without forcing |
| Lock will not engage | Sash position, keeper alignment, or hardware | Confirm the sash reaches its normal closed position |
| Scraping at one corner | Hinge, frame, sash, or installation movement | Mark the contact location and request evaluation |
| Loose or spinning handle | Handle attachment or internal operator | Stop use and identify the exact replacement part |
The table is a diagnostic starting point, not a repair authorization. Water damage, frame movement, damaged glass, loose retention parts, or a sash that feels uncontrolled requires professional attention. Photograph the closed window, the problem position, the hardware, and the surrounding opening. Note weather conditions and whether the issue appeared suddenly or developed gradually.
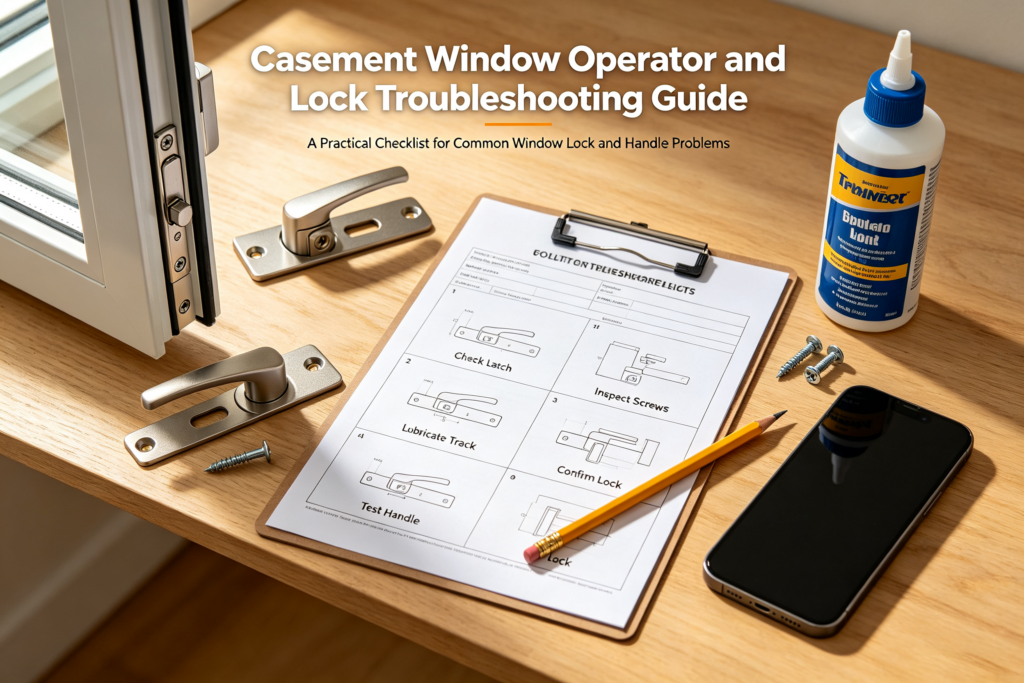
Step 1: Clean Accessible Areas Without Altering the Window
Remove loose dust and debris from accessible hinges, tracks, sill surfaces, locking points, and operator areas with nonabrasive tools. Protect weatherseals, finishes, glass edges, and drainage openings. Do not scrape coated surfaces or insert tools into concealed mechanisms. Use only cleaning products approved for the exact frame and hardware.
Do not automatically apply household oil or spray lubricant. Some components are sealed, some require a particular lubricant, and excess product can collect grit or affect finishes and seals. Ask for written guidance identifying the product, location, and quantity. Wipe away accidental residue before operating the sash.
Step 2: Observe Sash Alignment and Hardware Travel
Move the sash slowly through its normal range while keeping hands clear of hinges and pinch areas. Watch the operator arms, hinge points, sash corners, weatherseals, and locking edge. Record where resistance begins and whether it changes with the opening angle. Do not detach an arm or remove a sash without the approved procedure and suitable support.
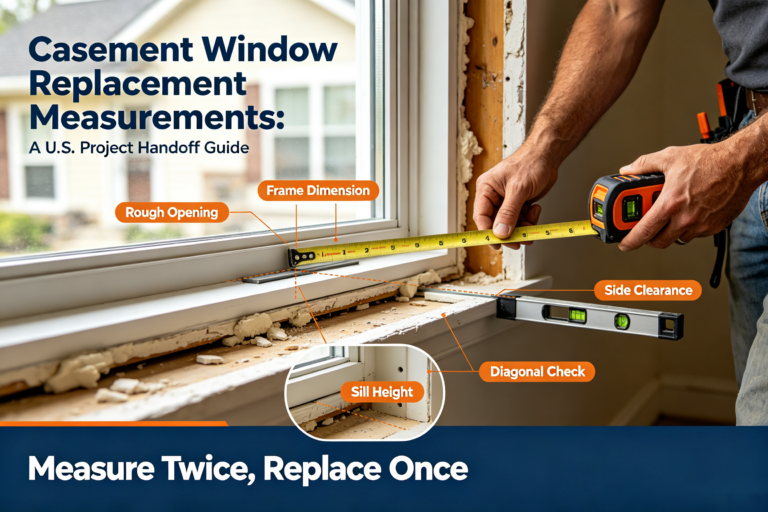
Compare the gaps around the sash in the closed position. Uneven gaps, visible contact, a shifted keeper, or a loose fastener can help a technician locate the issue, but adjustment must respect the product design. A window installed out of square can mimic a hardware failure. Review the field-measurement and installation handoff described in the Forge Windows Casement Window replacement guide.
Step 3: Test Closing and Locking as Separate Actions
The operator generally moves the sash, while the lock draws or secures it at designated points. Do not use the lock to overcome a sash that has not reached its proper closed position. Likewise, do not keep cranking after the sash is closed. Product-specific instructions should define the normal sequence and visual signs of engagement.
If one locking point engages and another does not, stop before bending hardware. Mark the affected location and check for obvious debris or displaced seals. A qualified technician can determine whether the cause involves a keeper, linkage, sash, frame, hinge, or installation condition. Replacing one visible part without correcting alignment can leave the original problem unresolved.
Keep Hardware Service Separate From Energy Claims
The National Fenestration Rating Council explains whole-product ratings in its residential guidance (accessed August 14, 2026). Hardware condition can affect normal closing and sealing, but a field observation does not establish a new U-factor, solar heat gain coefficient, visible transmittance, or air-leakage rating. Keep the original label and product records. Use configuration-specific documentation when comparing a replacement.
The NFRC Certified Products Directory (accessed August 14, 2026) can support product research when the exact configuration is identifiable. ENERGY STAR also publishes current residential fenestration criteria (accessed August 14, 2026). Do not claim certification based only on a series name or repaired hardware.
Service Request Checklist
- Product series, approximate size, location, and installation date are recorded.
- Photos show the entire window, hardware, contact point, and surrounding opening.
- The opening angle or sash position where resistance begins is documented.
- Closing and locking symptoms are described separately.
- Cleaning or previous service actions are disclosed.
- Glass, water, frame movement, or uncontrolled-sash concerns are flagged.
- The requested outcome is inspection, adjustment, approved parts, or replacement review.
Send the record through the Forge Windows contact page when the product may be a Forge Windows configuration. Avoid sending only a close-up of a broken component because the surrounding alignment often matters. Ask for product-specific service instructions and approved parts before disassembly.

Frequently Asked Questions
Why is my Casement Window hard to crank?
Resistance can come from debris, alignment, hinges, seals, operator parts, frame condition, or installation movement. Stop forcing it and document where the resistance begins.
Can I lubricate the operator?
Only with the approved lubricant and application method for that product. An unsuitable product can attract dirt or affect finishes, seals, and serviceability.
Why does the window close but not lock?
The sash may not be fully positioned, or a keeper, linkage, seal, hinge, or frame condition may be interfering. Do not use excessive lock force.
Can I replace only the handle?
Possibly, but first confirm whether the handle or the internal operator is damaged. Match the exact approved part and correct any underlying resistance.
When should I stop using the window?
Stop when glass is damaged, the sash is loose or uncontrolled, hardware detaches, water damage is present, or operation requires excessive force. Arrange qualified service.
Conclusion: Diagnose the Casement Window Before Replacing Parts
Casement Window operator and lock problems should be documented as a coordinated sash, hinge, seal, frame, and hardware issue. Clean accessible areas, observe movement, separate closing from locking, and avoid unapproved adjustments. Forge Windows can provide more useful guidance when the exact configuration, photos, and symptoms are supplied. Request the correct instructions or service path before replacing parts.