2026-08-15
Direct answer: Casement Window weatherstripping should be inspected for dirt, compression loss, tears, shrinkage, loose corners, paint, and uneven sash contact before replacement is considered. Clean only with approved products, document the profile and location, and correct alignment or hardware problems that prevent uniform compression. Do not install generic foam or adhesive seals over the original system. This guide helps U.S. owners and contractors prepare a precise service request for Forge Windows.
Key Takeaways
- Identify every seal location and profile before removing anything.
- Distinguish damaged weatherstrip from sash, hinge, lock, or frame misalignment.
- Protect drainage paths and do not add unapproved seal material.
- Use exact replacement parts and the manufacturer’s installation sequence.
- Keep field observations separate from verified whole-window ratings.
What Casement Window Weatherstripping Does
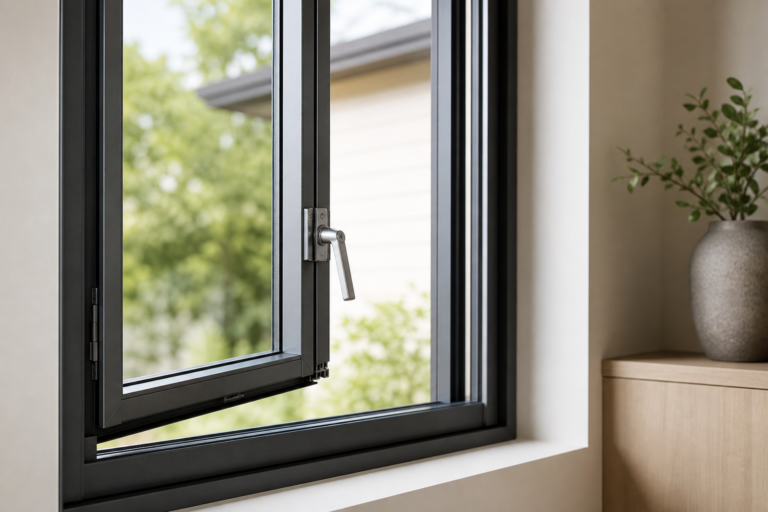
Weatherstripping helps manage air movement and water at operable joints while allowing the sash to open, close, and lock. A casement assembly may use more than one profile around the sash, frame, meeting surfaces, or hardware zones. Each piece has an intended orientation and compression. Substituting an incorrect shape can increase operating force or leave gaps.
Forge Windows shows casement configurations such as the Z75X Thermal Break Casement Window and 65 Series 1.8 mm Thermal Break Casement Window. Use these pages to identify a possible series, not to assume identical seals. Request the exact parts diagram, profile, material guidance, corner treatment, and replacement procedure for the installed unit.
Inspect the Seal Before Removing It
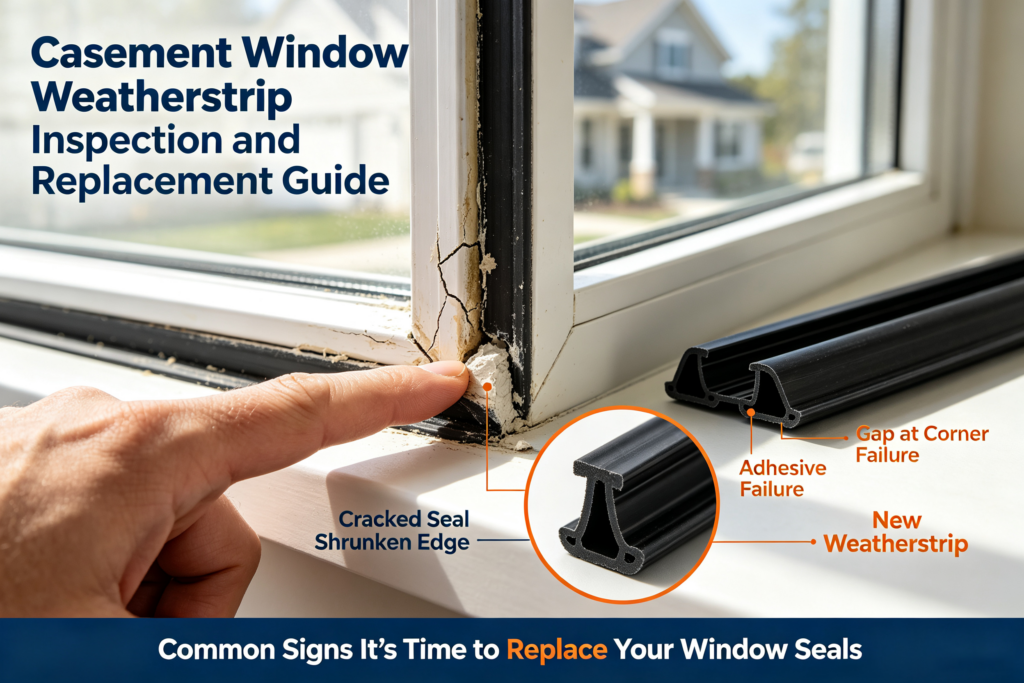
| Observation | What it may indicate | Next step |
|---|---|---|
| Loose corner | Displaced seal or failed connection | Photograph orientation and request the approved repair |
| Flat or polished area | Repeated compression or sash contact | Check alignment and lock engagement |
| Tear or missing section | Mechanical damage or deterioration | Identify the exact replacement profile |
| Paint or sealant on gasket | Previous finishing or field modification | Ask how to remove contamination safely |
| Uneven perimeter gap | Possible hinge, sash, frame, or installation issue | Evaluate geometry before replacing the seal |
Photograph the entire Casement Window closed, then capture the hinge side, locking side, head, sill, corners, and affected profile. Mark the location on a simple elevation. Note whether the issue appears only during cold weather, after rain, or when the lock is difficult to engage. A pattern helps separate material damage from alignment and moisture conditions.
Clean Without Damaging the Weatherstrip
Remove loose dust with a soft cloth or brush and use only products approved for the frame, finish, glass, and gasket. Avoid sharp tools, strong solvents, abrasives, and high-pressure washing. Do not stretch the seal while cleaning. Allow surfaces to dry before testing sash operation.
Inspect visible drainage openings at the same time, but do not drill, enlarge, or probe concealed passages. Added caulk, foam, or tape can block drainage and alter sash compression. If water collects or staining continues, evaluate the surrounding opening and wall rather than assuming weatherstrip alone is the source. Persistent water deserves qualified building-envelope review.
Check Alignment and Locking Compression
A new gasket cannot correct a sash that does not reach its intended closed position. Move the sash slowly and observe hinges, operator arms, corners, weatherseals, locks, and keepers. Compare perimeter gaps and note any scraping or sudden resistance. Do not use the lock to force a misaligned sash into place.
The Forge Windows Casement Window operator and lock guide provides a separate diagnostic checklist. Use it before ordering seals when closing or locking is difficult. A technician may need to address alignment, hardware, frame condition, or installation before the replacement weatherstrip can compress correctly.
Select the Exact Replacement Profile
Record the product series, approximate size, sash handing, seal location, color, attachment method, and cross-sectional shape. Do not cut away a sample unless the supplier authorizes it. If a sample is required, protect the opening and label the piece with its orientation. Confirm whether corners are joined, notched, welded, or continuous.
Generic adhesive foam can interfere with locks, hinges, drainage, and original compression seals. An oversized profile may prevent closing, while an undersized profile may not contact the mating surface. Request the approved part and installation instructions. Define who will remove the old material, clean the groove, install corners, and verify operation.
Understand Ratings and Field Conditions
The National Fenestration Rating Council explains whole-product performance metrics in its residential guidance (accessed August 15, 2026). A visual weatherstrip inspection does not establish a new U-factor, solar heat gain coefficient, visible transmittance, or air-leakage rating. Original ratings apply to documented product configurations and test conditions. Keep the product label and records with the service file.
The NFRC Certified Products Directory (accessed August 15, 2026) can support configuration research. ENERGY STAR also publishes current residential fenestration criteria (accessed August 15, 2026). Do not claim that replacing a seal alone creates certification or guarantees a specific field result.
Weatherstrip Service Checklist
- Product series, opening mark, size, and handing are recorded.
- Every seal location and profile is photographed before removal.
- Damage, contamination, compression, and corner conditions are documented.
- Sash alignment, hinges, operator, locks, and keepers are checked.
- Drainage paths remain open and unmodified.
- The exact replacement part and procedure are approved.
- Final closing, locking, contact, and drainage checks are assigned.
Send the labeled photographs, product information, symptoms, and requested service outcome through the Forge Windows contact page. Ask for the correct seal profile and instructions rather than requesting “universal weatherstrip.” Keep the response with the completed service record.
Frequently Asked Questions
How do I know if Casement Window weatherstripping is worn?
Look for tears, missing sections, loose corners, shrinkage, permanent flattening, contamination, or uneven contact. Confirm that alignment and locking are normal before blaming the seal.
Can I add adhesive foam over the existing seal?
Not without approval. Added material can prevent closing, overload hardware, block drainage, and interfere with the original sealing system.
Should weatherstrip be lubricated?
Only if the manufacturer specifies an approved product and location. The wrong substance can attract dirt or damage seals and finishes.
Why does a new seal not stop the draft?
The cause may involve alignment, hardware, frame movement, installation, perimeter sealing, or another opening. A replacement gasket cannot correct every source.
When should a professional handle replacement?
Use qualified service when the sash is large, elevated, loose, misaligned, difficult to control, or when glass, water, frame, and hardware concerns are present.
Conclusion: Treat Casement Window Weatherstripping as a System
Casement Window weatherstrip replacement should follow inspection of the seal, sash, hinges, operator, locks, frame, drainage, and installation. Clean carefully, avoid generic additions, and match the exact approved profile. Forge Windows can give more useful guidance when photographs and product details are complete. Confirm the replacement procedure and test normal operation before closing the service record.