2026-08-29
Direct answer: A casement window hardware schedule should identify the operator, handle, hinges, locking system, keepers, opening controls, screens, finish, handing, adjustment limits, replacement-part references, and required operation checks for each opening. Specify the hardware as a coordinated system tied to the exact window size and configuration, not as a list of generic accessories.
This guide is for architects, builders, purchasing teams, owners, and service coordinators preparing a U.S. project schedule. It explains what to request and verify; it does not promise that a component fits every Forge Windows series, certify accessibility, or authorize field modification.
Key Takeaways
- Give every opening a hardware set number linked to the window mark, size, handing, glass, screen, and finish.
- Separate operating, supporting, locking, limiting, and service components so omissions are visible.
- Record the approved manufacturer part reference and revision rather than ordering by appearance.
- Coordinate reach, force, clearance, child-safety, rescue-opening, and cleaning needs before approval.
- Commission the complete sash-and-hardware system after installation; a smooth sample does not prove every installed unit.
What Counts as Casement Window Hardware?
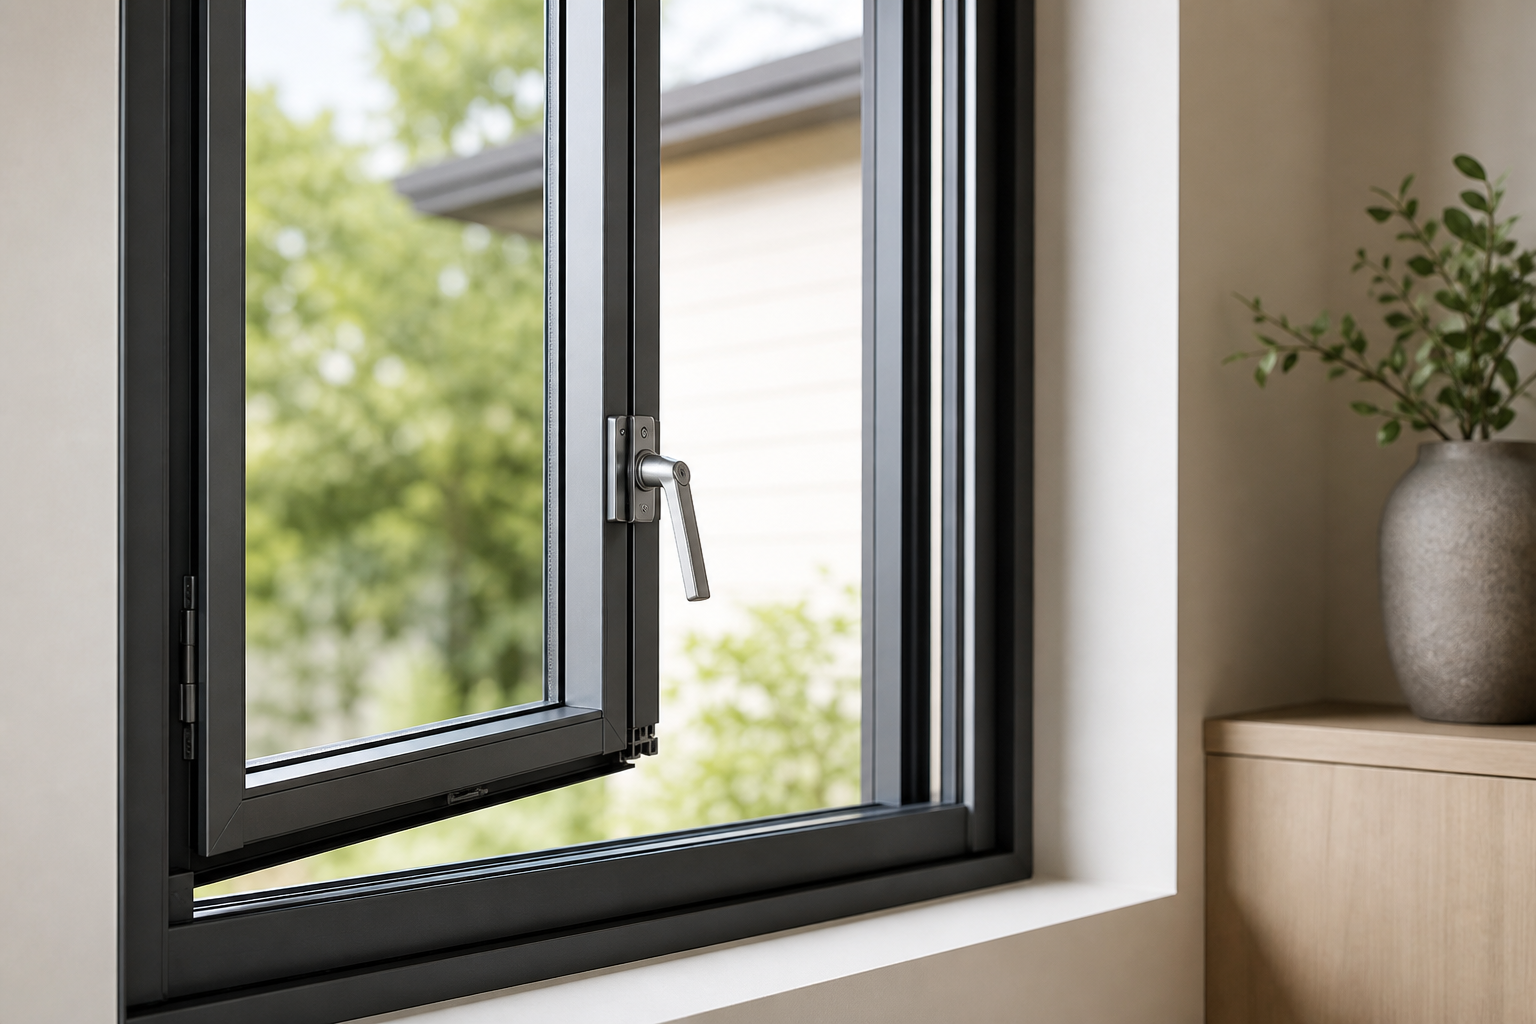
Casement window hardware includes more than the visible handle. Depending on the system, it may include an operator and arms, handle or crank, hinges or stays, locking handle, rods, cams, keepers, friction or opening controls, restrictors, guards, screen retainers, sash supports, fasteners, covers, and adjustment points. The exact arrangement depends on the product, sash size and weight, opening direction, performance configuration, and intended use.
Begin with the broader casement window selection specification, then issue a separate hardware set for each repeated configuration. Avoid statements such as “standard hardware” unless the contract documents define what that phrase includes. If two windows look alike but differ in handing, screen position, restrictor, finish, or sash load, their hardware sets may not be interchangeable.
| Hardware group | Schedule entries | Approval question |
|---|---|---|
| Operation | Operator type, arm geometry, handle, rotation or push sequence | Can the intended user operate the full range without a conflict? |
| Support | Hinge or stay type, quantity, position, load or size limits | Does the approved component match the proposed sash? |
| Locking | Handle, rods, cams, keepers, locking points, sequence | Does the sash close evenly against the seals? |
| Control | Restrictor, opening-control device, guard, release and reset | Are safety and emergency-use requirements coordinated? |
| Screen | Location, frame, mesh, retainers, removal method, finish | Does it clear the handle and preserve drainage and seals? |
| Service | Part reference, revision, finish, lubricant, adjustment, spares | Can the owner identify and request the correct replacement? |
Build One Hardware Set for Each Window Configuration
Use a hardware-set code such as CW-H01 only as an index. The schedule line should also name the opening marks served by that set and reference the approved product drawing. A useful entry records viewing direction, hinge jamb, sash swing, frame and sash size, glass build-up, screen location, handle height, nearby obstructions, finish, and hardware components.
- Identify the opening. List the room, elevation mark, quantity, size, handing, and drawing revision.
- Name each component. Use the manufacturer’s approved name and part reference for the proposed series and configuration.
- State interfaces. Show where operators, hinges, keepers, controls, screens, seals, and drainage paths meet the frame and sash.
- Record limits. Include approved sash-size or load ranges, opening angles, adjustment limits, fasteners, and service boundaries when documented.
- Define finishes. Coordinate exposed color, sheen, corrosion environment, cleaning products, and sample approval.
- Assign verification. State who reviews submittals, checks installed operation, resolves exceptions, and receives spare parts and instructions.
Coordinate Operability, Reach, and Safety
Place the handle and controls in the room elevation, not only on a window detail. Counters, backsplashes, deep sills, furniture, guards, blinds, and screens can make otherwise suitable hardware difficult to reach. Where accessibility requirements apply, the U.S. Access Board operable-parts guide explains clear floor space, reach ranges, one-hand operation, grasping and wrist-twisting limits, and activating force. The responsible design team must determine the applicable scoping and test method.
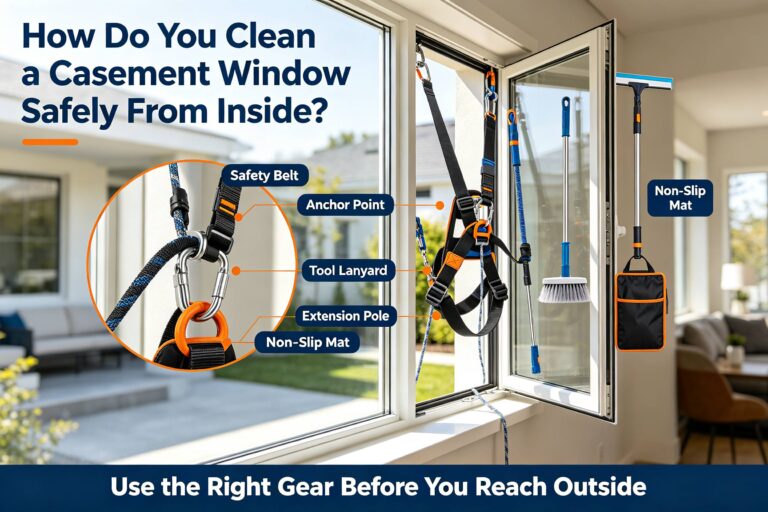
Coordinate opening controls and fall-protection devices with the room use and emergency-opening requirements. Do not assume that a limiter or guard can be added later without affecting the sash, frame, hardware travel, or approved testing. Product identity and traceability also matter: the U.S. Consumer Product Safety Commission’s 2026 casement opening-control recall illustrates why owners should retain labels, part references, manufacture information, and service instructions for the exact device they own.
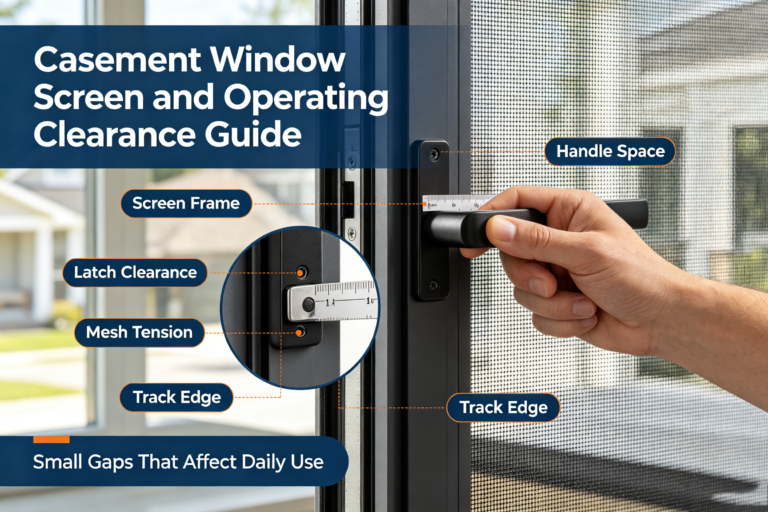
Screen hardware needs the same attention. Use the Forge Windows screen and operating-clearance guide to document handle clearance, attachment, removal, storage, cleaning, and drainage. Never drill, magnetize, clip, or modify the frame without written approval for the exact system.
Review Hardware Submittals and Substitutions
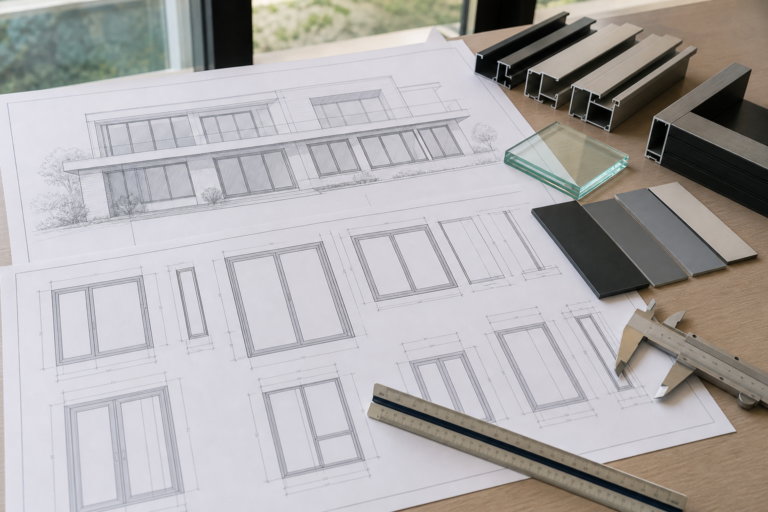
A submittal should connect the schedule to current product drawings, component data, finish samples, installation instructions, and operation or maintenance procedures. Ask the supplier to highlight deviations from the specified set. A catalog page for a component is not enough if it does not show compatibility with the proposed sash size, handed arrangement, frame, locks, and performance documents.
Evaluate a substitution as a system change. Confirm geometry, attachment, material compatibility, corrosion environment, operating sequence, force, opening limits, lock engagement, screen clearance, seal compression, drainage, warranty, service access, and replacement availability. Do not accept “equal” solely because a handle looks similar or mounts with the same number of screws.
Keep energy and weather claims separate from the hardware schedule. The National Fenestration Rating Council residential certification program evaluates documented product configurations through standardized simulation, testing, certification, labeling, and inspection. A field hardware change should not be described as preserving a rating unless the supporting record covers that exact change.
Commission the Installed Hardware Set
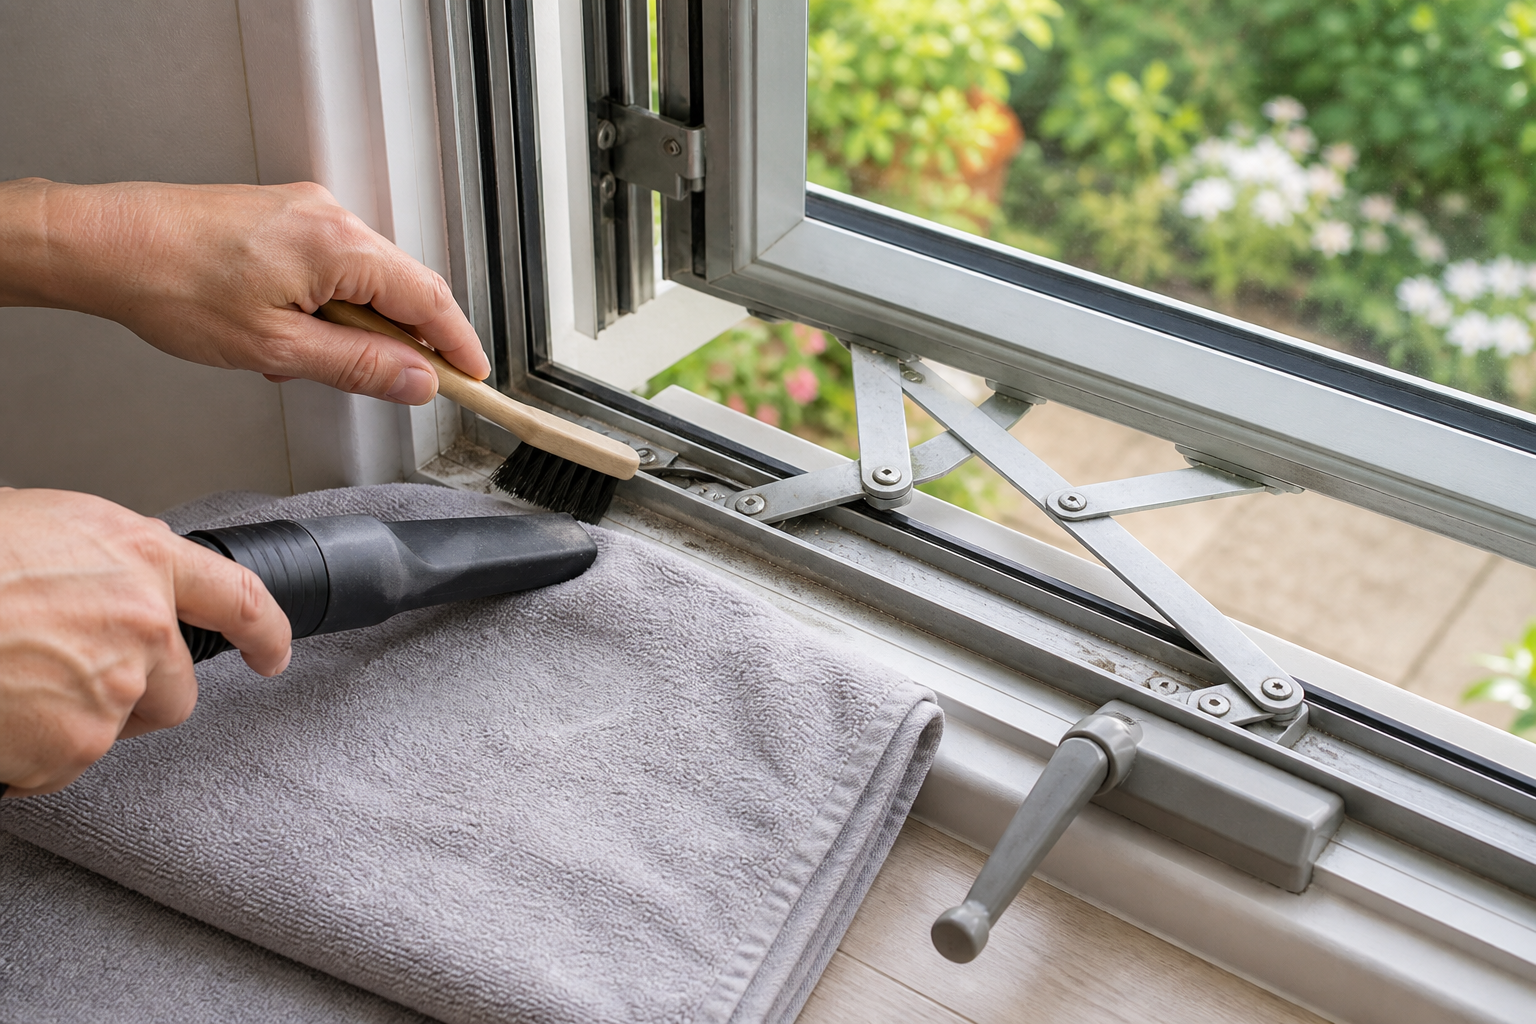
After installation and surrounding finishes are complete, test each opening through its full normal sequence. The operator should move without forcing, hinges should support the sash consistently, locks should engage their keepers, controls should release and reset as intended, and the screen should install and remove without contacting the hardware. Compare the result with the approved drawing and the supplier’s adjustment procedure.
If the handle turns but the sash binds, the source may be frame distortion, hinge alignment, seals, debris, or lock position rather than the operator alone. Use the casement operator and lock troubleshooting guide to document symptoms before changing parts. Stop when operation requires abnormal force, hardware is loose or damaged, or the sash cannot be supported safely.
The owner handoff should include the final schedule, approved drawings, component list, finish and cleaning guidance, adjustment boundaries, replacement procedure, supplier contacts, warranty terms, spare parts, and an opening-by-opening exception log. Photograph labels and concealed part locations before trim or covers hide them. Record any future replacement under the same opening mark so service history remains traceable.
Frequently Asked Questions
Can casement window hardware be mixed between brands or series?
Do not assume it can. Similar-looking operators, hinges, locks, or keepers may differ in geometry, load range, fasteners, finish, travel, and frame interfaces. Use the approved part reference and written compatibility confirmation for the exact window series, size, handing, and configuration.
Is a multipoint lock always better?
No. The number of locking points alone does not establish performance. Keeper alignment, sash stiffness, frame squareness, gasket contact, operating force, and the documented tested configuration all matter. Specify the complete locking system and verify even engagement after installation.
What should be recorded for replacement hardware?
Record the product and opening mark, component name, manufacturer part reference, revision, handing, finish, mounting position, fasteners, adjustment instructions, compatibility approval, installation date, and reason for replacement. Add photographs of labels and the installed orientation.
Who should adjust casement window hardware?
Follow the product instructions and project handoff. Cleaning and observation may be owner tasks, while sash support, hinge work, operator removal, lock alignment, safety-device service, or work at height may require a trained installer or qualified service provider.
Conclusion
A complete casement window hardware schedule connects every component to an opening mark, product drawing, user requirement, safety condition, finish, service record, and acceptance test. Approve hardware as a coordinated sash-and-frame system, commission every installed unit, and retain the exact part references so later service does not depend on appearance or guesswork.