2026-09-15
Exterior glass sliding walls in exposed locations need a coordinated water-management detail: a suitable tested door assembly, a drained opening, and a clear route for water to reach the exterior. Before ordering, review the sill section together with the patio level, wall flashing and drainage outlets. A flush-looking threshold alone does not establish weather performance.
Key takeaways: Match test evidence to the proposed configuration. Trace drainage through the frame and beneath it. Resolve flashing transitions before finishes conceal them. Assign responsibility for inspection, testing and owner handover.
Describe the exposure before choosing the sill
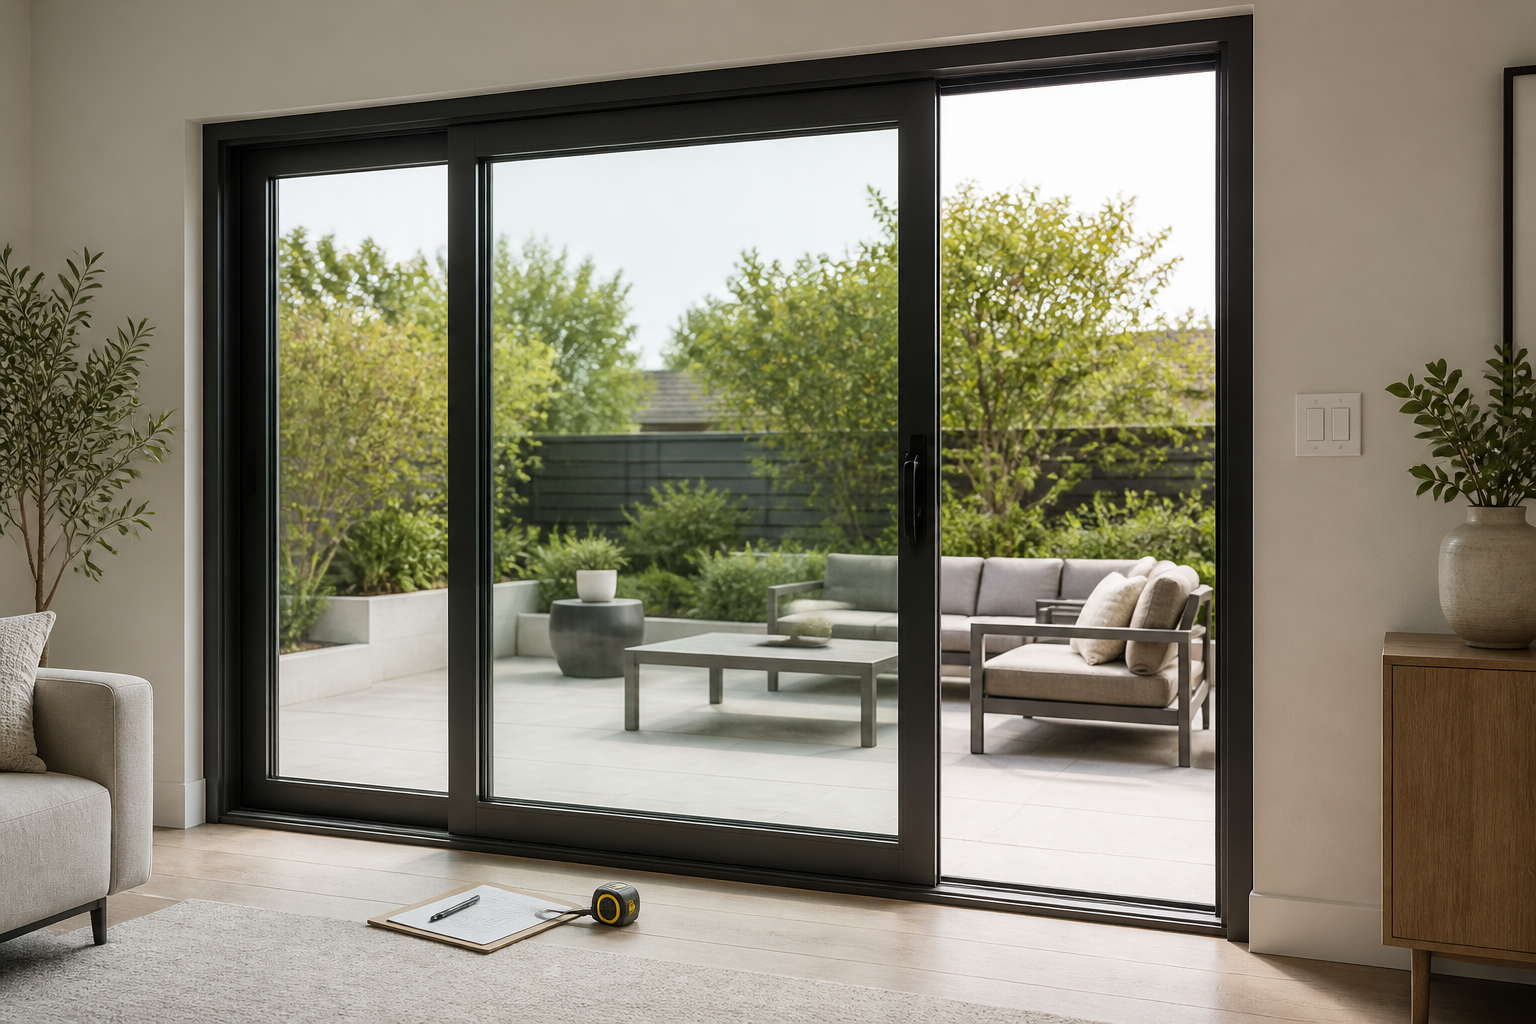
Give the design team photographs and a section through the opening. Identify overhangs, nearby roof runoff, exterior paving, irrigation and any location where water already collects. Include the project address and building height so the responsible professional can determine the applicable design conditions.
A sheltered showroom example is a poor basis for approving an uncovered terrace. Ask the supplier to identify the sill options available for your exposure and explain any restrictions. If indoor and outdoor floors must align visually, settle that requirement while the slab recess and exterior drainage can still be designed.
Read the water-test evidence for the assembly
Request the report or certification covering the proposed system. Have the supplier identify the tested size, panel arrangement, sill, seals and relevant water-test pressure. Ask how those details relate to your larger opening or different track count; do not assume that a report for one configuration covers every variation.
The FGIA laboratory accreditation program distinguishes laboratory air-water-structural testing from field-testing capabilities. That distinction matters when writing the specification: evidence about a product and a check of the completed installation answer different questions. Have the project professional specify the applicable test method, pressure and acceptance criteria rather than selecting a number from an unrelated brochure.
Trace two drainage paths on the section
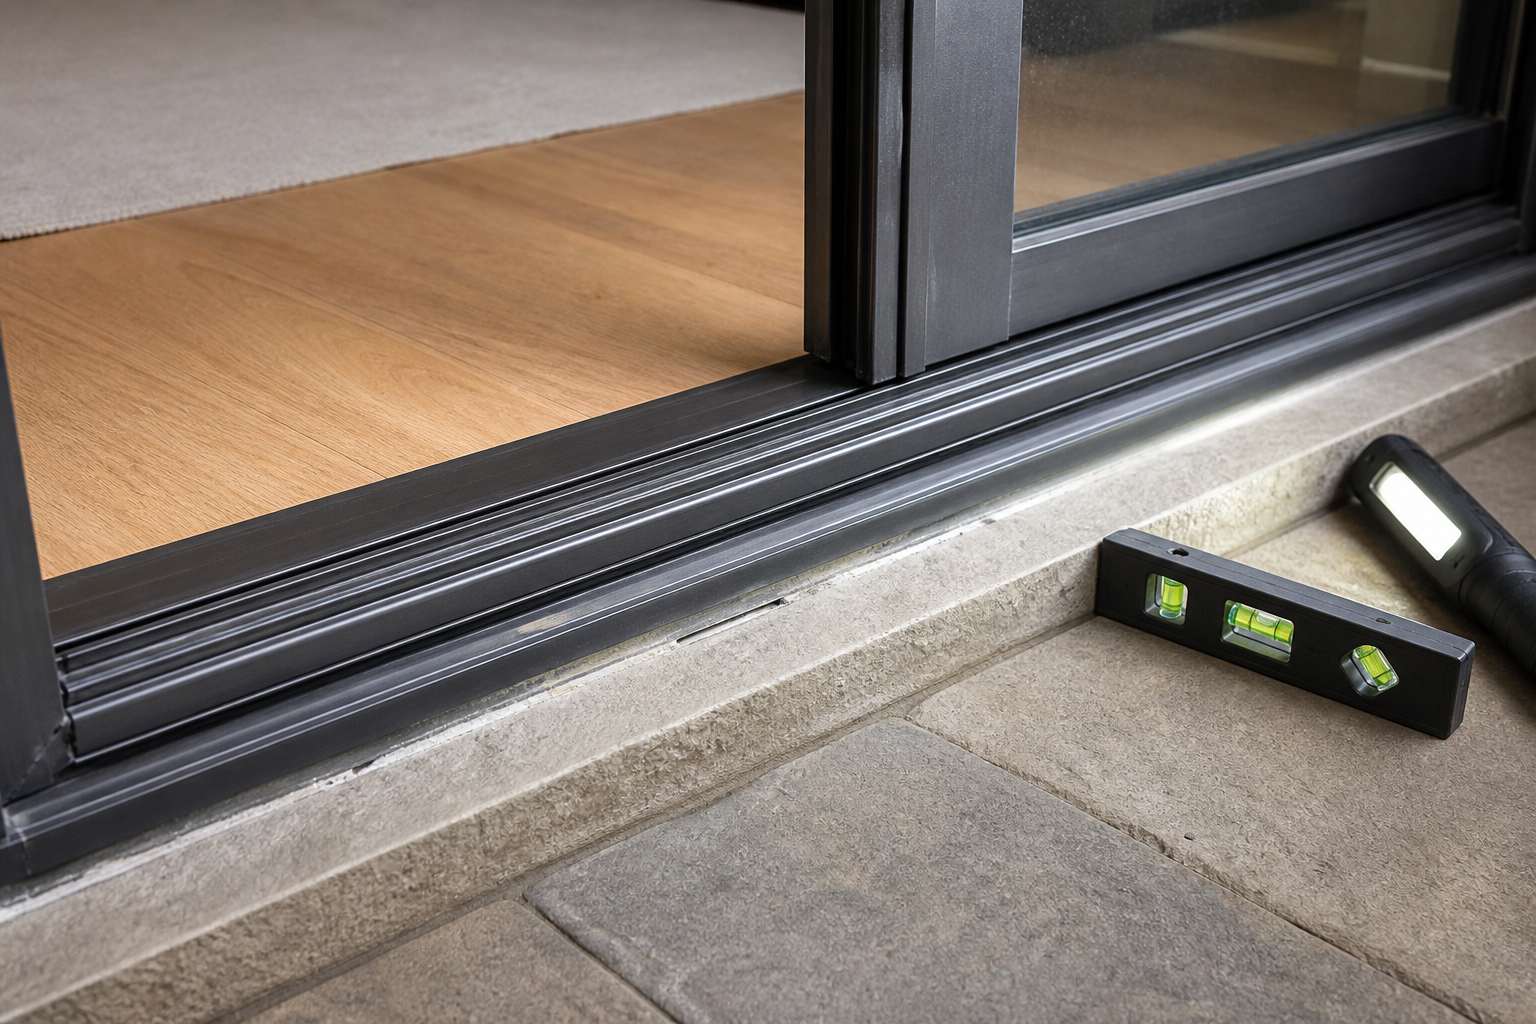
Start with water handled inside the frame. Ask the manufacturer to mark the collection chambers, weeps and outlet locations on the sill drawing. Then trace the separate route for water reaching the rough opening beneath or around the frame. Both routes need an identified discharge point.
The DOE-hosted Building America guide to pan flashing explains that a drained opening collects incidental leakage and directs it outside. Its pan-flashing principles include a durable waterproof surface, a back dam or positive outward slope, end dams, and a connection over the drainage plane below.
Use those principles to review the project-specific detail with the installer. Ask where sill support, anchors and sealant occur, and how they coexist with drainage. An exterior sealant line should not be improvised across an intended outlet. Conversely, leaving a random gap is not a drainage design; follow the approved assembly and installation details.
Hold a flashing review before installation
Bring the door installer, waterproofing contractor and person responsible for exterior finishes to the same review. Give each one the current sill, jamb and head sections. Resolve who supplies the pan, prepares the substrate and approves concealed work before the delivery date.
| Review point | Question to close |
|---|---|
| Sill corners and joints | How are seams, end conditions and penetrations detailed? |
| Jamb and head transitions | Where does each flashing layer connect to the wall water-control layer? |
| Exterior finish height | Will paving, trim or render obstruct the drainage outlets? |
| Material compatibility | Who confirms sealant, membrane and substrate compatibility? |
| Inspection timing | Which details must be photographed before they are covered? |
Make drainage part of the handover
Before accepting the work, walk the opening with the installer. Have them point out accessible weeps and explain the approved cleaning method. Collect photographs of concealed flashing, final installation drawings, product identification and maintenance instructions. Record any outstanding adjustment or finishing work with a named owner.
If field water testing is specified, schedule it while repairs remain accessible and retain the results. A casual hose spray is not a substitute for the agreed test protocol. After landscaping and paving are complete, inspect the outlets again: the installation review should include the finished surroundings, not just the bare frame.
Frequently asked questions
Can exterior glass sliding walls have a flush threshold?
Possibly, but ask for the exact sill detail and applicable test evidence. Coordinate the slab recess, floor levels and drainage before approving the appearance.
Should the installer seal every opening in the sill?
No. Identify the manufacturer’s drainage outlets first. Sealant placement must follow the approved installation detail so intended weeps remain functional.
Does a product water-test report prove the installation will not leak?
No. Review what the report covers, then address flashing, site interfaces and any specified field testing separately.
Prepare the drawing before requesting the final quote
Gather an opening section, exposure photographs and your preferred floor relationship. Review the Forge Windows product range, then send the project information through Forge Windows with a request for the proposed sill detail and supporting test documentation.