2026-08-29
Direct answer: Identify casement window parts by product series, opening mark, component location, handing, installed orientation, label or stamped reference, and the symptom observed through normal operation. Do not order from appearance alone: a stiff handle may point to the operator, hinges, locks, seals, frame alignment, or debris, and replacing the wrong part can leave the cause unchanged.
This field guide is for homeowners, facility teams, installers, and buyers preparing a service request. It maps symptoms to inspection zones and documentation needs; it does not authorize sash removal, hidden-hardware work, glass repair, structural adjustment, or substitution between brands and series.
Key Takeaways
- Start with the exact window identity and opening mark before naming a replacement part.
- Describe when the symptom begins, where contact occurs, and whether it changes during opening, closing, or locking.
- Inspect the sash, frame, operator, hinges, locks, seals, screen, glazing, drainage, and wall connection as related zones.
- Photograph labels, stamped numbers, fastener patterns, orientation, and adjacent parts before disassembly.
- Use only the approved component and service procedure; stop when the sash, glass, safety device, or work access cannot be handled safely.
Build a Casement Window Parts Map Before Troubleshooting
A casement window is a side-hinged operating type. The U.S. Department of Energy’s residential window glossary defines a casement as a window that swings inward or outward on side hinges. For project work, that definition is only the starting point; the supplier’s drawing controls the names and references used for the exact unit.
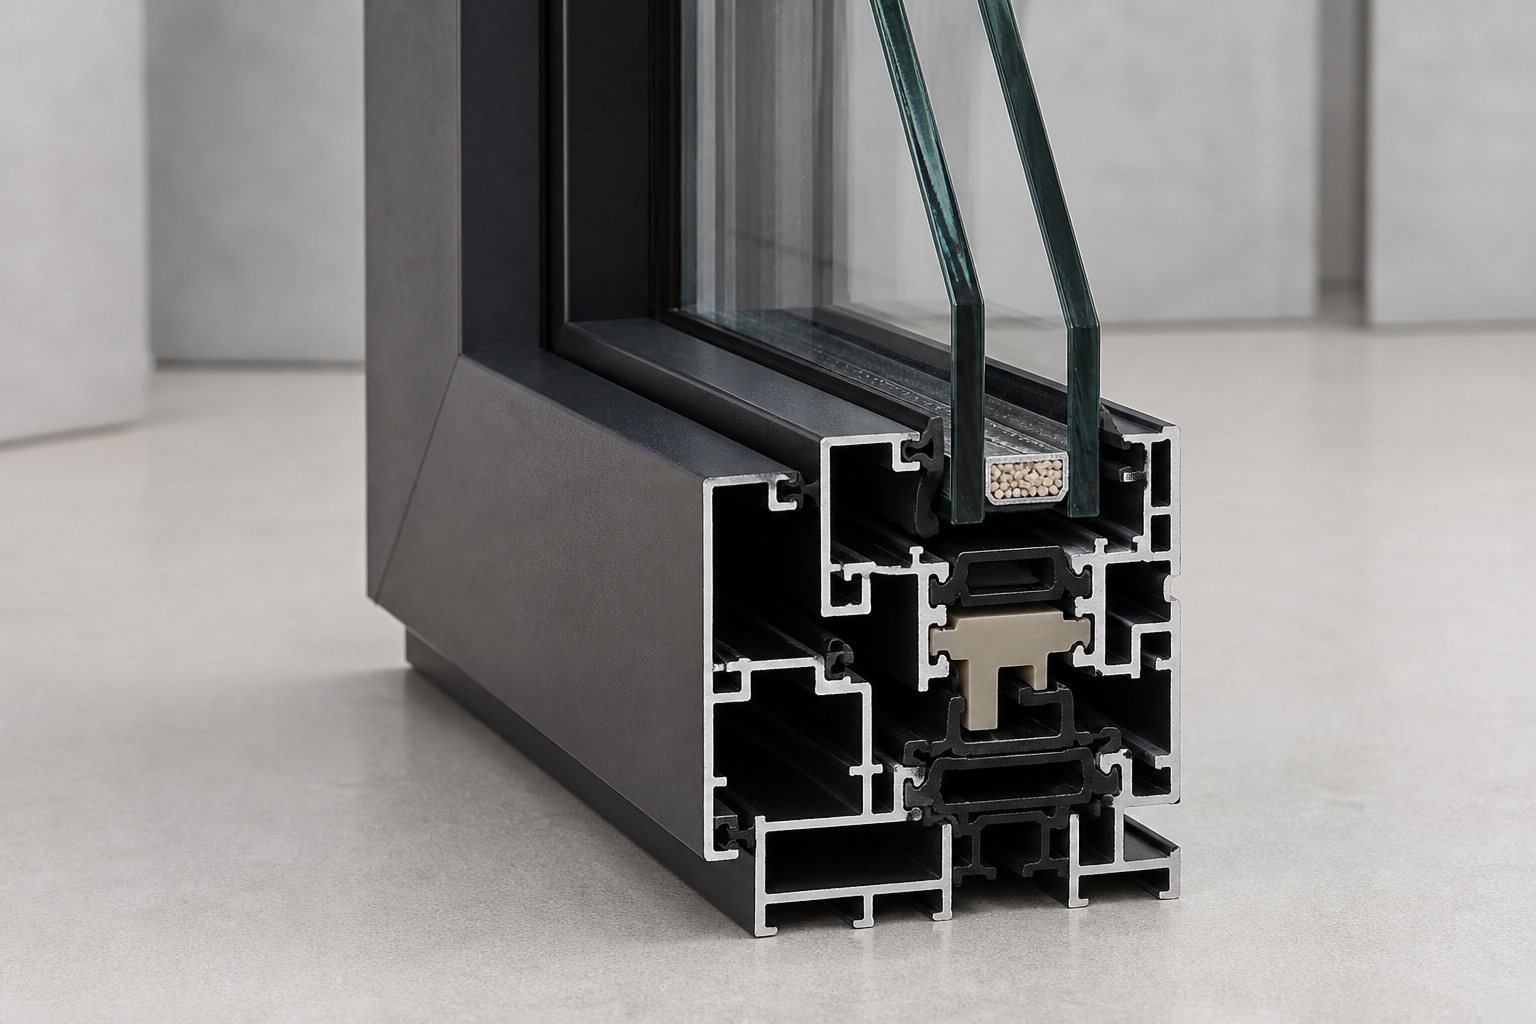
Use the Forge Windows guide to casement window parts and operation for basic anatomy, then make an opening-specific parts map. Mark the head, sill, hinge jamb, locking jamb, frame, sash, glass, glazing beads or gaskets, weatherseals, operator, arms, handle, hinges or stays, lock, rods, cams, keepers, restrictor, screen, retainers, drainage openings, perimeter joints, and adjacent wall finish.
| Inspection zone | Typical parts | Evidence to collect |
|---|---|---|
| Operating zone | Handle, crank, operator housing, gears, arms, slides | Handle position, travel, noise, resistance point, labels |
| Hinge zone | Hinges, stays, tracks, pivots, sash supports | Sag, loose fasteners, wear, debris, orientation, clearances |
| Locking zone | Handle, rods, cams, rollers, keepers, covers | Engagement sequence, offset, contact marks, missing pieces |
| Seal zone | Weatherstrip, gaskets, corners, compression surfaces | Profile, location, tears, flattening, gaps, contamination |
| Glazing zone | Insulated glass, setting components, beads, glazing gaskets | Cracks, fogging location, edge condition, labels, movement |
| Frame and drainage | Profiles, joinery, weeps, cavities, anchors, perimeter joints | Twist, damage, blocked paths, sealant condition, water marks |
Match Symptoms to Components Without Guessing
Operate the window slowly and stop before excessive force. Note whether the symptom occurs while unlocking, beginning to open, moving through mid-travel, reaching the full intended position, beginning to close, pulling the sash against the seals, or locking. The position and sequence often narrow the inspection zone more reliably than the user’s first part name.
| Observed symptom | Possible inspection zones | Safe first record |
|---|---|---|
| Handle turns but sash barely moves | Operator connection, arm, hinge resistance, sash contact | Video the handle and visible arm travel without forcing |
| Sash drops or rubs at one corner | Hinges, stays, fasteners, frame square, sash condition | Photograph reveals and contact marks at several positions |
| Sash closes but will not lock | Keepers, cams, rods, sash alignment, seal compression | Record which locking point misses or binds |
| Draft or light at one edge | Weatherstrip, lock engagement, hinge position, frame twist | Map the location; do not add generic adhesive foam |
| Water at sill | Drainage, exterior joint, flashing, seals, condensation, wall | Record weather, location, path, timing, and drainage condition |
| Screen will not seat | Screen frame, retainers, handle clearance, frame distortion | Photograph corners, retainers, orientation, and interference |
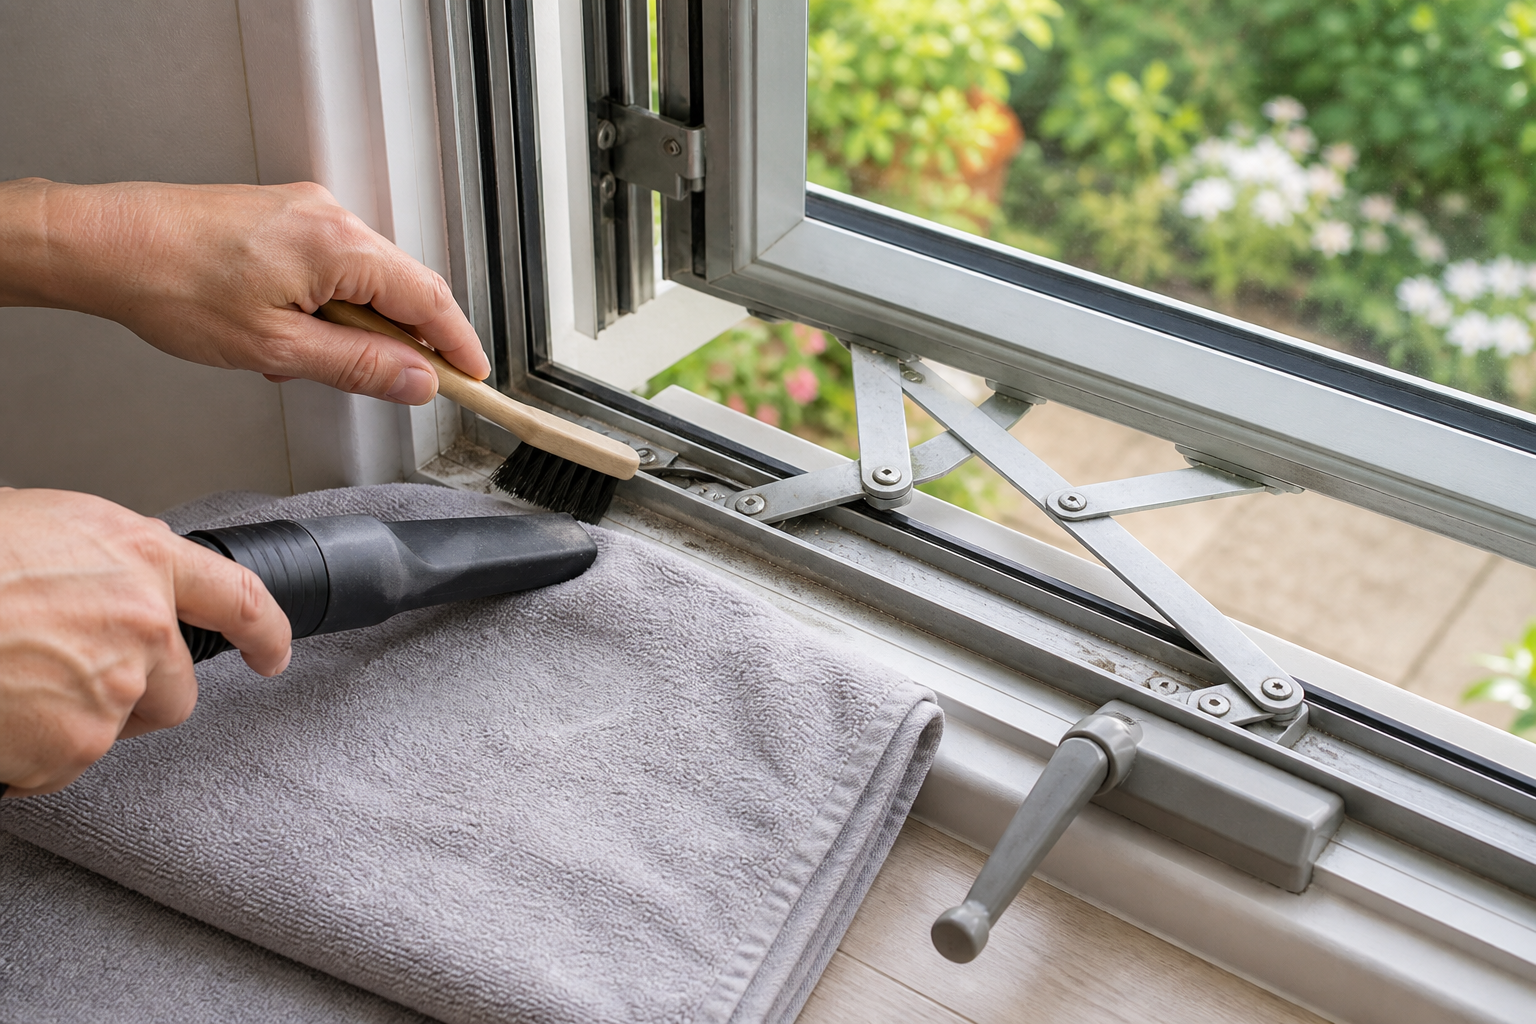
The Forge Windows operator and lock troubleshooting guide provides a safe observation sequence. Do not disconnect arms, remove a sash, loosen structural fasteners, pry glazing, or alter a safety device without the approved instructions, suitable support, and a qualified person where required.
Create a Replacement-Parts Request That Can Be Verified
A useful request begins with the project, room, opening mark, product series, approximate installation date, frame size, sash size, handing, color, glass description, screen, and visible labels. State whether the view is from indoors or outdoors. Add full-window photographs plus close views of the component, mounting pattern, adjacent parts, stamped marks, and installed orientation.
- Describe the symptom. Write what happens, when it begins, and whether it is repeatable.
- Name the zone, not an unverified part. For example, say “resistance begins as the operator arm changes direction” instead of declaring “bad crank.”
- Capture identity. Photograph window labels, etched or stamped references, opening marks, drawings, invoices, and prior service records.
- Measure only safe, accessible details. Record visible dimensions and fastener spacing without dismantling a supported or concealed assembly.
- Ask for written compatibility. Request the current component reference, revision, finish, handing, quantity, instructions, fasteners, and any required companion parts.
- Preserve the old part. Label its opening and orientation after authorized removal; do not discard it before the repair is verified.
Traceability is a safety control, not paperwork for its own sake. The U.S. Consumer Product Safety Commission’s 2026 recall of certain casement opening-control devices directs owners to use a product identification label to determine whether a unit is affected. That example does not apply to every window, but it shows why accurate labels and service records should be retained.
Clean, Adjust, Repair, or Replace?
Choose the smallest authorized action that addresses the documented cause. Loose surface debris may call for approved cleaning. A component within its documented adjustment range may be reset by a qualified person. A damaged or worn part may require exact replacement. Frame distortion, failed glazing, wall leakage, or unsafe access may require a broader repair plan rather than a hardware purchase.
Weatherstrip is a good example. A visible gap can result from a torn seal, but it can also result from hinge wear, keeper position, sash bow, frame twist, debris, or incorrect compression. Use the Forge Windows weatherstrip inspection guide to record the profile and contact condition before removal. Do not add generic foam over the designed seal system or block drainage.
Keep performance claims tied to documented configurations. The National Fenestration Rating Council residential certification program uses standardized simulation, testing, certification, labeling, and inspection for product performance. Replacing a part in the field does not by itself establish a new U-factor, solar heat gain coefficient, visible transmittance, air-leakage value, or condensation index.
Verify the Repair and Update the Parts Record
After authorized service, compare the installed component with the approved reference, revision, handing, finish, mounting position, fasteners, and orientation. Operate the sash through unlocking, opening, holding, closing, seal contact, and locking. Check adjacent hinges, operator arms, keepers, seals, screen, drainage, glass, and finishes for interference or damage.
Record the service date, person or company, original symptom, confirmed cause, removed part, new part, instructions used, adjustments made, test result, unresolved condition, and photographs. If the symptom persists, do not continue swapping components. Reopen the diagnosis and assess alignment, installation, the wall connection, or another system-level cause.
Retain the old reference and service record under the opening mark. Future technicians should be able to distinguish the original product, superseded part, approved replacement, and any companion changes. This prevents a later order from relying on a photograph of an already substituted component.
Frequently Asked Questions
How do I identify an unknown casement window part?
Start with the window label, series, opening mark, handing, component location, installed orientation, stamped references, and full-window photographs. Describe the symptom and normal operating sequence. Ask the manufacturer or qualified supplier to confirm the current compatible part in writing.
Can I replace only the casement window crank handle?
Only if the approved service information confirms that the handle is the failed and separately replaceable component. A slipping or stiff handle can also reflect operator damage, sash resistance, hinge alignment, locks, seals, or frame condition. Diagnose before ordering.
Are left-hand and right-hand casement parts interchangeable?
Do not assume they are. Operators, arms, hinges, locks, keepers, covers, and controls may be handed or installed in a specific orientation. Record the viewing position and hinge side, then use the exact approved component reference.
When should I stop troubleshooting?
Stop when operation needs excessive force, the sash is unsupported, glass is damaged, hardware is loose or recalled, a safety device is affected, water may be entering the wall, work requires unsafe access, or the approved instructions and product identity are unavailable.
Conclusion
A dependable casement window parts request connects the symptom to an inspection zone, exact product identity, opening mark, handed orientation, evidence photographs, approved reference, and verification test. Diagnose the sash, frame, hardware, seals, glazing, drainage, and installation as one system before replacing a visible component, then update the service record after the repair.