2026-08-29
Direct answer: A casement window egress record should document the installed net clear opening created by normal operation, the clear width and height at the narrowest points, sill height above the finished floor, hardware and screen conditions, exterior rescue access, and the locally adopted code basis. A nominal window size is not proof of compliance.
This field-verification guide is for U.S. homeowners, architects, builders, inspectors, and window buyers who need an auditable approval record. It covers how to capture and hand off observations; it does not approve a product, interpret a local code, or replace review by the authority having jurisdiction.
Key Takeaways
- Measure the unobstructed opening left after the sash is operated normally, not the frame, sash, or glass size.
- Record width, height, area calculation, sill height, operating steps, screen removal, control devices, and the exterior route in one opening-specific sheet.
- Identify the code edition and local amendments used by the reviewer; model-code values are a reference, not proof of adoption.
- Photograph each measurement and label the opening, date, viewing direction, instrument, and person responsible.
- Keep the field record with the approved drawing, product data, and any later service changes.
What Must a Casement Window Egress Record Prove?
The record should connect a specific installed opening to a reproducible measurement method. The 2024 International Building Code model provisions state that emergency escape and rescue openings must be operable from inside without keys or tools and give minimum net clear opening, width, height, and maximum sill-height criteria. The same source states that the dimensions result from normal operation. See the International Code Council 2024 IBC Chapter 10, then verify which code and amendments the local jurisdiction adopted.
A field sheet should not say only “passes egress.” It should show the measured values, where the tape or gauge touched, the sash position, which components remained in the opening, and who reviewed the result. If the project follows another residential, building, fire, or existing-building code, cite that exact edition and section instead of copying a number from a generic checklist.
| Record field | What to enter | Why it matters |
|---|---|---|
| Opening mark | Room, elevation tag, floor, and drawing revision | Prevents one window’s result from being applied to another |
| Normal operation | Handle, crank, lock, release, sash angle, and sequence | Defines the condition used for measurement |
| Clear geometry | Narrowest width, shortest height, and calculated area | Separates usable passage from nominal size |
| Sill reference | Bottom of clear opening to finished floor | Records the installed vertical relationship |
| Obstructions | Operator arms, restrictors, screens, guards, trim, and furniture | Identifies items that may reduce or delay the route |
| Exterior route | Grade, well, cover, ladder, drainage, and full sash swing | Extends the check beyond the room side |
How to Measure the Installed Casement Window Egress Opening
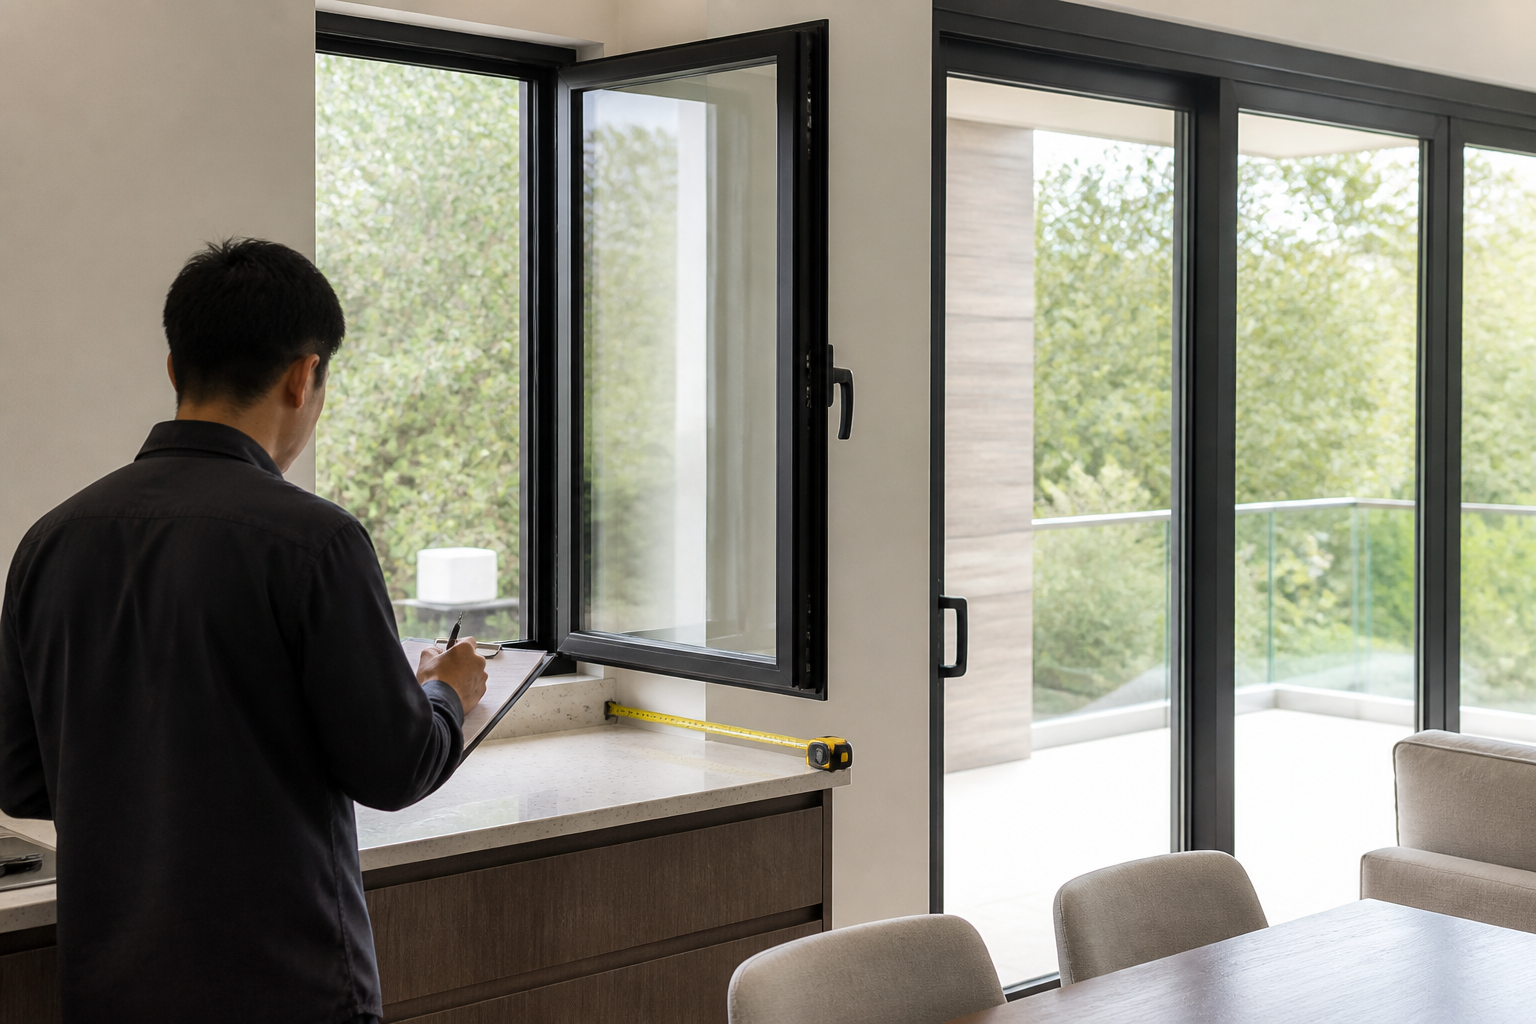
Begin with the installed unit finished and operable. Confirm the opening mark against the latest approved elevation and casement window measurement handoff. Record whether the view is from inside or outside, the hinge jamb, the handle position, and the opening sequence. Do not detach an operator arm, remove hardware, force the sash beyond its normal stop, or omit a component that remains in place during ordinary use.
- Prepare the record. Enter the project, room, opening mark, date, code basis, drawing revision, product identification, and instrument used.
- Operate normally. Release the lock and open the sash using only the steps intended for the occupant. Record every release action.
- Find limiting points. Identify the sash edge, operator arm, hinge, stop, screen, or frame surface that defines the smallest unobstructed passage.
- Measure width and height. Take the clear width at the narrowest horizontal location and clear height at the shortest vertical location. Add annotated photographs.
- Calculate area. Multiply the verified clear width by clear height using consistent units; keep both source measurements on the sheet.
- Measure sill height. Use the finished floor as the reference and record the bottom of the clear opening, not a nearby trim line.
- Repeat and sign. Repeat the sequence, resolve inconsistent readings, and identify the measurer and reviewer.
Check Operation, Screens, and Safety Devices
A dimension alone does not describe usability. Record whether the lock releases, the operator travels smoothly, the sash stays stable, and the required opening can be reached without a key, removable tool, or improvised action. The U.S. Access Board guide to operable parts explains reach, clear-floor-space, one-hand operation, grasping, wrist-twisting, and force concepts where accessible operability requirements apply. Do not apply those provisions to every private residential opening without confirming project scope.
Identify every window opening control device, limiter, guard, and screen by product and location. A removable insect screen is not a fall guard. The U.S. Consumer Product Safety Commission advises that screens are meant to keep insects out, not children in, and publishes separate guidance on guards and stops. Review the CPSC window-fall guidance while coordinating the local fire, rescue, and fall-protection requirements.
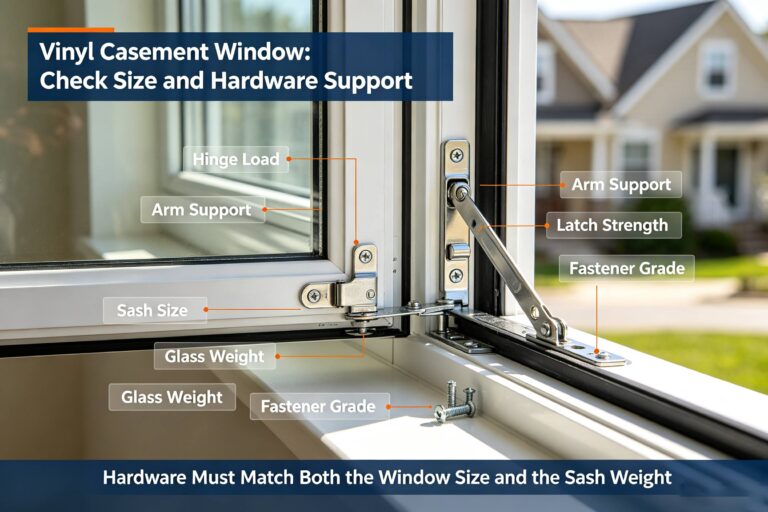
If a control device must be released to obtain the required opening, document its labeled operating sequence, reset condition, and compatibility with the applicable code and product instructions. Never disable or improvise a safety component for a photograph. If hardware is damaged, loose, recalled, unidentified, or difficult to operate, stop the acceptance check and route it to qualified service.
Review the Exterior Rescue Path
The inside opening may measure correctly while the exterior path remains blocked. At grade, record fences, planting, equipment, decks, window projections, and changes in grade. Below grade, use the earlier Forge Windows guide to casement egress window well clearance to document the well, cover, drainage, steps or ladder, and the full sash swing.
Take one photograph perpendicular to the exterior opening and another showing the route toward the accessible yard or public way, as the applicable reviewer directs. Note whether a well cover can be opened from inside, whether a ladder conflicts with the sash, and whether stored items or temporary construction materials reduce the passage. Seasonal conditions such as snow, vegetation, or movable furniture belong in the maintenance handoff even if they are absent on inspection day.
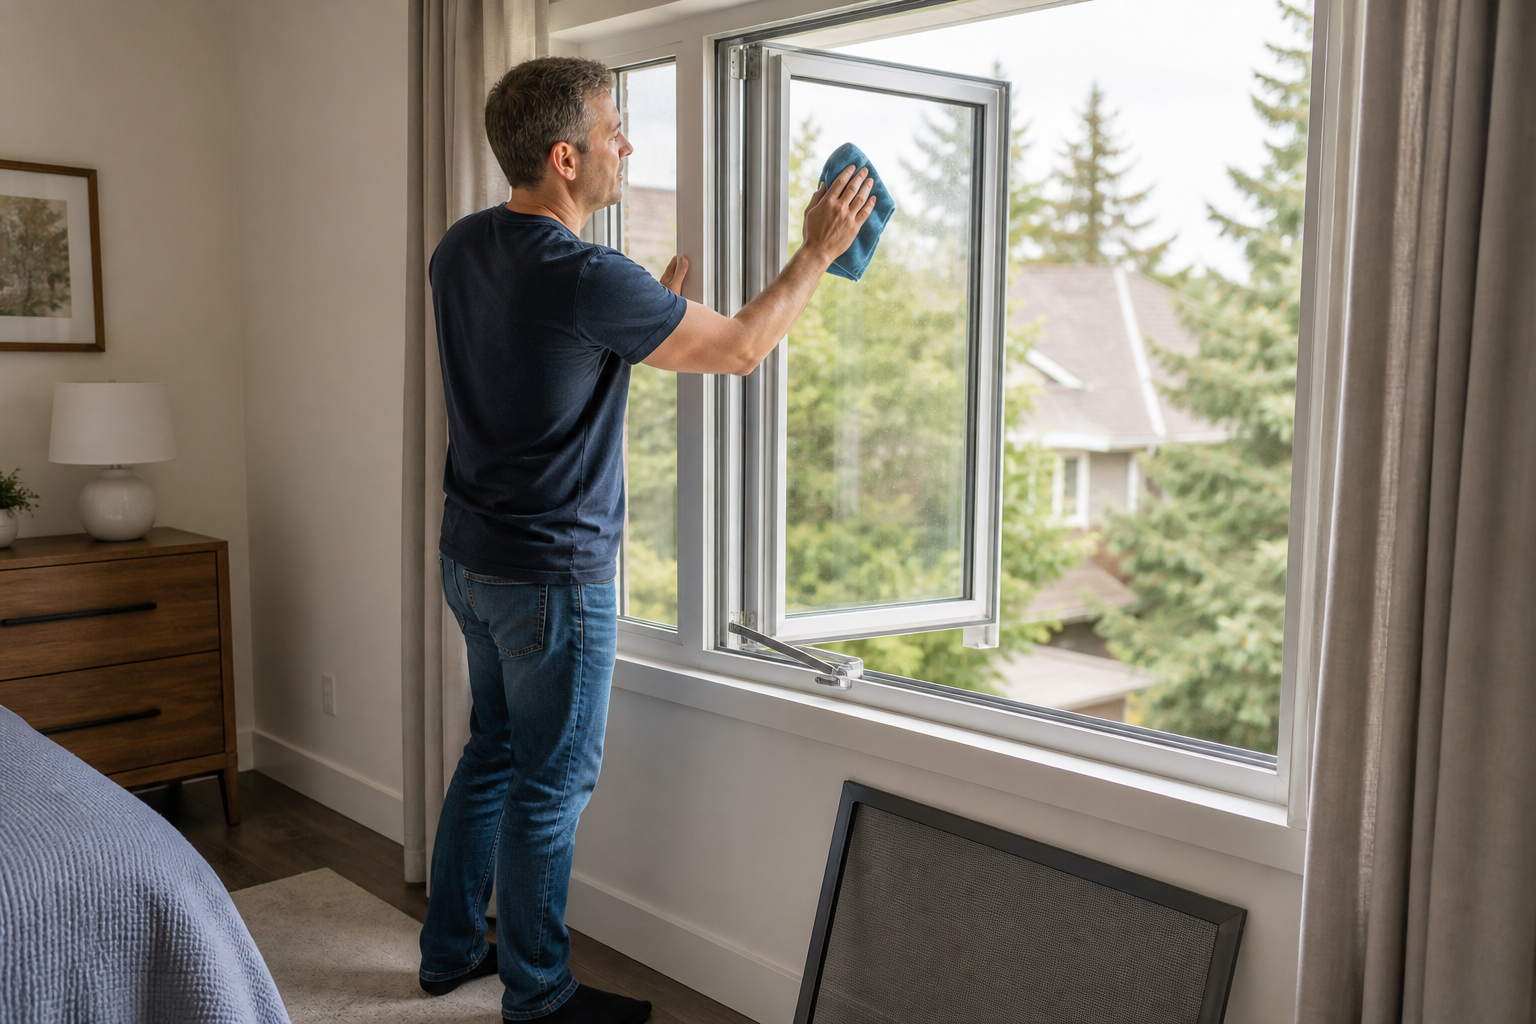
Use a One-Opening Field-Verification Worksheet
Create one sheet per opening. Attach the approved schedule and mark any field deviation instead of editing the approved value without a trace. The record should include the following items:
- Project, address, room, floor, opening mark, and drawing revision.
- Product series or identification label, frame size, handing, and swing direction.
- Code edition, section, local amendment, and reviewer or authority contact.
- Normal opening steps, lock and handle condition, screen, restrictor, guard, or control device.
- Clear width, clear height, area calculation, sill height, units, instrument, and measurement points.
- Interior approach, furniture conflicts, exterior grade or well, cover, ladder, drainage, and sash clearance.
- Photograph numbers, date, measurer, reviewer, exceptions, corrective action, and final disposition.
Keep the worksheet with the final order, installation instructions, commissioning record, and service history. A later replacement operator, limiter, screen, guard, floor finish, or well cover can change the condition that was originally verified. Recheck after work that affects geometry, operating force, the opening sequence, or the rescue route.
Frequently Asked Questions
Is the nominal casement window size the egress opening?
No. The nominal frame, sash, or glass size does not establish the installed net clear opening. Measure the unobstructed passage created by normal operation at its limiting points, calculate the area from those clear dimensions, and record the finished-floor sill height under the locally adopted code.
Should a screen be removed before measuring?
Follow the applicable code interpretation and the product’s intended emergency-use sequence. If the screen is intended to be removed by an occupant, document how it releases, where it goes, and whether removal needs a key or tool. Do not silently omit a screen that normally remains installed.
Who should approve a casement window egress record?
The responsible designer, code official, inspector, or other authority identified for the project should determine acceptance. A manufacturer or supplier can provide drawings and operating information, but should not be treated as the local code authority unless the jurisdiction assigns that role.
When should the opening be rechecked?
Recheck after installation corrections or any change to the sash, operator, hinges, locks, restrictor, screen, guard, trim, finished floor, well, cover, ladder, or surrounding route. Also recheck when readings conflict or the opening no longer operates as recorded.
Conclusion
A useful casement window egress record does more than repeat a model-code number. It shows the installed opening, normal operating sequence, limiting components, interior sill reference, exterior route, evidence photographs, and approval basis. Complete one signed sheet per opening, resolve exceptions before acceptance, and retain it with the project and service records.