2026-09-03
Direct answer: A casement window repair is complete only when the specified defect is corrected and the whole window passes a documented acceptance test. Verify safe sash support, smooth operation, alignment, locking, seal and screen condition, moisture observations, finish restoration, safety devices, and service records before closeout.
Casement Window Repair Needs a Defined Baseline
A casement window repair can address a handle, operator, arm, hinge, latch, keeper, weatherstrip, screen, glazing component, sash, frame surface, perimeter joint, or related interface. “Repaired” should therefore name the original symptom, diagnosed cause, authorized work, replacement part or adjustment, and acceptance criteria. Without that baseline, a smooth-looking closeout can leave the actual complaint unresolved.
Collect the opening mark, room and elevation, manufacturer and series, product labels, size, handing convention, frame and sash material, glass configuration, hardware references, installation date when known, previous service, and pre-repair photographs. Preserve the original complaint in the occupant’s words, then translate it into observable conditions: where resistance began, where contact occurred, when water appeared, which latch point missed, or which part moved.
Forge Windows’ parts symptom guide supports diagnosis before work, while the replacement scope guide helps distinguish component repair from sash, insert, or full-frame replacement. This article starts after an approved repair has been performed and asks whether the result is acceptable.
| Repair scope | Primary acceptance evidence | Related checks still required |
|---|---|---|
| Handle or operator | Correct part, secure mounting, smooth full travel | Hinges, sash alignment, latch, screen, clearances |
| Latch or keeper | Correct engagement and normal hand effort | Pre-latch closure, seal contact, safety function |
| Hinge or sash support | Stable sash, consistent reveal, controlled movement | Operator load, locking points, glass and frame |
| Weatherstrip | Correct profile, continuous seating, no binding | Drainage, frame alignment, closing and locking |
| Screen | Secure fit, removal method, no operator conflict | Ventilation opening, user reach, sash travel |
| Perimeter or finish work | Specified joint and finish restoration documented | Drainage path, movement joint, moisture source |

Run a Safety and Condition Check Before Operation
Inspect the repaired opening before moving it. Confirm that tools, loose fasteners, packing, temporary supports, sealant cartridges, and debris are removed or controlled. Check that glass is intact, the sash is supported, arms and clips are connected, hinge and operator fasteners are present, the screen is secure or intentionally removed, and no person is in the sash swing or pinch zone.
Stop if the sash drops, glass is cracked, an arm is detached, the frame is visibly distorted, a fastener has no sound support, a safety device is missing, or exterior access is unsafe. Do not continue merely to complete a checklist. Record the condition, keep the window in the safest available state, and refer it to the responsible service professional.
Review the exact manufacturer instructions and the approved part record. Andersen’s operator replacement guide, for example, requires sash support and identifies multiple procedures for covered products. The lesson is procedural: acceptance must follow the actual window’s instructions, not a generic online sequence.
Use an Eight-Part Casement Window Repair Acceptance Test
- Visual condition: Compare before-and-after photographs. Verify the specified part, fasteners, finish, seal, joint, and cleanup. Note every uncorrected condition rather than hiding it outside the frame.
- User reach: From the normal position, confirm the handle, lock, screen, and any control can be reached without climbing on furniture or contacting a hazard.
- Unlock and initial movement: Release the lock and begin operation slowly. Record looseness, noise, gear skip, sudden movement, or resistance.
- Full intended opening: Observe the operator arms, hinges, sash, screen, window treatment, exterior swing, and stops. Do not force the mechanism against its limit.
- Closing path: Close under normal operation and watch the reveal. The sash should reach its designed pre-latch position without the latch pulling through substantial binding.
- Locking and seal contact: Engage the latch with normal hand effort. Check every locking point and visible seal contact at head, sill, hinge side, and lock side.
- Repeated cycles: Complete at least three deliberate open-close-lock cycles. A single cycle may miss intermittent play, contact, or fastener movement.
- Accessory and safety check: Reinstall or test the screen and window treatment; verify opening controls, guards, restrictors, and any required emergency-release sequence remain as approved.
Use a simple test sheet with columns for step, expected result, actual result, pass or exception, photo reference, and responsible follow-up. Record normal user effort qualitatively unless the project specifies a valid measurement method and instrument. Do not invent a force threshold from feel.
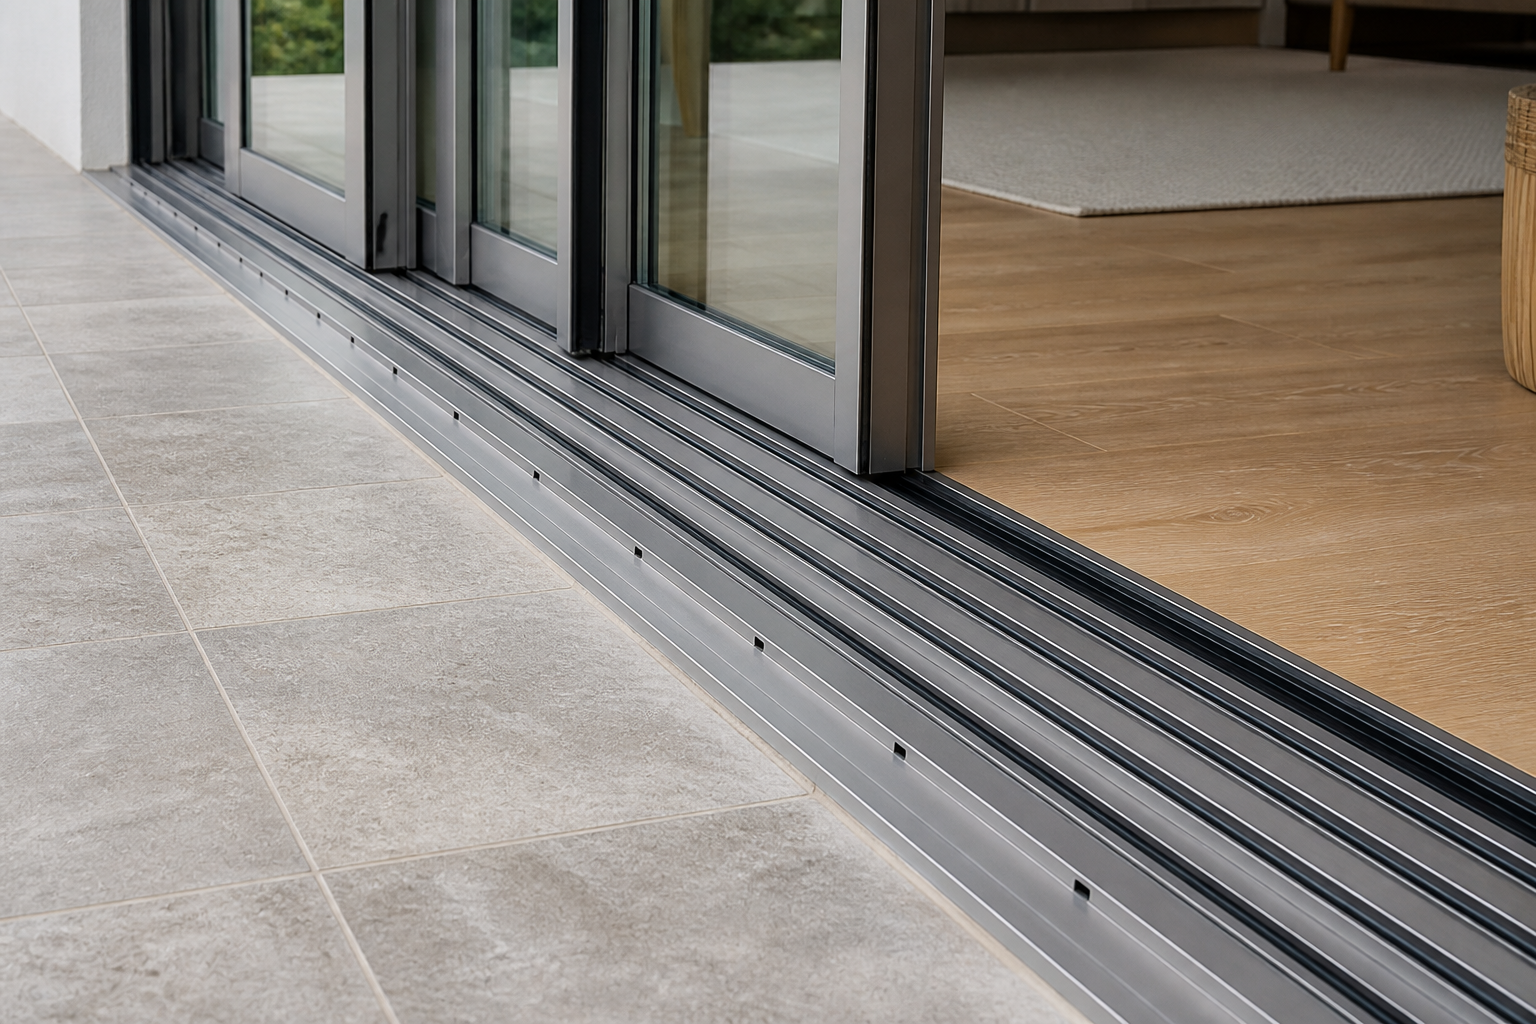
Threshold height, track count, drainage, and finished floor transitions must be coordinated together.
Separate Field Observations From Rated Performance
A functional acceptance test can show that the sash moves, closes, and locks as observed. It cannot by itself certify air leakage, water penetration, structural resistance, thermal transmittance, solar heat gain, condensation resistance, safety glazing, or code compliance. Those claims require applicable product records, installation evidence, and recognized test or inspection methods.
Do not spray a window with a garden hose and call the result a water-performance test. Uncontrolled water volume, pressure, direction, duration, drainage, and indoor pressure do not reproduce a standard test and can drive water into assemblies. If leakage diagnosis is part of the repair, the responsible professional should define the safe, valid method and interpretation.
Observe moisture without overstating the cause. Record staining, corrosion, soft material, sealant gaps, blocked drainage, condensation, and weather at the time of inspection. Forge Windows’ condensation guide helps separate indoor surface condensation from other water symptoms, but concealed conditions may still need investigation.
For work in older painted buildings, closeout also needs the applicable lead-safe record. The U.S. Environmental Protection Agency explains that window replacement is covered by its Renovation, Repair and Painting rule in covered properties and provides specific discussion of casement sash repair and paint disturbance. The exact scope and disturbance determine duties; retain the contractor’s required documentation.
Create a Repair Record That Supports Future Service
The closeout file should identify the opening, original symptom, diagnosis, authorized scope, service date, responsible company or person, exact parts and finishes, retained components, instructions used, photographs before/during/after, measurements, acceptance-test results, exceptions, follow-up owner, maintenance guidance, and warranty. Attach invoices and product records without substituting price for technical detail.
List exclusions plainly. If the repair corrected the operator but did not address a deteriorated perimeter joint, record that remaining condition and its responsible next step. If the latch works but seal replacement is pending, do not mark the window fully complete. A partial technical success can still be documented honestly without expanding the claim.
Give the owner a concise operating demonstration. Show unlocking, opening, closing, latching, screen removal, approved cleaning, and the signs that should trigger service. Do not recommend unapproved oils, solvents, abrasives, or field adjustments. Preserve manufacturer maintenance instructions and the replacement-part source with the opening record.
Schedule follow-up only when the repair specification or product instructions require it. Otherwise define event-based triggers: new resistance, looseness, gear skip, sash drop, failed latch engagement, damaged seal, water staining, cracked glass, or changed safety hardware. Prompt investigation prevents the user from compensating with more force.
Frequently Asked Questions
How do I know whether a casement window repair worked?
Compare the approved defect and scope with a documented test of stability, operation, full travel, closing, locking, seal contact, screen fit, safety devices, finish, moisture observations, and repeated cycles.
How many times should the repaired window be operated?
At least three deliberate open-close-lock cycles are a practical functional check unless the manufacturer or project specification requires another method. Stop immediately if instability, binding, or damage appears.
Does a hose test prove the window no longer leaks?
No. An uncontrolled hose test is not a recognized laboratory or field performance test and may create misleading or damaging water paths. Use a defined method selected by the responsible professional.
What should a repair warranty record include?
Include the opening mark, original symptom, exact work and parts, service date, provider, acceptance results, exclusions, maintenance duties, warranty term, claim process, and supporting photographs and documents.
Conclusion: Close the Repair With Evidence
Casement window repair closeout should prove the specified correction without making broader claims than the evidence supports. Inspect safety first, test each operating and locking step, record exceptions, and preserve a complete service file. Send Forge Windows the opening mark, labels, before-and-after photographs, repair scope, part references, acceptance sheet, moisture observations, and remaining issues for a project-specific review.