2026-08-31
Direct answer: Match a replacement casement window lock by the window series, handing, lock type, mounting-hole pattern, keeper geometry, linkage, finish, and closed-sash position. A similar-looking handle is not enough. Record the installed assembly before ordering, and do not use a lock to pull a misaligned sash closed.
This guide is for homeowners, service technicians, builders, and purchasing teams who have identified a lock as the part to source. It covers compatibility records and safe selection, not forced-entry testing, concealed repair instructions, or permission to alter a rated window. If the sash binds or will not reach its normal closed position, begin with the separate operator and lock troubleshooting guide.
Key Takeaways
- Identify the exact window and opening before naming the lock.
- Photograph the handle, locking edge, keepers, labels, fasteners, and closed position.
- Measure mounting centers and keeper locations without assuming parts are interchangeable.
- Keep security hardware, opening-control devices, and emergency-release requirements separate.
- Require written compatibility for the proposed part and test normal operation after installation.
Table of Contents
- Identify the installed system
- Build an eight-field lock record
- Distinguish common lock arrangements
- Protect safety and escape functions
- Approve and verify the replacement
- Frequently asked questions
Identify the Casement Window Lock as Part of a System
A casement window lock secures a side-hinged sash against one or more keepers in the frame. The visible lever may operate one local latch, a cam, or a concealed linkage connected to several locking points. The operator or crank moves the sash; the lock secures it after the sash reaches its intended closed position. Treating those two actions as one is a common source of damage.
Start with the window manufacturer, product line, model or series, approximate production date, frame material, sash handing, and opening mark. Look for labels on the frame, sash edge, glass spacer, operator cover, hardware, or project records. Photograph every label before cleaning it. If no identifier remains, record the profile shape and dimensions without guessing a brand.
The Forge Windows casement selection specification guide shows how operation, hardware, glass, frame, evidence, and installation can be tied to one opening. That record is useful even for a single replacement because it stops the service request from becoming “one white casement latch” with no geometry or compatibility evidence.

Build an Eight-Field Replacement Lock Record
Make the record while the original assembly is still installed. Do not remove a sash or concealed linkage simply to obtain a measurement. Support requirements and removal procedures vary by product, and an uncontrolled sash can create a fall or pinch hazard.
| Field | What to record | Why it matters |
|---|---|---|
| 1. Opening identity | Room, elevation, opening mark, series, material, and date | Connects the part to one window |
| 2. Handing | Hinge side and the stated viewing side | Prevents a mirrored part order |
| 3. Lock arrangement | Single point, cam, multipoint, or unknown linkage | Defines the operating system |
| 4. Mounting | Hole centers, fastener count, plate size, and recess | Checks physical fit without field drilling |
| 5. Keeper | Number, position, projection, orientation, and fasteners | Controls engagement geometry |
| 6. Sash position | Perimeter gaps and contact points when normally closed | Separates lock fit from sash alignment |
| 7. Finish and clearance | Color, texture, handle sweep, shades, and screen clearance | Checks use and appearance |
| 8. Evidence | Photos, drawings, part mark, supplier confirmation, and revision | Creates an auditable purchase record |
Use a ruler or caliper only on accessible, stable surfaces. Record units and the reference points for every dimension. A hole-center measurement is different from the overall plate length; a keeper projection is different from the gap between sash and frame. Include one wide photograph, one close photograph, and one image with a scale beside each measured feature.
Distinguish Lock, Keeper, Operator, and Control
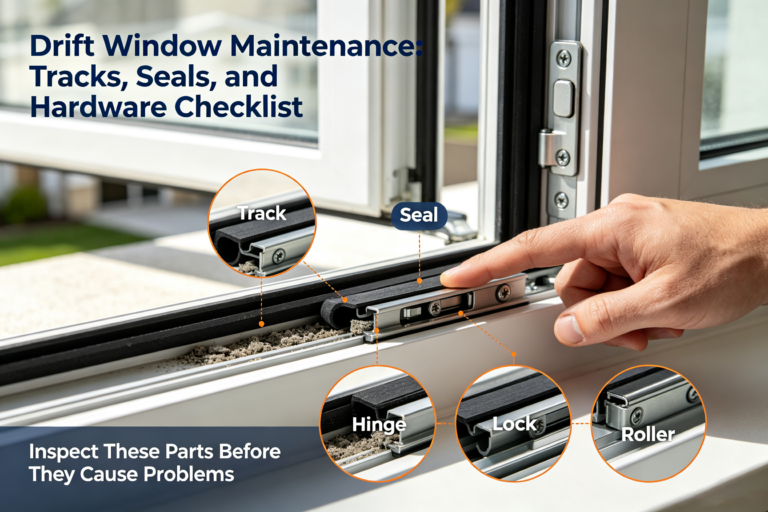
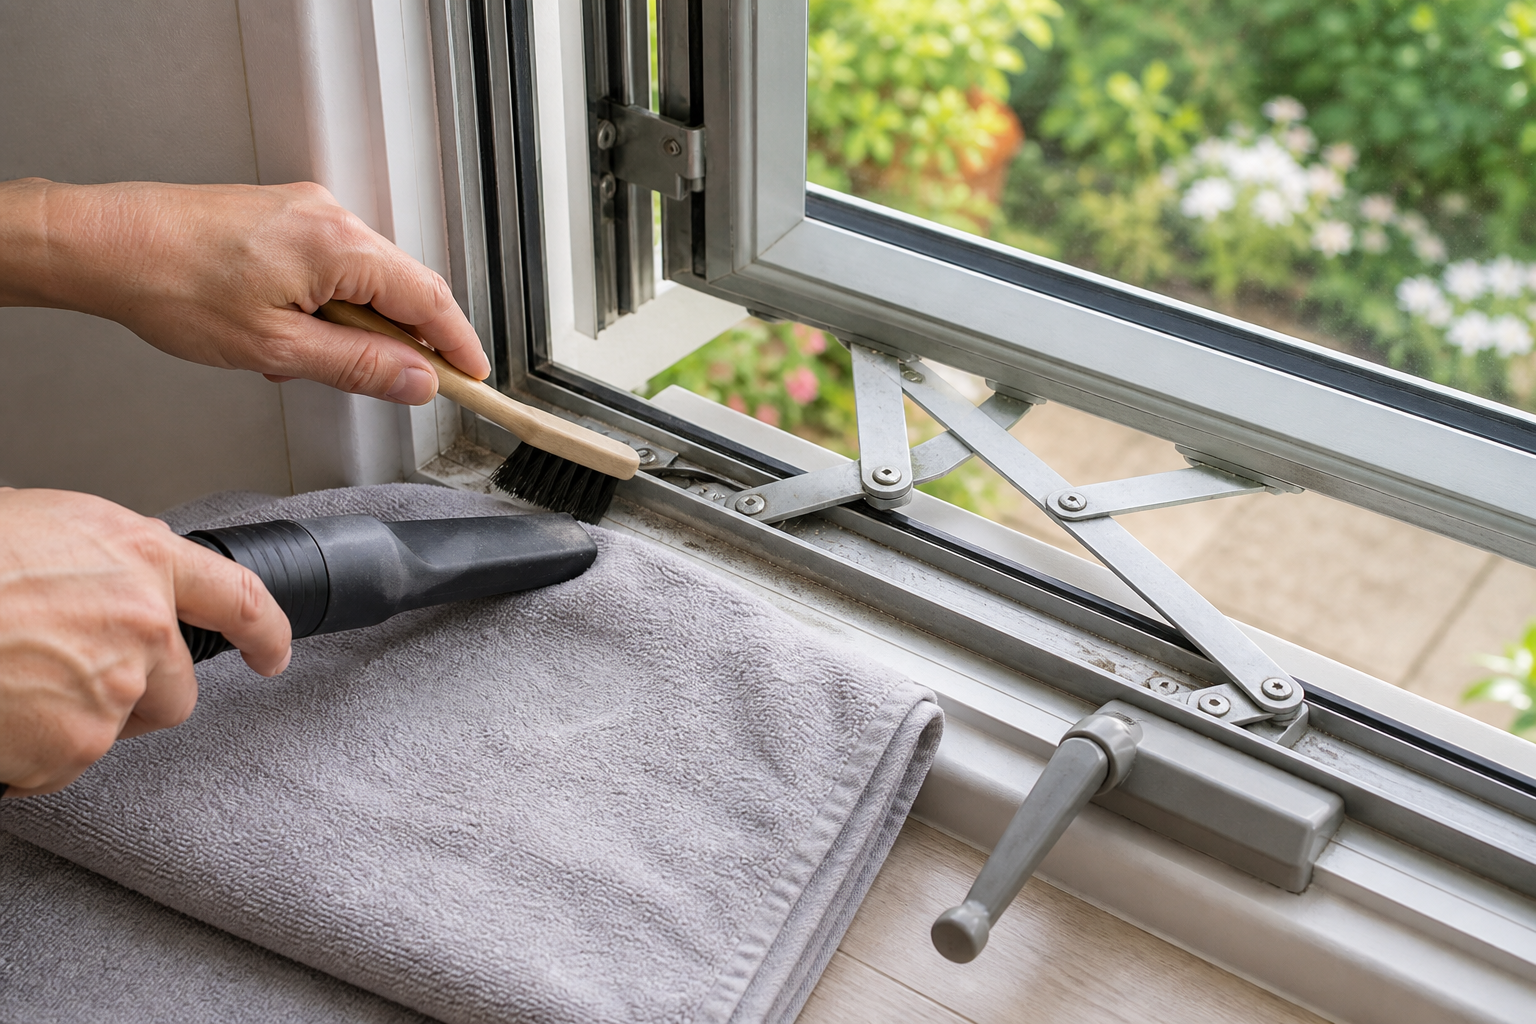
The lock handle, lock body, linkage, rollers or cams, and keepers may be separate service parts. A multipoint arrangement can move several points from one control, but the number and travel of those points must match the sash and frame. A replacement handle that fits the spindle or screw holes may still be wrong for the body behind it.
A keeper is the receiving component attached to the frame. Its location and shape affect how the sash is drawn against seals. Moving a keeper to overcome a sash that sits out of square can hide the cause while creating uneven compression or poor engagement. Document the closed-sash gaps and ask a qualified provider to identify whether the issue is the part, hinge, frame, installation, or another component.
An opening-control or fall-prevention device serves a different purpose from the normal lock. The U.S. Consumer Product Safety Commission childproofing guidance says screens do not prevent falls and advises limiting openings or using guards while keeping an escape window usable. Do not describe a generic lock as a compliant fall-prevention device.
Keep Egress and Window-Fall Requirements in the Review
A bedroom or basement window may be intended as an emergency escape and rescue opening. In the 2021 International Residential Code model provisions, devices over emergency openings must not reduce the required clear opening and certain covers or screens must be releasable from inside without a key or tool. The same chapter also addresses window opening control devices. Read the official ICC Chapter 3 text, then confirm the adopted edition and amendments with the authority having jurisdiction.
That creates a deliberate safety check: a device intended to restrict normal opening may need a defined release that permits full emergency operation. Do not add a keyed lock, padlock, fixed bar, improvised stop, or security fastener to a required escape opening without project-specific code review. The applicable answer depends on the room, sill height, exterior drop, required clear opening, adopted code, and listed device.
Security, child fall prevention, accessibility, and emergency escape can pull the design in different directions. Record which requirement applies, who made that determination, the product standard or code reference used, and how the final opening is tested. A hardware purchase page is not a code approval.
Approve, Install, and Verify Without Forcing the Sash
Ask the supplier to confirm the exact part number, revision, handing, finish, included keepers, fasteners, linkage compatibility, and installation instructions in writing. Compare the confirmation with the photographs and eight-field record. If the proposed part requires drilling new holes, moving keepers, shortening a linkage, changing the sash, or altering a safety device, stop for product-specific approval.
After installation, operate the sash and lock in the normal sequence. The sash should reach its intended closed position before the lock is used. Check every locking point, handle clearance, screen fit, seal contact, and release function. Do not use the lock lever as a clamp for a sash that is visibly misaligned or requires abnormal force.
Retain the removed part until acceptance is complete. Update the opening record with the new part number, installer, date, photographs, adjustment limits, warranty, and test result. The casement component terminology guide can help future service teams keep the lock, operator, hinge, sash, frame, seals, and installation interface distinct.
Frequently Asked Questions
Are casement window locks universal?
No. Locks can differ by series, handing, mounting pattern, spindle or linkage, keeper geometry, travel, finish, and sash-to-frame relationship. Match the installed assembly to a documented part number or obtain written compatibility confirmation before ordering.
Can I replace only the casement lock handle?
Only when the product documentation identifies the handle as a separate compatible service part and the underlying lock body is sound. A matching hole pattern or spindle shape alone does not prove that the replacement will operate safely or provide correct engagement.
Why will the new lock not engage its keeper?
The cause may be an incorrect part, reversed handing, keeper geometry, sash misalignment, hinge wear, frame movement, debris, seals, or installation conditions. Do not force the lever or move the keeper until the sash position and approved geometry are checked.
Can a keyed lock be added to an egress casement window?
Do not assume so. Emergency escape provisions can require inside release without a key or tool, and window-fall rules may also apply. Confirm the room, locally adopted code, device listing, clear opening, and release sequence with the responsible professional or authority.
Conclusion: Match the Casement Window Lock to the Installed Assembly
A casement window lock should be ordered from a controlled record, not from appearance. Identify the window, document eight compatibility fields, separate the lock from alignment and operator problems, protect safety functions, and verify the complete closing and release sequence before accepting the replacement.