2026-08-27
French casement windows are easy to describe in conversation: two side-hinged sashes meet near the center and open to create a broad clear opening. They are harder to approve from a drawing because a small ambiguity about handing, the center condition, hardware, or screens can change the finished unit. This guide turns the phrase “windows casement French” into a practical ten-point drawing and quotation checklist for a U.S. residential project.
1. Confirm what “French casement” means on this project
Start with an elevation marked “viewed from exterior.” That note removes a common source of reversed handing. Identify the active sash—the leaf normally opened first—and the passive sash, which usually has a secondary release. A French pair commonly opens without a permanent fixed mullion in the center, but terminology differs among suppliers. Write the intended center condition on the drawing instead of relying on the product name.
If the project only needs two operable sashes separated by a permanent vertical member, it may be a conventional double-casement unit rather than a French pair. Our guide to fixed-mullion and French-pair configurations explains the distinction. If a removable center condition is required for moving furniture, cleaning, or access, say so and ask what hardware remains in the opening after both sashes are released.
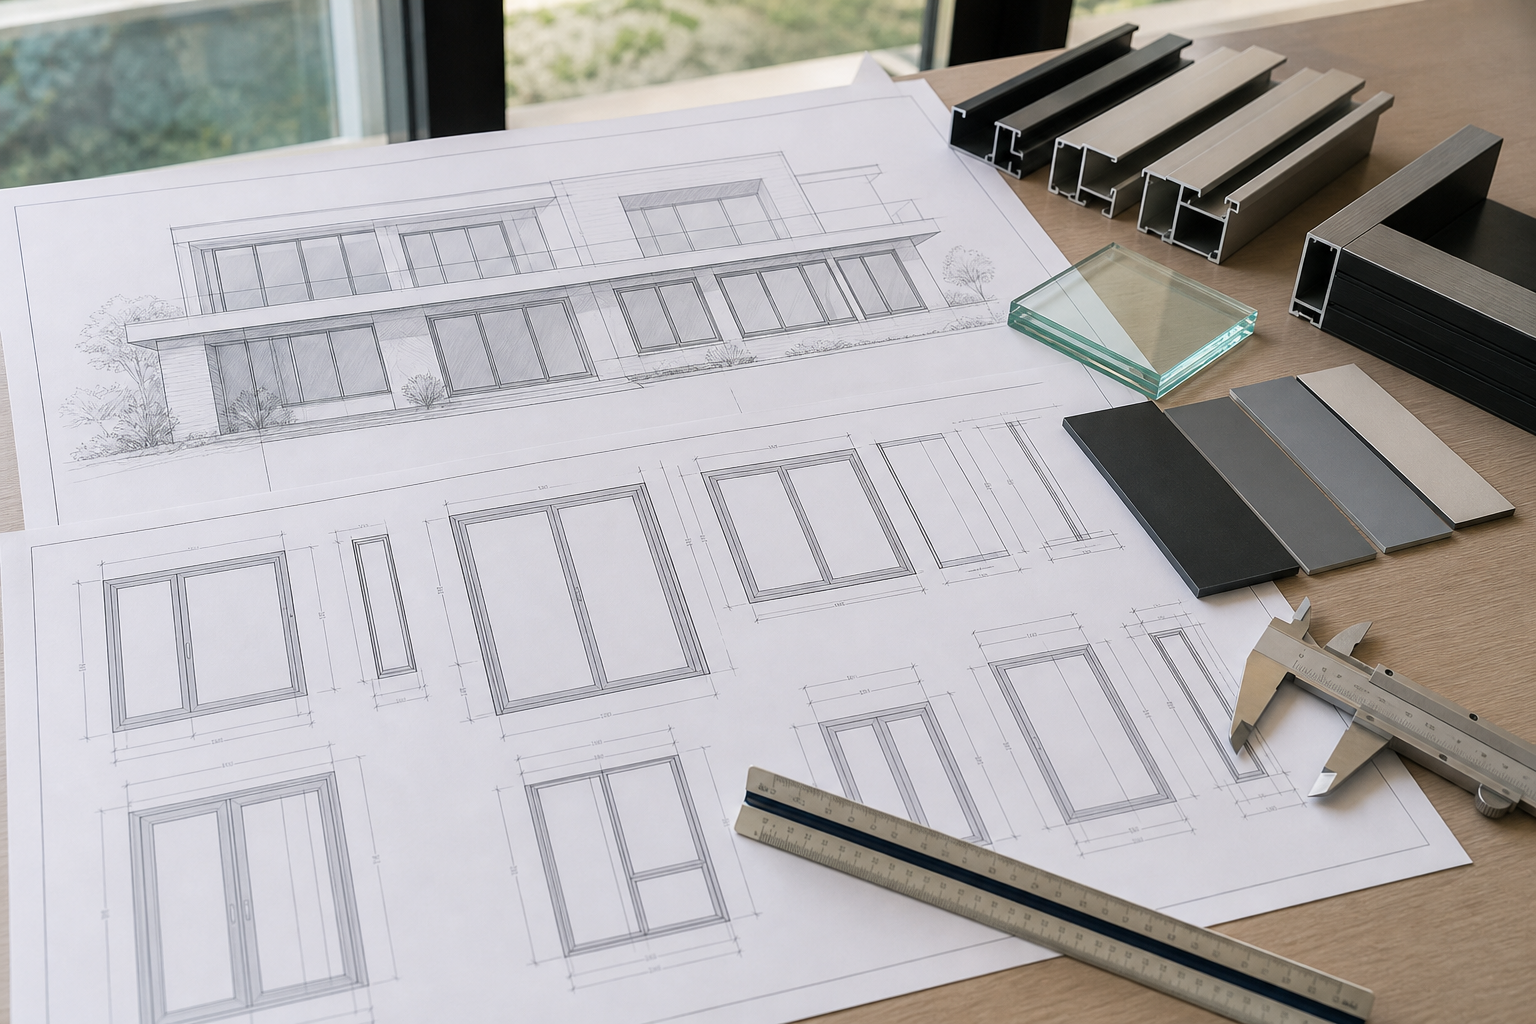
2. Put both frame and opening dimensions on the record
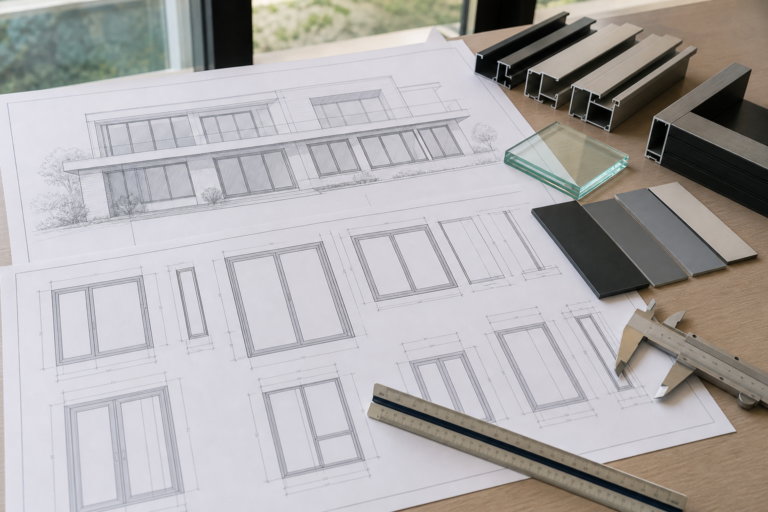
The order size and the field opening are related, but they are not interchangeable. Ask the surveyor to record the rough-opening width and height at more than one location, check the diagonals, and note the wall build-up. The approved drawing should state whether the dimensions shown are overall frame, unit, masonry opening, or rough opening dimensions. It should also name the person responsible for calculating installation clearances.
For multiple openings, use unique window marks such as W-01 and W-02. Match those marks across the floor plan, elevation, opening schedule, quotation, and finish schedule. A revision date belongs on every approval sheet. These simple controls prevent a correct unit from being assigned to the wrong room.
Dimensions worth showing
- Overall frame width and height, with the dimension reference clearly drawn.
- Rough-opening width and height measured at the top, middle, and bottom or left, center, and right.
- Sill height above the finished floor and any required clear-opening dimensions.
- Frame depth, interior and exterior wall finishes, trim returns, and sill or pan condition.
- Nominal sash widths plus the projected open-sash path.
For replacement work, keep the field survey separate from the order release. The casement replacement measurement guide gives the survey team a structured handoff before a manufacturer applies product-specific deductions.
3. Coordinate operation, hardware, and screens
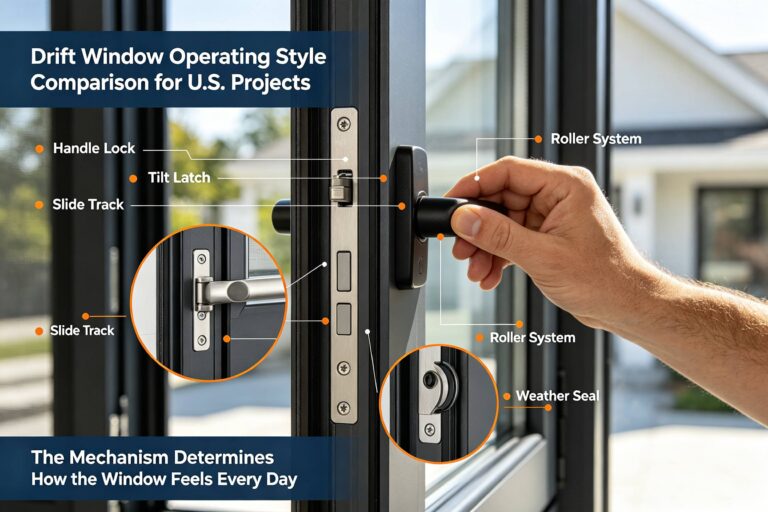
French pairs have an opening sequence. The approval should identify the daily-use active sash and explain how the passive sash is released. Our active and passive sash guide covers that sequence in detail. Ask where the operator, lever, keep, flush bolt, or shoot bolt will sit and whether those parts are accessible after interior trim and screens are installed.
Draw the full swing or projected opening path. Check it against faucets, countertops, furniture, exterior rails, shutters, lighting, roof overhangs, and walkways. A sash that opens correctly in the factory can still be awkward in the room if the surrounding objects were omitted from the review. If opening-control devices are proposed, record who supplies them and how they affect normal operation, cleaning, emergency escape requirements, and local code review.
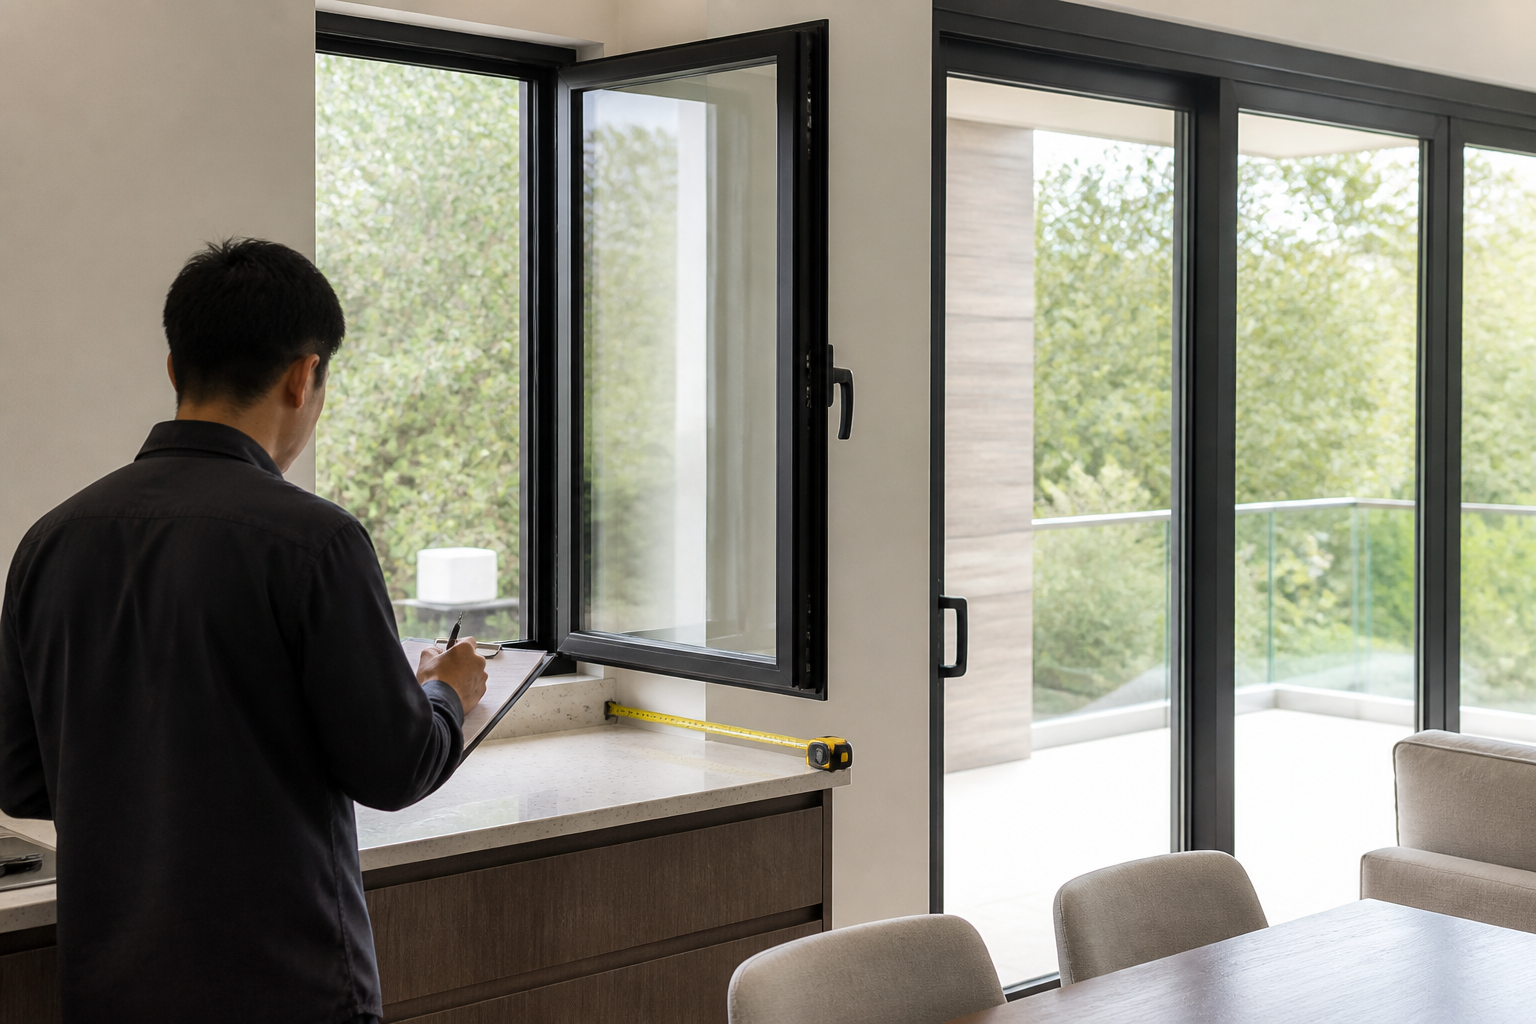
Because outward-opening casements normally place an insect screen on the room side, the screen may sit near handles or passive-leaf hardware. Confirm whether the screen is one piece or divided, fixed or removable, and which side it can be removed from. Record the mesh, frame color, attachment type, and replacement route. A rendering that merely shows “screen” is not enough for coordination.
4. Verify glass, finish, and performance as one specified assembly
List the glass make-up in terms the supplier can confirm: panes, cavity or cavities, coatings, safety glazing locations, tint if any, and decorative features. Do not copy a center-of-glass value into the schedule as if it were the whole-window value. In the United States, the NFRC Certified Products Directory is the official place to look for certified product ratings. Match the exact manufacturer, product line, operator type, and size range instead of borrowing a value from a similar-looking unit.
For an ENERGY STAR project, use the current climate-zone criteria and product label. The ENERGY STAR windows, doors, and skylights page explains certification and climate-zone labeling. The project team still needs to confirm the exact configuration and local code requirements.
Finish approval also needs more than a color name. Record the finish system, manufacturer color or control sample, gloss where applicable, and whether interior and exterior faces differ. State how exposed hardware, screens, fasteners, and touch-up materials are coordinated. A physical sample can settle color and texture questions that a monitor cannot.
5. Ten details to approve before release
- Window mark and location: one identifier shared by the plans, schedule, drawing, and quotation.
- View direction: handing shown from the exterior or interior and labeled every time.
- Configuration: active leaf, passive leaf, and fixed or open center condition.
- Sizes: overall frame, rough opening, frame depth, and finished sill elevation.
- Opening path: sash travel, nearby obstructions, required restrictors, and cleaning access.
- Hardware: operator type, locks, passive-leaf release, finish, and accessible service route.
- Screen: location, mesh, division, attachment, color, and removal direction.
- Glass: complete make-up, safety glazing, coating surface, tint, and pattern where used.
- Finish: coded interior and exterior finishes tied to an accepted sample.
- Evidence and scope: exact performance documents, installation interface, exclusions, approver, and revision.
Attach unanswered questions to the approval rather than settling them verbally. A concise custom window and door project brief can collect site, climate, opening, design, and delivery information before the quotation is revised. The final release should make clear whether the manufacturer, dealer, architect, contractor, or owner owns each remaining decision.
Questions to send with the quotation request
- Does the proposed unit have a permanent center member when both sashes are open?
- Which leaf operates first, and can the active side be changed without changing the frame?
- What exact size and configuration were used for the submitted ratings?
- How are screens removed after interior trim, shades, and hardware are installed?
- Which dimensions must the field team verify before manufacture?
- What work is excluded from the window supplier’s scope?
A good approval package lets a person who did not attend the meeting understand the order. For French casement windows, that means the drawing, schedule, quotation, samples, and performance evidence all describe the same opening and the same operating sequence.
Frequently asked questions
Do French casement windows always have no center post?
No. Many French pairs are selected for a broad opening without a permanent fixed mullion, but product terminology varies. Require an elevation and a written statement describing what remains at the center when both sashes are open.
Which French casement sash opens first?
The active sash normally opens first; the passive sash is released second. The chosen active side should be labeled from a stated view direction and checked against reach, room layout, exterior clearance, and hardware access.
Can an architect order French casement windows from rough-opening dimensions?
Rough-opening dimensions are essential field information, but they are not automatically the order size. The supplier or responsible designer should calculate the unit size using the wall condition, installation method, tolerances, flashing plan, and manufacturer instructions.
Where do screens go on outward-opening French casement windows?
They are commonly installed on the interior side. The approved details should show whether the screen is single or divided, how it clears operators and passive-sash hardware, and how it can be removed for service.