2026-08-27
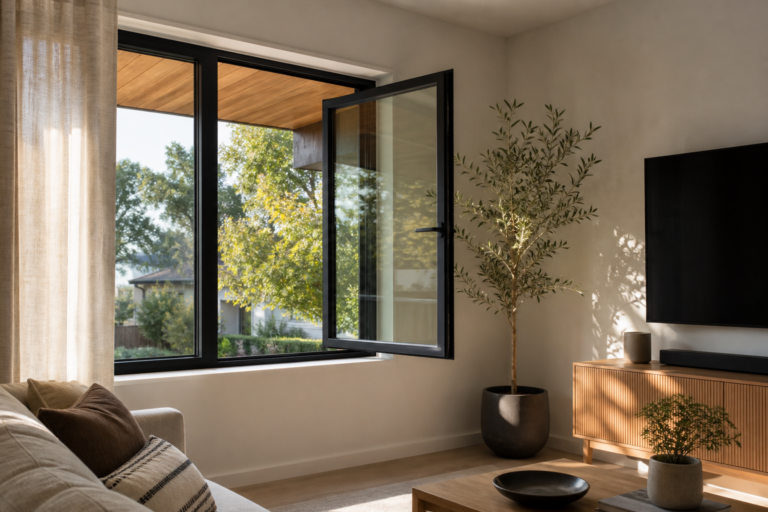
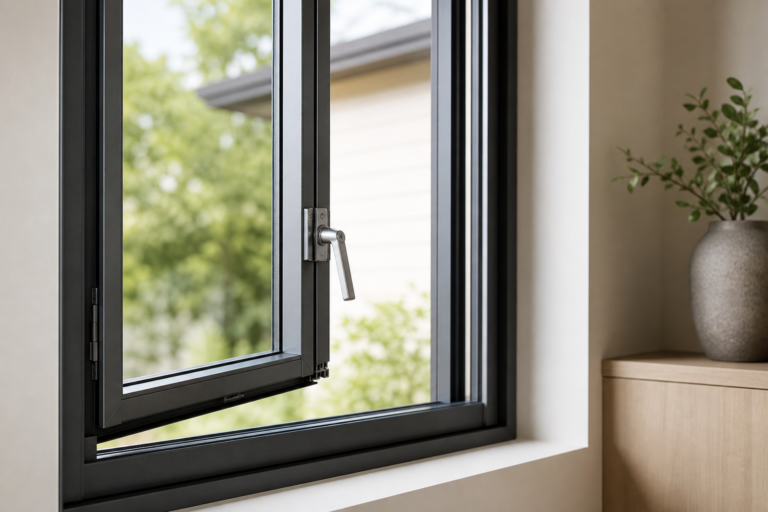
Double casement windows combine two side-hinged sashes in one coordinated opening. The phrase “casement double windows” often appears in early notes, but a fabricator needs a much clearer dimensional handoff: overall frame size, each sash, the center condition, rough opening, wall depth, handing, and the reference points used in the survey. This guide shows what to measure, what to draw, and what not to treat as an order dimension.
1. Define the double-casement configuration before measuring
“Double casement” can describe two operable units separated by a permanent mullion, or a paired assembly in which the meeting stiles are part of the sashes. Those conditions are not dimensionally identical. Start with a simple exterior elevation showing the number of sashes, hinge sides, active leaf if applicable, center member, and fixed transoms or sidelites. Our fixed-mullion versus French-pair guide helps the project team name the intended arrangement.
Assign a mark such as W-201 to every opening. Use that mark in photos, field notes, the plan, elevation, quotation, and approval drawing. Record whether dimensions are taken to framing, masonry, existing frame, interior trim, or finished returns. A number without a reference point cannot be checked later.
2. Measure the field opening as a condition, not one number
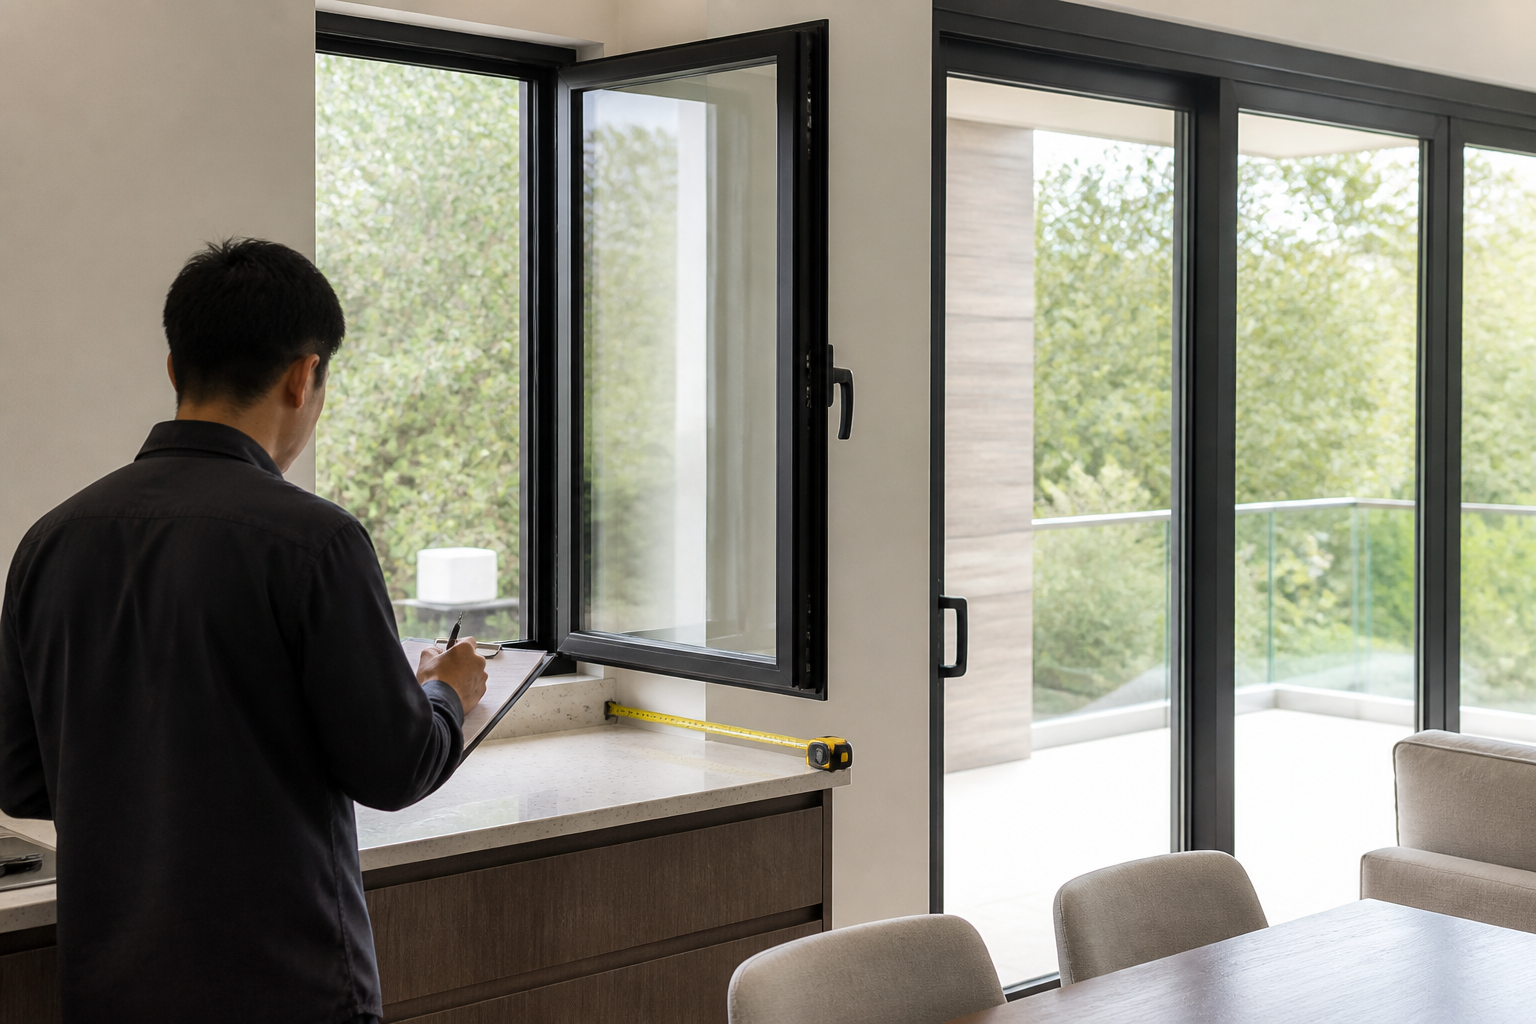
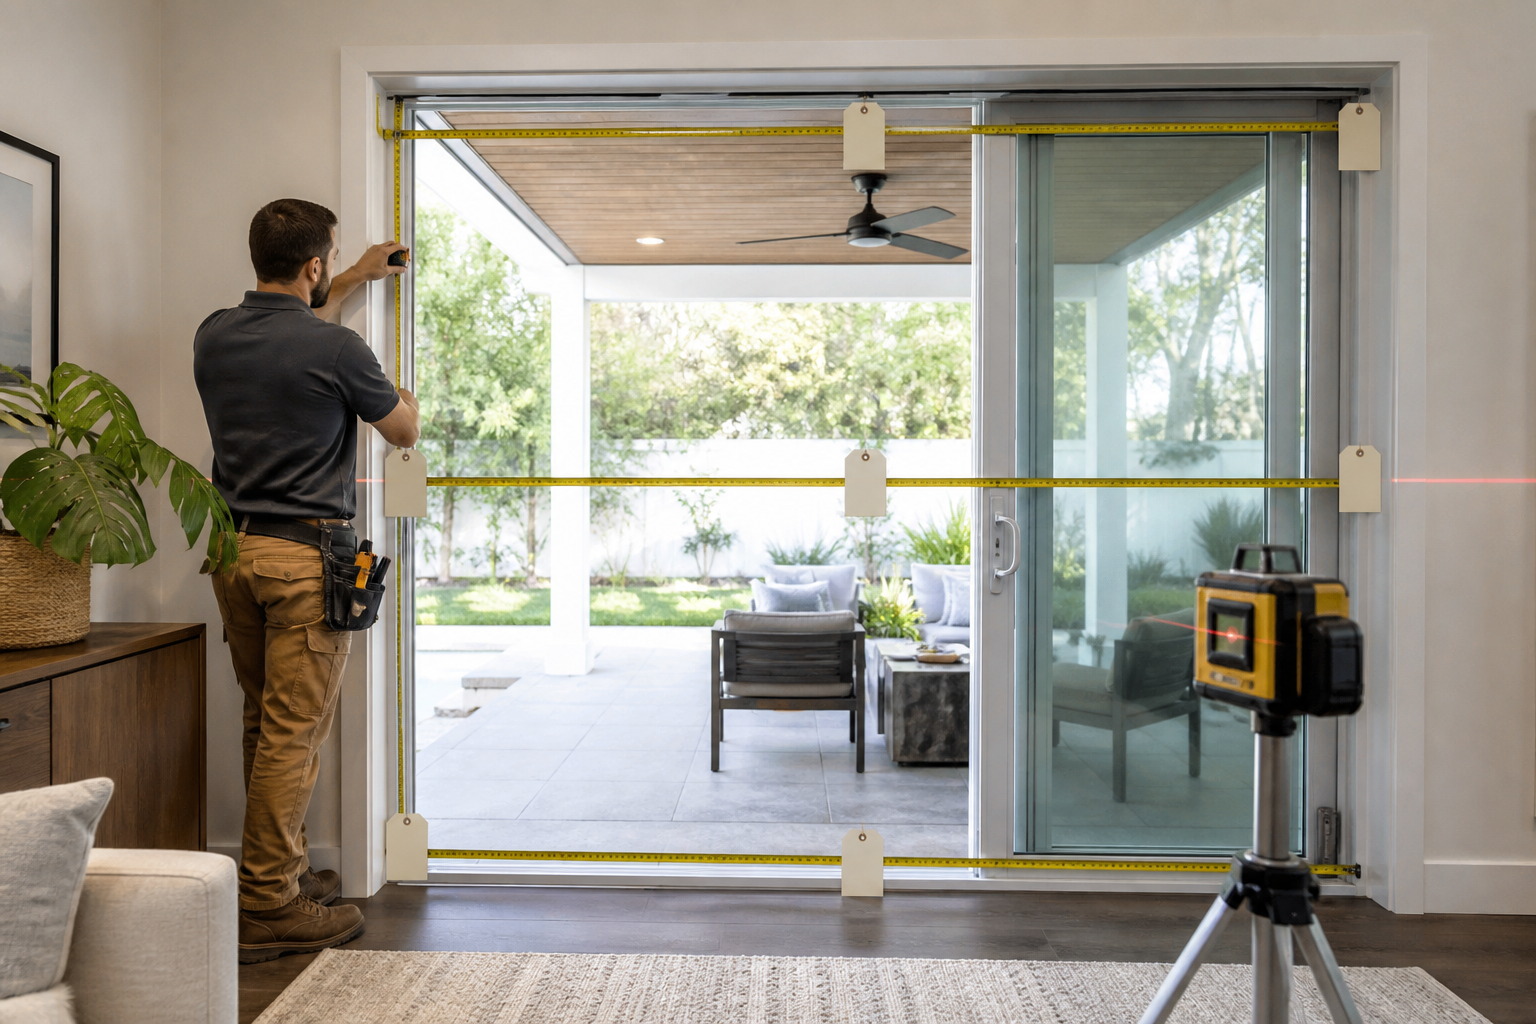
For replacement work, expose enough of the existing assembly to identify what will remain. Measure width at the top, middle, and bottom, and height at the left, center, and right. Record all readings rather than only the smallest one. Measure both diagonals to reveal an opening that is out of square, and use a level or laser to document sill level and jamb plumb. Note bowed framing, damaged substrate, water staining, and failed sealant for the responsible contractor to review.
Also record frame depth and wall build-up. Photograph the interior return, exterior cladding, sill, head, jamb, and nearby drainage conditions with a scale visible. A wide double unit may need a documented structural header or support review, but the window survey should not make a structural conclusion. Flag the condition for the project engineer or other qualified professional.
Our replacement measurement handoff provides a field-survey framework. Keep the observed rough-opening measurements separate from the proposed frame dimensions. Installation clearances depend on the product, wall, flashing approach, tolerances, and manufacturer instructions.
Minimum opening record
- Three widths, three heights, both diagonals, and the date of the survey.
- Reference surfaces used for every measurement.
- Existing frame material and parts that will remain or be removed.
- Wall thickness, interior return, exterior cladding, sill shape, and drainage path.
- Photos keyed to the window mark and a drawing showing the measurement points.
- Surveyor, measuring tool, access limits, and concealed conditions not verified.
3. Record the center condition and individual sashes
An overall width does not explain how it is divided. The approval drawing should dimension the permanent mullion centerline or the meeting-stile location, plus the nominal width of each sash. If both sashes are equal, state that. If they are unequal, identify the design reason and active side. On elevations, handing should be based on a clearly labeled exterior or interior view; never assume everyone uses the same convention.
For side-by-side independent casements, ask whether the center member is factory-mulled, field-mulled, or part of a single frame. The attachment and water-management details may differ. For an active/passive pair, identify the opening sequence and the hardware at the meeting stiles. The two types can look alike when closed, which is why the center condition belongs in both words and drawings.
Check each open sash against interior and exterior objects. An outward-opening unit may conflict with a railing, walkway, screen, exterior shade, plantings, or wall return. An inward-opening specialty unit may conflict with curtains, faucets, counters, or furniture. Use the casement handing guide to document each hinge side from the chosen view.
4. Use a measurement handoff table
| Field | What to record | Why it matters |
|---|---|---|
| Window mark | Room, elevation, floor, and unique ID | Connects photos and dimensions to the right opening |
| Existing opening | Top/middle/bottom widths; left/center/right heights | Shows variation and prevents a single reading from hiding a restriction |
| Squareness | Both diagonals, sill level, jamb plumb | Supports installation planning and escalation of irregular conditions |
| Proposed frame | Overall width, height, depth, and dimension reference | Defines the manufactured envelope |
| Sash division | Left and right sash widths; centerline or meeting line | Controls appearance, glass area, operation, and hardware coordination |
| Operation | Hinge sides, active leaf, view direction, opening limits | Prevents reversed handing and clearance conflicts |
| Interface | Wall layers, sill, flashing responsibility, trim, and sealant joints | Defines work at the window-to-wall boundary |
Make the table revision-controlled. When a field dimension changes, issue the drawing and table together so a superseded number is not used. Distinguish “field verified,” “design dimension,” “supplier proposed,” and “approved for manufacture.” A sign-off should include the approver, date, and revision.
5. Keep performance documentation tied to the exact unit
Size and configuration can affect product ratings. Request evidence for the proposed model and operating type, then confirm it in the NFRC Certified Products Directory when an NFRC rating is part of the specification. The NFRC label addresses the rated product; it does not replace installation instructions or a window-to-wall design.
If ENERGY STAR certification is required, check the current product and climate-zone information on the ENERGY STAR residential windows page. Record the exact product line, glass option, operator type, and any size limits on the submitted evidence. Our guide to reading an NFRC window label explains U-factor, solar heat gain coefficient, visible transmittance, and air leakage without turning them into a single universal “best” number.
6. Avoid five handoff errors
- Ordering from trim dimensions: trim can conceal the frame and rough opening. Label exactly where the tape started and ended.
- Using the smallest opening number as the order size: that is field evidence, not a product-specific deduction rule.
- Omitting the center condition: two equal rectangles do not reveal whether a fixed mullion remains when both sashes open.
- Reversing handing: label the view direction beside every operation symbol and repeat it in the schedule.
- Ignoring the wall interface: frame depth, sill support, flashing, trim, and sealant need assigned design and installation responsibility.
Before release, hold a short drawing review with the field survey, elevation, schedule, quotation, and performance documents side by side. The team should be able to trace each double casement window from its site photo to its approved frame and sash dimensions. Open questions should stay visible as open questions; they should not disappear into a nominal size.
Frequently asked questions
What dimensions are needed for double casement windows?
Record multiple rough-opening widths and heights, both diagonals, wall depth, reference surfaces, and nearby conditions. The approval should separately show overall frame size, each sash or division, center condition, and handing.
Should both sashes in a double casement be the same width?
They can be equal, but they do not have to be. Appearance, active-leaf use, structural layout, egress review, hardware, and supplier limits can affect the division. Show unequal sashes explicitly on the elevation.
Is the rough opening the same as the window order size?
No. The rough opening is a field condition. The responsible supplier or designer establishes the frame or order size using the product instructions, wall interface, installation method, tolerances, and flashing plan.
How do you identify handing on a double casement window?
Draw both sashes and label whether the elevation is viewed from the exterior or interior. Mark each hinge side and, for an active/passive pair, identify the active leaf and opening sequence.