2026-09-03
Direct answer: Choose casement window cranks by matching the handle to the installed operator and the room around it. Record the attachment, shaft or spline, handle projection, folded position, grip, finish, cover, and blind or screen clearance before ordering. A similar-looking handle is not proof of compatibility.
Casement Window Cranks Are Handles, Not the Whole Operator
A casement crank is the room-side handle a person turns to move the sash through an operator mechanism. Depending on the product, the handle may attach with a set screw, a shaped drive, or a splined connection; it may fold into a low-profile stored position or remain extended. The operator below the cover converts rotation into arm movement. The latch or lock is a separate component that secures the closed sash.
This distinction prevents a common ordering error. A worn or missing handle may justify a handle-only replacement, while a slipping internal gear, detached arm, bent linkage, loose mounting base, or binding sash requires a different scope. Forge Windows’ casement parts guide maps symptoms to inspection zones without assuming the visible handle caused the problem.
Manufacturer records show why identity matters. Andersen separates operator handles and covers by product family and manufacturing period in its current handle and cover guidance. Pella also distinguishes fold-away cranks from its product-specific Easy-Slide operator. These examples do not prove compatibility with another window; they demonstrate that “casement crank” is a category, not a universal part number.
| Observation | Likely scope to investigate | Do not assume |
|---|---|---|
| Handle is missing but drive and operator turn normally | Correct replacement handle and fastener | Any universal handle will fit |
| Handle spins on the drive | Handle bore, set screw, drive, and operator input | The handle alone is stripped |
| Handle turns but sash does not travel | Operator gears, arms, brackets, and sash load | A longer handle will solve it |
| Handle works until the sash nears closed | Sash alignment, hinges, seals, operator travel, lock sequence | More torque is acceptable |
| Handle hits a blind or counter | Approved folding or low-profile option and room layout | Cutting the handle preserves operation |
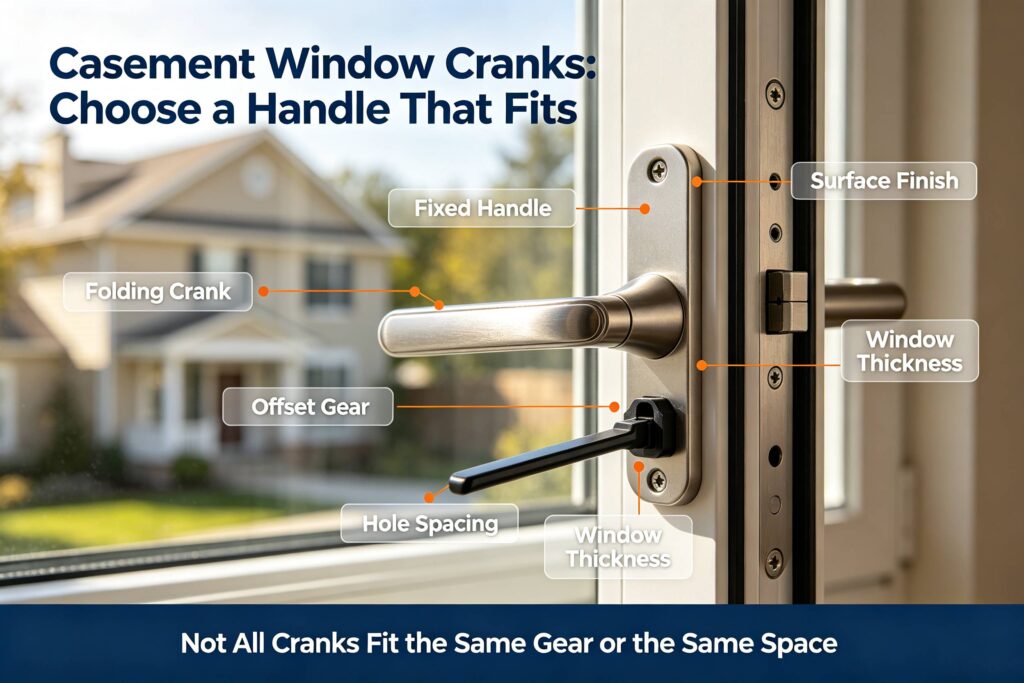
Build a Seven-Field Crank Identification Record
Start with the closed window and label the opening. Photograph the complete interior, the exterior when safely accessible, the handle in stored and operating positions, the cover, lock side, hinge side, and any visible product label. State whether handing is viewed from indoors or outdoors. Never infer left or right from one cropped photo.
- Window identity: manufacturer, series, model, label, order number, approximate installation date, and opening mark.
- Handle form: fixed, folding, T-style, knob, removable, or another product-specific design.
- Attachment: set screw location, drive shape, bore or spline detail, and any retained fastener.
- Operator cover: length, width, height, fastener pattern, finish, and whether it is removable or integral.
- Projection: distance from the sill or frame face when folded and when positioned for use.
- Room clearance: blind rail, curtain, insect screen, counter, backsplash, trim, wall return, furniture, and cleaning access.
- Condition: looseness, cracks, rounded drive surfaces, corrosion, missing fasteners, gear noise, and the point where resistance begins.
Keep the old handle and fastener until the replacement passes. Clean enough loose dust to reveal markings, but do not scrape finishes, grind the drive, or force an unknown cover. A photograph beside a ruler is useful only when the ruler lies in the same plane as the measured feature. Record dimensions rather than relying on perspective.
Check Crank Grip, Projection, and Interior Clearances
A low-profile handle can reduce interference, but it must still be approved for the installed operator. Test the normal user position: seated or standing, over a counter or clear sill, with the insect screen and window treatment installed. The user should be able to deploy the handle, maintain a secure grip, rotate it without pinching fingers, return it to storage, and reach the lock separately.
Create a simple section through the sill. Show the frame face, operator cover, handle envelope, screen, blind or shade bottom rail, trim, and counter edge. For a folding handle, show both the stored and deployed envelopes. For a removable handle, document where it will be stored and whether removal would conflict with required normal operation or emergency use.
Do not treat extra leverage as a repair method. A longer handle increases torque on the connection and can hide sash drag, frame distortion, dirty hardware, or operator damage. The correct response to increasing effort is to stop, record where it occurs, and inspect the complete assembly. Forge Windows’ hardware schedule guide explains how to link operating, supporting, locking, limiting, and service components to one opening.
Decide Whether the Work Is Handle-Only or Broader Service
A handle-only scope is reasonable only when the window operates smoothly through its full intended travel with a known compatible handle, the drive is not damaged, the cover and operator are secure, the arms remain connected, and the sash closes and locks without force. The replacement should match the manufacturer’s current service guidance or a documented approved substitute.
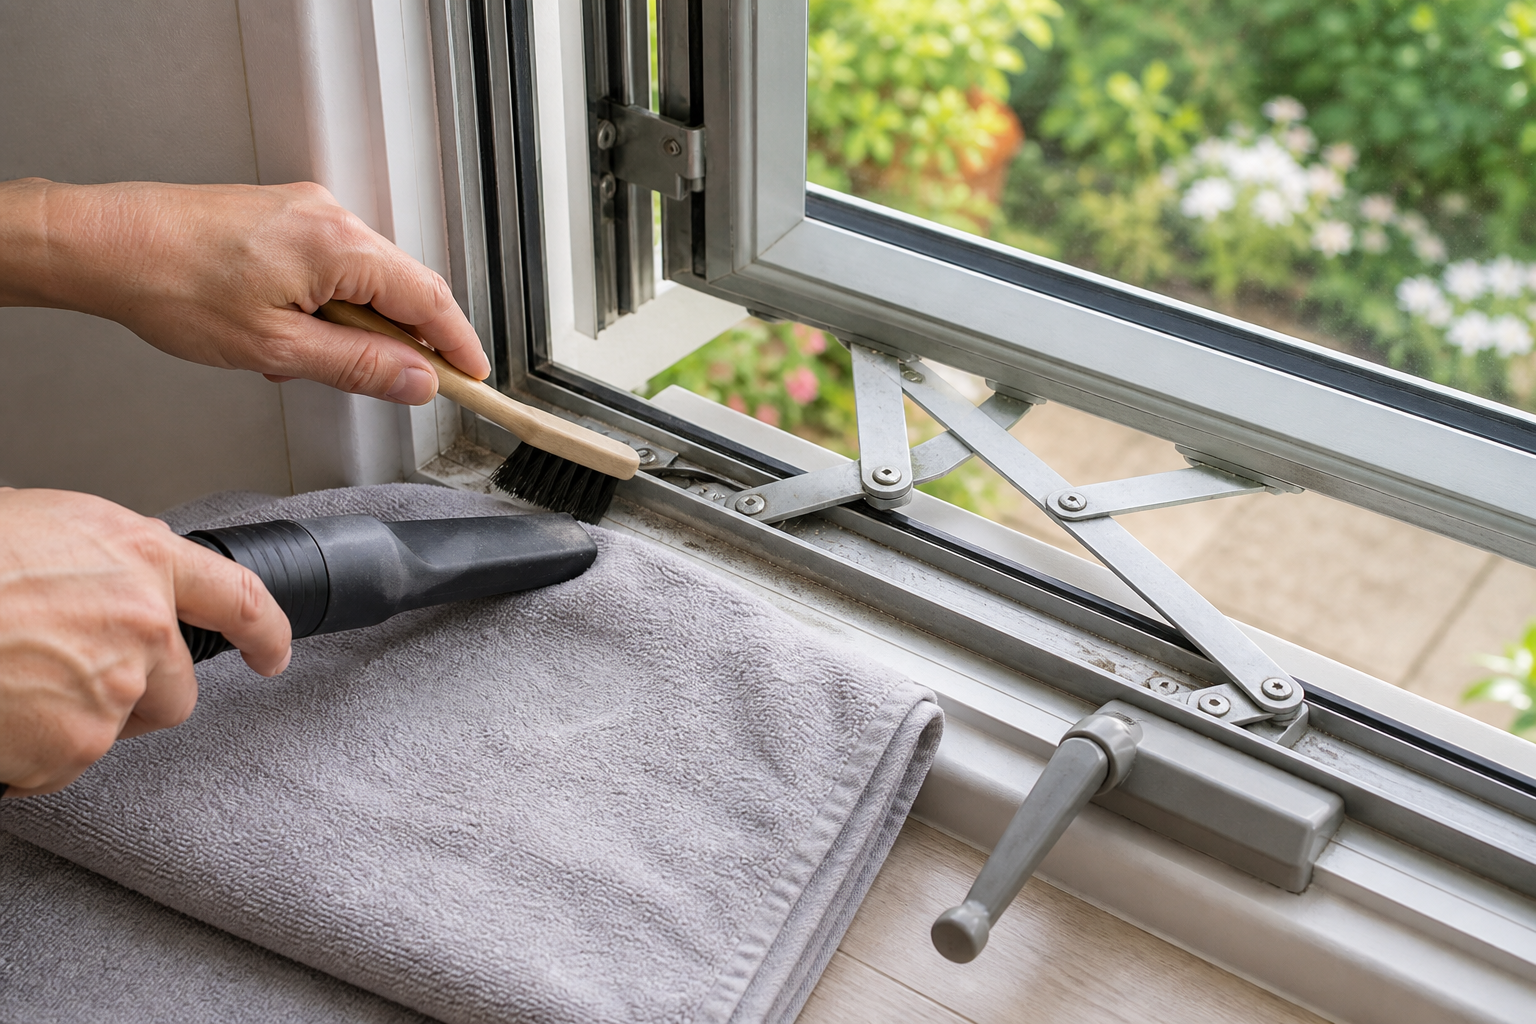
Broaden the service call when the input shaft wobbles, the drive is rounded, the handle repeatedly loosens, the cover lifts, internal gears skip, arms are bent or detached, the sash drops, hardware binds, glass is cracked, or water damage is visible. Stop immediately if the sash is unstable or exterior work would require unsafe access. The screen clearance guide can help separate screen interference from operator trouble.
For older painted windows, also define whether the work will disturb paint. The U.S. Environmental Protection Agency explains that renovation and repair in many pre-1978 homes can create lead dust and recommends lead-safe practices; its DIY renovation guidance advises homeowners to consider a lead-safe certified contractor. Project conditions and applicable rules control.
Install and Verify Without Forcing the Window
Follow the product-specific procedure. Protect finishes, retain identified fasteners, seat the handle fully, and tighten only as directed. Do not drill a new set-screw location, glue a worn bore, or file the drive unless the manufacturer has approved that procedure. Keep blinds and screens clear during the first test.
Run at least three deliberate cycles. Start closed and unlocked, deploy the handle, open to the intended limit, observe arm travel and clearances, close until the sash meets the seals, stow the handle, and operate the lock. Record smoothness, noise, interference, looseness, and the final stored projection. Repeat with the screen and window treatment in their normal positions.
The closeout record should include the opening mark, product identity, old and new part references, finish, photographs, measurements, instructions used, installer, date, observed exceptions, and warranty information. A complete record makes the next service request about casement window cranks faster and less dependent on guesswork.
Frequently Asked Questions
Are casement window cranks universal?
No. Handles vary by attachment, drive or spline, shaft depth, set screw, operator family, cover, finish, and manufacturing period. Use the exact window and operator identity plus manufacturer guidance before ordering.
Can I replace only the crank handle?
Yes, when the approved handle is the only damaged or missing component and the operator, arms, sash, hinges, seals, and locks work normally. A spinning drive, skipping gears, or binding sash needs broader diagnosis.
Will a folding crank clear my blinds?
It may, but measure the stored and deployed handle envelopes against the actual blind rail, screen, trim, and sill. Confirm that the folding option is approved for the installed operator.
Should I use a longer crank when the window is hard to close?
No. Extra leverage can damage the handle, drive, gears, arms, or sash. Stop when resistance rises, record the point of resistance, and inspect alignment, seals, hinges, operator travel, and obstructions.
Conclusion: Specify the Handle and Its Operating Space
Casement window cranks should be selected from verified product identity and measured room-side conditions, not color and appearance alone. Separate the handle from the operator, document the connection and clearance envelope, and verify a complete open-close-lock cycle. Send Forge Windows the opening mark, labels, photographs, crank and cover dimensions, handing convention, interference sketch, and observed symptoms for a project-specific hardware review.