2026-08-27
Replacing a casement window is a sequence, not a single removal-and-swap step. A responsible installation-day plan protects the room, confirms the ordered unit, removes only the agreed materials, repairs the opening, manages water at the window-to-wall interface, sets and fastens the frame, seals the air and water boundaries, and tests every moving part. This guide shows homeowners and project teams what should happen before, during, and after the opening is exposed.
1. Set the scope before installation day
The first decision is whether the project is an insert, frame-in-frame, sash-only, or full-frame replacement. Those terms are used differently in the market, so the contract should state what remains and what is removed: sash, operator, frame, interior trim, exterior trim, sill, flashing, and wall finishes. Our casement replacement scope guide helps define that boundary, while the full-frame decision guide covers conditions that may justify wider removal.
Before the crew mobilizes, compare the delivered label and unit with the approved opening mark, size, handing, color, glass, hardware, screen, and damage report. Do not remove the existing weather barrier until the replacement has passed that check. Confirm permits, access, working hours, debris route, parking, weather limits, interior protection, exterior access, power, and who can approve a concealed-condition change.
Homeowner preparation
- Move furniture, curtains, shades, electronics, and fragile items out of the agreed work zone.
- Provide a clear path from the entry to the window and arrange safe control of children and pets.
- Identify alarms, sensors, outlets, cables, or built-ins near the opening.
- Discuss dust containment, floor protection, exterior planting protection, and cleanup.
- Keep product approvals, field measurements, photos, and contact names available.
2. Address lead and other hazardous-material questions first
Window replacement can disturb painted surfaces. For many pre-1978 homes and child-occupied facilities in the United States, federal lead-safe renovation requirements may apply. The U.S. Environmental Protection Agency’s RRP information for consumers explains the program, contractor certification, lead-safe practices, and records. EPA also states in its window-installation RRP FAQ that the rule can apply to window work unless the affected components are confirmed lead-free under the rule.
Do not rely on the age of the replacement window alone; adjacent painted jambs, trim, stops, or wall surfaces may be disturbed. The contractor should determine applicable requirements before work starts and explain containment, cleaning, occupant protection, and documentation. Asbestos, mold, rot, insects, or damaged electrical materials may require separate qualified assessment.
3. Protect, document, and remove in a controlled sequence
The crew should photograph the existing interior and exterior condition, protect floors and furnishings, establish dust control, and verify weather. Removal then follows the agreed scope. Operators, locks, sashes, stops, fasteners, trim, and frame pieces are taken out without causing avoidable damage to materials meant to remain. Open wall cavities should be protected from rain and left safe if the work pauses.
The U.S. Department of Energy’s Window Installation job aid includes floor protection, trim and stop removal, jamb cleaning and repair, flashing replacement, and dry-fitting among its replacement-installation steps. The exact sequence still depends on the selected product, wall assembly, site conditions, and manufacturer instructions.
Once removal exposes the opening, work may depart from the estimate. Rot, corrosion, missing flashing, cracked masonry, out-of-square framing, or an unsupported sill cannot be responsibly hidden behind the new frame. Photograph the condition, define the repair, price and approve any change, and identify who has design authority before continuing.
4. Prepare the rough opening and drainage path
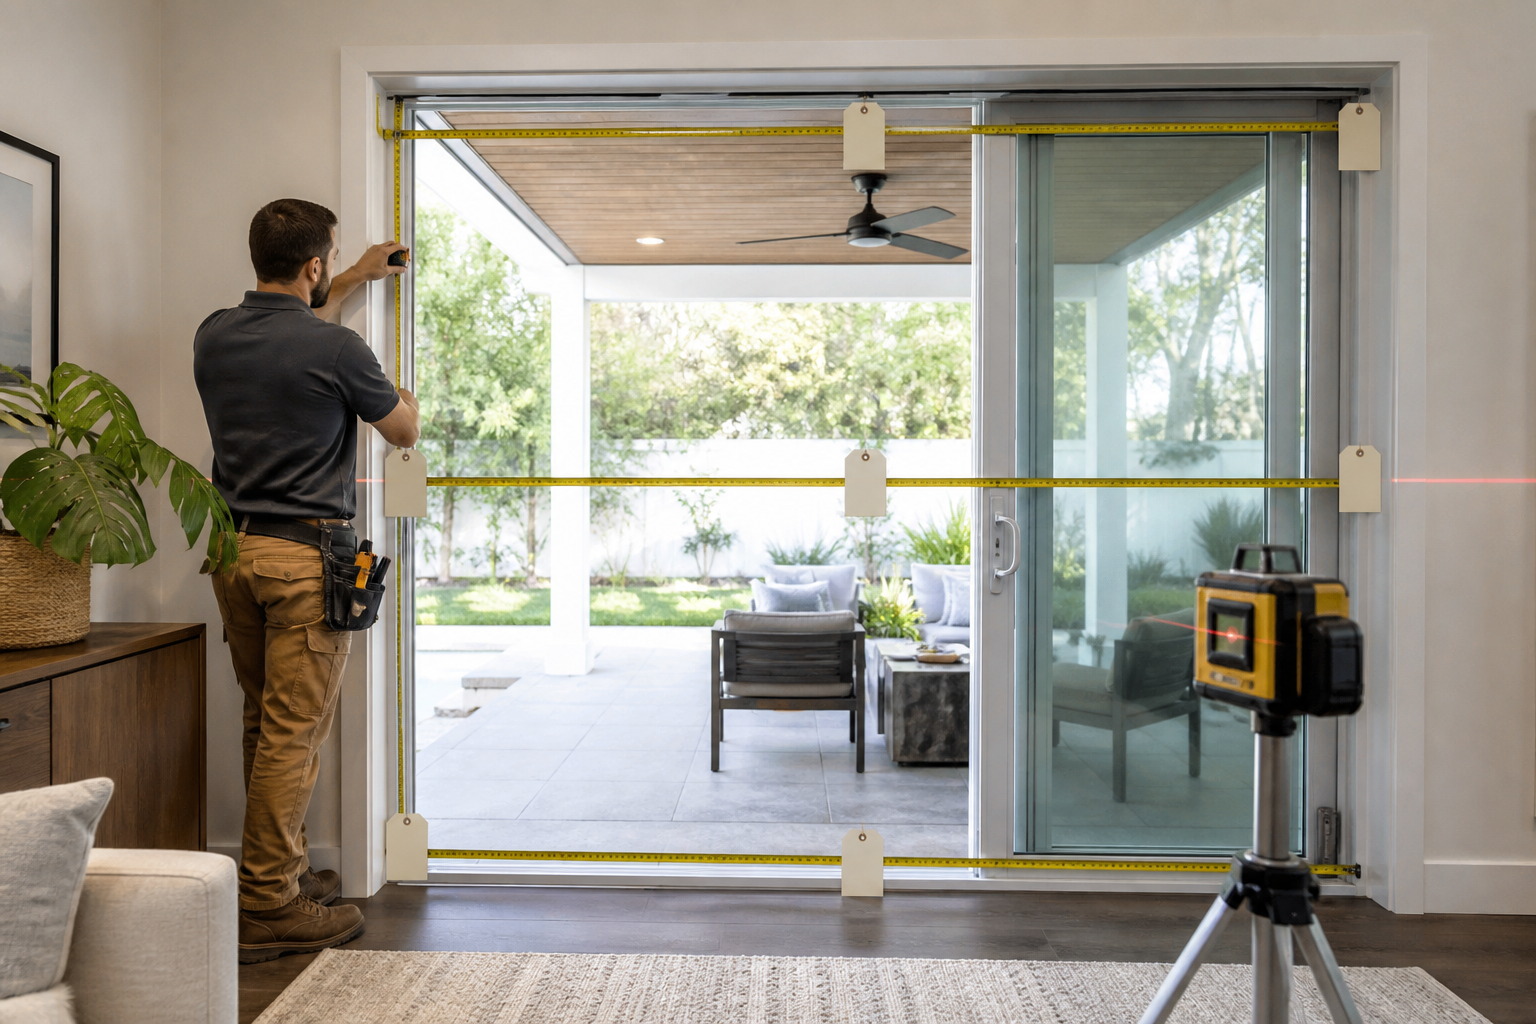
Clean the opening and remove debris that would prevent the new materials from bonding or bearing evenly. Check size, square, level, plumb, substrate soundness, sill support, and fastener locations. Perform the planned repairs and verify that the opening still suits the ordered unit. A dry fit can reveal a handing error, inadequate clearance, or interference before sealants and flashing are committed.
Water control should direct incidental water outward. The Department of Energy’s Building Science Education resource on fully flashed window and door openings describes sill-pan, jamb, and head flashing integrated with the wall’s drainage plane. A replacement detail needs to account for the real water-resistive barrier, cladding, sill, and existing materials—not a generic bead of sealant around the visible perimeter.
Use compatible materials in the order shown by the approved detail and product instructions. Preserve drainage openings. Do not block weeps with insulation, trim, mortar, or sealant. Where the existing wall cannot be accessed as assumed, stop and revise the detail with the responsible designer or manufacturer rather than improvising an invisible water trap.
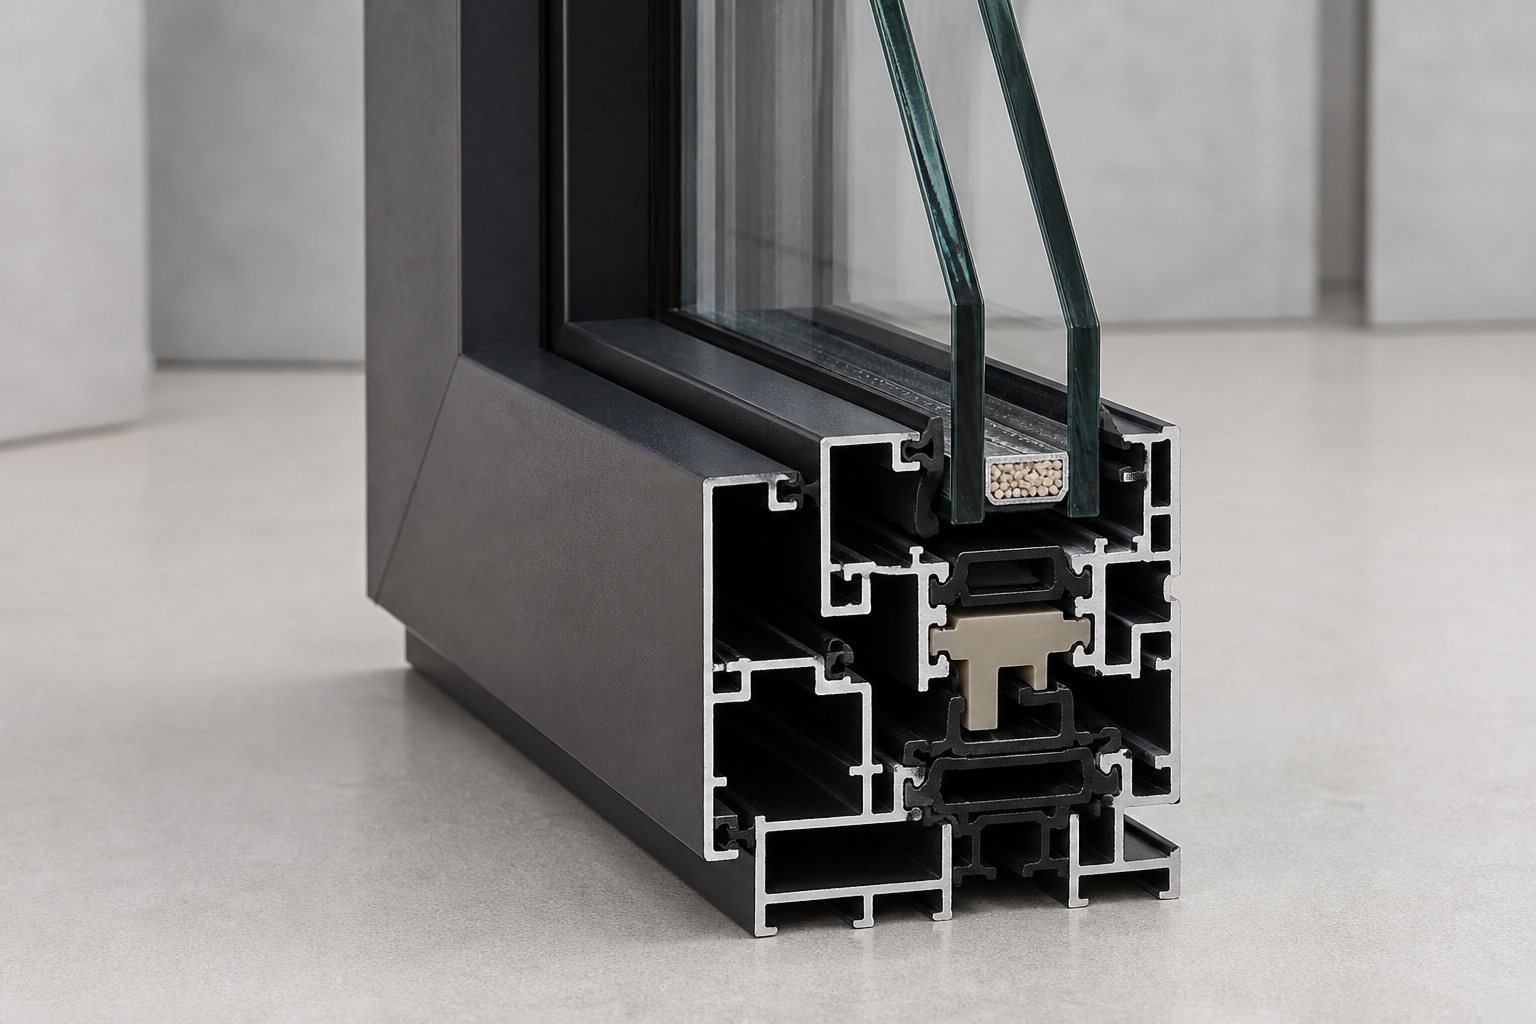
5. Set, fasten, insulate, and seal the new window
After the opening is accepted, position the window using the specified sill support, shims, setting blocks, clips, fins, anchors, or fasteners. Follow the manufacturer’s locations, edge distances, embedment, torque, and substrate rules. Check the frame for level, plumb, square, bow, and twist as fastening proceeds. Measure diagonals and confirm sash reveals rather than assuming a frame that looks straight will operate correctly.
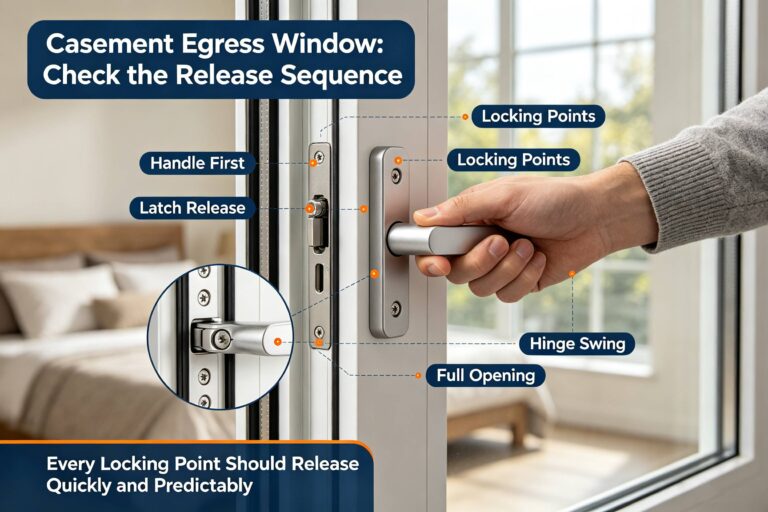
Operate the sash before closing the perimeter. It should open, stay within its designed range, close, compress the weather seals, and lock without forcing. Adjust only by the approved method. An operator should not be used to pull a distorted frame into position.
Complete the air seal and insulation at the frame-to-opening gap with compatible materials and controlled application. Excess expanding foam can bow a frame; insufficient or discontinuous material can leave an air path. Exterior perimeter joints need the specified joint geometry, backing, bond-break condition, primer where required, and compatible sealant. Interior and exterior joints can have different functions, so “caulk all sides” is not an adequate detail.
Restore trim and finishes without blocking drainage or binding the sash. Reconnect approved sensors, install the screen, and remove labels only after their information is captured. If a screen is included, test it alongside the operator and locks.
6. Commission the casement before sign-off
A final walk-through should be functional and documented. Unlock, open, close, and lock the sash several times. Inspect even contact at the weatherstrip, consistent reveals, hardware attachment, finish condition, glazing, sealant joints, weeps, screens, and trim. Compare the installed window with the approved mark, handing, glass, finish, and accessories.
Water testing, air testing, or field inspection may be required by the project specification or quality plan. Define the method, timing, sample, acceptance criteria, and responsible party before the finish work makes repairs harder. A casual hose spray is not automatically a recognized test and can give misleading results.
Handoff records to retain
- Approved product and opening documents, labels, and serial or order references.
- Before, concealed-condition, flashing, fastening, and completed installation photos.
- Change orders and the party that approved each repair or detail revision.
- Cleaning, operation, maintenance, and warranty instructions.
- Touch-up materials, spare parts, screen information, and final inspection results.
After the first few operating cycles and seasonal changes, inspect the window for movement, damaged sealant, drainage blockage, or hardware issues. Follow the manufacturer’s care schedule. If operation becomes stiff, consult the operator and lock troubleshooting guide; do not force a crank or conceal a frame-alignment problem with repeated hardware adjustment.
Replacing a casement window goes well when the scope, safety requirements, water path, fastening, air seal, finish restoration, and acceptance tests are assigned before removal. The installation-day objective is not simply to fill the opening—it is to deliver the approved window and a traceable connection to the wall.
Frequently asked questions
How long does replacing a casement window take?
Time varies with access, scope, wall construction, trim, flashing, repairs, weather, and finish work. A straightforward unit may be completed in a day, while concealed damage or full-frame work can require added trades and return visits.
Do homeowners need to leave during casement window replacement?
That depends on the work zone, dust and hazardous-material controls, occupancy, and contractor plan. Keep children and pets away, follow containment instructions, and discuss room access and cleanup before work starts.
Should a replacement window be tested before the trim is finished?
Yes. Check frame alignment, sash operation, locks, weatherstrip contact, screen clearance, drainage, and visible flashing or seal details while corrective access is still available.
What happens if the installer finds rot after removing the old window?
The work should pause at the affected area. The condition should be photographed, assessed by the responsible qualified party, and covered by an approved repair scope before the new window conceals it.